
Paramètres du procédé de moulage par injection : Comment optimiser la température de fusion, la pression et le temps de refroidissement
Paramètres du procédé de moulage par injection : la clé de la qualité des pièces
Être un excellent mouleur ne consiste pas à mémoriser les réglages de la machine. Il s’agit de maîtriser la physique du procédé de moulage par injection.
Chaque paramètre – température de fusion, pression d’injection, tassement et temps de refroidissement – est interdépendant. Modifier l’un d’eux, c’est modifier les autres.
Pour obtenir une qualité de pièces constante, un taux de rebuts réduit et une production stable, il est essentiel de comprendre comment ces variables fondamentales interagissent.
1. Température de fusion : le fondement du moulage par injection
Mot-clé principal : température de fusion en moulage par injection
La température de fusion détermine la fluidité du plastique dans le moule.
Trop basse → viscosité élevée
Injections incomplètes
Lignes de soudure fragiles
Mauvais état de surface
Trop élevée → dégradation du matériau
Marques de brûlure
Résistance réduite
Fragilité
Bonnes pratiques
Commencer par la plage de température recommandée par le fournisseur et ajuster en fonction du comportement de la pièce.
Une température de fusion plus élevée peut améliorer la fluidité, mais elle augmente souvent le temps de refroidissement.
2. Vitesse et pression d'injection : l'équilibre critique
Mots-clés : pression et vitesse d'injection
La vitesse d'injection détermine la rapidité avec laquelle la cavité se remplit, tandis que la pression fournit la force nécessaire pour propulser le matériau dans le système.
Vitesse d'injection
Trop lente → solidification prématurée
Trop rapide → turbulences, bulles d'air, marques de brûlure
Pression d'injection
Trop basse → remplissage incomplet
Trop élevée → bavures, contraintes dans le moule
Conseils d'optimisation
Si votre machine atteint ses limites de pression, vérifiez :
La viscosité du matériau
La taille et la conception de l'orifice d'injection
3. Maintien et compactage : maîtrise du retrait
Mots-clés : pression de compactage, moulage par injection
Après un remplissage de 95 % à 98 %, le processus entre dans la phase de compactage.
Le plastique se rétracte en refroidissant ; le compactage compense ce retrait en injectant du matériau supplémentaire dans la cavité. Défauts courants dus à un mauvais remplissage
Retraits de matière
Vidanges internes
Poids des pièces irrégulier
Règle clé :
La pression de maintien doit être maintenue jusqu’à la solidification de la pièce. Les dimensions sont ensuite figées.
4. Temps de refroidissement : un facteur de coût caché
Mot-clé principal : temps de refroidissement en moulage par injection
Le temps de refroidissement représente généralement 60 % à 80 % du temps de cycle total.
Cette étape détermine :
L’efficacité du cycle
La stabilité dimensionnelle
Le risque de déformation
Erreur fréquente :
Baisse excessive de la température du refroidisseur → condensation sur le moule → défauts des pièces
Optimisation :
Améliorer le débit du liquide de refroidissement
Nettoyer les dépôts dans les canaux de refroidissement
Utiliser des inserts à haute conductivité thermique
5. Température du moule : État de surface et Stabilité
Mot-clé principal : contrôle de la température du moule
La température du moule influe directement sur :
L’aspect de surface
Le niveau de brillance
La visibilité des lignes de soudure
Température de moule plus élevée
Meilleure reproduction de surface
Aspect amélioré
Lignes de soudure réduites
Compromis
Temps de refroidissement plus long
Pour les matériaux semi-cristallins (comme le PA et le POM) : la température du moule affecte également la cristallinité, ce qui influe sur la stabilité dimensionnelle à long terme.
Optimisation du moulage par injection : une approche systémique, pas un traitement par paramètres isolés
La plus grande erreur en moulage par injection est de traiter les paramètres indépendamment. En réalité :
Modifier le temps de refroidissement influe sur le retrait.
Ajuster le calage influe sur les contraintes internes.
Modifier la température a un impact sur le débit et la pression.
� Le moulage par injection est un système en boucle fermée.
Bonne pratique : Optimisez votre plage de paramètres.
Une fois la combinaison optimale de paramètres trouvée :
Documentez-la.
Standardisez-la.
Maîtrisez les variations.
L’inconstance du processus est la principale cause de :
Rebuts
Déformations
Fluctuations de la qualité.
Un atelier rigoureux, basé sur les données, sera toujours plus performant qu’un atelier qui se fie au « sentier » de l’opérateur.
� Appel à l’action
Si vous rencontrez des problèmes de défauts de pièces, de temps de cycle ou d’instabilité de la production, il ne s’agit généralement pas d’un problème lié à un seul paramètre, mais d’un problème de système.
� Besoin d’aide pour optimiser la conception de votre moule ou votre processus d’injection ? Consultez le site www.xinkeymould.com ou contactez notre équipe d’ingénieurs pour une analyse professionnelle.
EN SAVOIR PLUS
Maintenance des moules d'injection : liste de contrôle essentielle et meilleures pratiques
Finies les interventions d'urgence : le véritable retour sur investissement d'une maintenance rigoureuse des moules d'injection
Considérez votre moule d'injection comme le cœur performant de votre usine. Correctement entretenu, il garantit un fonctionnement optimal. Négligé, il devient rapidement un gouffre financier, augmentant les rebuts, provoquant des arrêts de production et des réparations d'urgence coûteuses au pire moment.
Une maintenance rigoureuse ne se limite pas au nettoyage de l'acier. Elle vise à préserver votre planning de production et à prolonger la durée de vie de l'un de vos équipements les plus précieux.
La dure réalité de la presse
Les moules sont des outils de précision fonctionnant dans des conditions extrêmes. Ils subissent quotidiennement des forces de serrage considérables et des chocs thermiques répétés, dépassant parfois 300 °C. Parallèlement, des matériaux abrasifs, notamment les résines chargées de verre, usent continuellement les surfaces en acier.
Si la maintenance est négligée, les problèmes ne se manifestent pas progressivement : ils s'aggravent. Une usure mineure peut entraîner le grippage des axes, le blocage des coulisseaux et l'obstruction des évents. Lorsque les évents se bouchent, les gaz emprisonnés provoquent des brûlures et des défauts, entraînant une chute brutale de la production.
Même les canaux de refroidissement ne sont pas à l'abri. Avec le temps, les dépôts minéraux restreignent le flux, réduisant l'efficacité du refroidissement et affectant la qualité des pièces. Comparée au coût d'une remise à neuf complète ou à la perte d'un client, la maintenance préventive est minime.
Liste de contrôle avant lancement : Habitudes de production quotidiennes
Avant de démarrer la production, prenez quelques minutes pour une inspection de base, comme un pilote effectue une inspection visuelle avant le décollage.
Vérifiez les problèmes évidents tels que :
Éjecteurs cassés
Inserts ébréchés ou endommagés
Coulisseurs usés ou mal alignés
Négliger cette étape est risqué. Détecter les petits problèmes rapidement est bien plus facile que de gérer des pannes majeures en cours de production.
Pendant la production, ne vous contentez pas d'observer les pièces ; surveillez le processus. Des variations dimensionnelles inattendues ou une augmentation du taux de rebut sont des signes avant-coureurs. Intervenez immédiatement avant que la situation ne s'aggrave.
Les principaux contrôles quotidiens comprennent :
Santé thermique : Vérifiez le débit du liquide de refroidissement et la constance de sa température. Des différences anormales entre l'entrée et la sortie peuvent indiquer des obstructions ou de l'entartrage.
Propreté des outils : Nettoyez régulièrement les lignes de joint et les surfaces des cavités. Évitez d'utiliser des outils métalliques sur les surfaces polies ; même des dommages mineurs peuvent altérer définitivement la qualité de la finition.
Plan d'intervention hebdomadaire
Prévenir l'usure nécessite une maintenance régulière et structurée.
Chaque semaine :
Nettoyez et lubrifiez tous les composants mobiles (glissières, poussoirs, glissières).
Éliminez les débris et les dépôts de graisse.
Nettoyez les conduits d'aération à l'air comprimé.
Des conduits d'aération obstrués entraînent directement des marques de brûlure et des rebuts ; cette étape est cruciale.
Maintenance mensuelle et trimestrielle
Mensuelle (Suivi des tendances) : Utilisez des outils de mesure étalonnés pour suivre les dimensions critiques. La détection d'une dérive progressive permet de prévenir les pannes inattendues.
Trimestrielle (Maintenance approfondie) :
Démontez et inspectez le système d'éjection.
Vérifiez l'usure des surfaces de guidage.
Nettoyez et détartrez les canaux de refroidissement.
Remplacez tout composant présentant des signes précoces de fatigue.
Révision annuelle
Une fois par an, effectuez un démontage et une inspection complets. Recherchez :
Corrosion ou piqûres
Dégradation de surface
Fissures capillaires dues à la fatigue
Tout aussi important : consultez les registres de maintenance. Si le même composant tombe en panne à répétition, le problème réside probablement dans sa conception, et non dans la maintenance. Dans ce cas, une refonte est la seule solution.
« Erreurs fatales » : Les erreurs les plus fréquentes
1. Utilisation d’un lubrifiant inadapté : Toutes les graisses ne conviennent pas aux moules. Des produits inappropriés peuvent endommager l’acier ou contaminer les pièces. Suivez toujours les recommandations du fabricant.
2. Serrage excessif des fixations : Un couple excessif peut étirer les boulons et endommager les inserts. Utilisez une clé dynamométrique et respectez les spécifications.
3. Négligence des systèmes de refroidissement : Les circuits de refroidissement sont essentiels à la circulation de l’air. L’accumulation de tartre réduit l’efficacité, augmente le temps de cycle et crée des points chauds qui affectent la qualité des pièces.
4. Négligence de la maintenance due à la pression de la production : Retarder la maintenance pendant les périodes de forte cadence entraîne souvent des pannes imprévues, généralement au pire moment. La maintenance planifiée est toujours plus rentable que les réparations d'urgence.
En résumé : la maintenance est une assurance.
La maintenance des moules d'injection n'est pas une dépense, mais une garantie pour la stabilité de votre production.
Un outil bien entretenu sera toujours plus performant et durera plus longtemps qu'un outil négligé. La différence se traduit par une disponibilité accrue, une meilleure qualité et une rentabilité à long terme améliorée.
Conseil final :
Élaborez un calendrier de maintenance clair et attribuez les responsabilités pour chaque tâche. La responsabilisation est essentielle au bon fonctionnement des systèmes.
Les ateliers qui suivent des procédures rigoureuses restent productifs. Ceux qui ne le font pas se retrouvent constamment à réagir aux problèmes.
En fin de compte, c'est simple : soit vous maîtrisez la maintenance, soit elle maîtrise votre production.
EN SAVOIR PLUS
Comprendre « l’ennemi invisible » : pourquoi la ventilation du moule est cruciale pour le moulage par injection
Introduction
À première vue, une cavité de moule semble vide. En réalité, elle ne l'est jamais.
Chaque injection commence avec de l'air déjà emprisonné dans la cavité, et cet air doit bien s'évacuer. S'il ne peut s'échapper correctement, il est comprimé rapidement par le flux de matière fondue. Résultat ? La température peut dépasser les 300 °C en quelques millisecondes.
Vous créez ainsi une véritable chambre de combustion miniature à l'intérieur de votre moule.
En atelier, une mauvaise ventilation est souvent la cause silencieuse de marques de brûlure, de défauts d'aspect et de problèmes de production inexpliqués.
Les enjeux importants de la compression de l'air
Lors de l'injection, le plastique fondu s'écoule généralement à des vitesses de 20 à 200 mm/s. En remplissant la cavité, il repousse l'air.
Cet air doit s'échapper par des évents, généralement de minuscules espaces au niveau de la ligne de joint ou par des dispositifs de ventilation dédiés.
La physique est implacable :
Compression rapide = montée en température rapide. Dans les cas extrêmes, l'air emprisonné se comporte comme un mini-moteur diesel, enflammant et brûlant la surface du plastique.
Ces « brûlures de gaz » ne sont pas de simples défauts esthétiques. Elles indiquent une dégradation du matériau au niveau moléculaire, ce qui peut compromettre la résistance et les performances à long terme des pièces.
Outre les brûlures, le gaz emprisonné engendre d'autres problèmes :
Une contre-pression qui complique le remplissage ;
Des pièces incomplètes ;
Des traces de gaz (« coupe au gaz ») où le flux d'air marque le front de fusion.
Comment évacuer l'air ?
Dans la conception concrète des moules, la ventilation consiste à créer des voies d'évacuation fiables. Les méthodes courantes comprennent :
Les évents de la ligne de joint
C'est la méthode la plus répandue.
La précision est essentielle :
Profondeur typique de l'évent : 0,005–0,02 mm
Trop serré → l'air reste emprisonné
Trop ouvert → bavures
Trouver le bon équilibre requiert une solide expérience en outillage.
Broches d'évacuation
Utilisées dans les nervures profondes ou les cavités où l'air a tendance à s'accumuler.
Diamètre typique : 2 à 4 mm
Offrent des voies d'évacuation directes des zones problématiques.
Rainures et inserts d'évacuation
Pour les géométries complexes, les canaux d'évacuation peu profonds guident l'air vers les sorties.
Dans les cas plus exigeants, les inserts en métal poreux (acier fritté) permettent à l'air de traverser le matériau lui-même, ce qui est particulièrement utile dans les cavités profondes ou complexes.
Évacuation sous vide
Utilisée dans des applications haut de gamme telles que les panneaux automobiles.
Au lieu de s'appuyer sur la pression pour chasser l'air, un système de vide l'élimine avant même le début de l'injection, garantissant ainsi des conditions de remplissage optimales.
Problèmes courants en production
Brûlures de fin de remplissage
Les marques sombres à la dernière zone de remplissage indiquent généralement que l'air emprisonné ne peut s'évacuer.
Remplissages incomplets « fantômes »
Si une pièce ne se remplit pas malgré la pression appliquée, il est probable qu'une poche d'air agisse comme un coussin. L'ajout d'un évent à cet endroit précis résout souvent le problème immédiatement.
Compromis entre bavures et ventilation
Dégagement d'évent excessif → bavures
Dégagement insuffisant → marques de brûlure
Trouver le juste équilibre est un défi constant.
Lignes de soudure fragiles
Lorsque les fronts d'écoulement se rejoignent sans adhérer correctement, la présence de gaz emprisonné en est souvent la cause.
Une ventilation adéquate au point de jonction améliore considérablement la résistance de la soudure.
Conseils de pro pour un outillage plus performant
Concevez la ventilation dès le début
Ne considérez pas la ventilation comme une étape secondaire. Identifiez les poches d'air lors de l'analyse de l'écoulement du moule.
Utilisez des évents étagés
Commencez par une section peu profonde pour bloquer le plastique, puis passez à un canal plus profond pour la circulation de l'air.
Multipliez les voies de ventilation
Pour les longs écoulements, placez des évents tous les 50 à 100 mm. L'air ne doit pas avoir à parcourir toute la longueur de la cavité.
Conclusion
La ventilation n'est pas un détail mineur : c'est un facteur essentiel de la performance du moule. Un moule bien ventilé :
Se remplit plus facilement
Nécessite moins de pression
Produit des pièces plus homogènes
Réduit les défauts et les temps d’arrêt
Corriger la ventilation après le durcissement du moule est coûteux, long et souvent frustrant.
Bien concevoir le moule dès le départ, c’est non seulement garantir la qualité des pièces, mais aussi éviter des coûts inutiles et assurer une production fluide.
EN SAVOIR PLUS
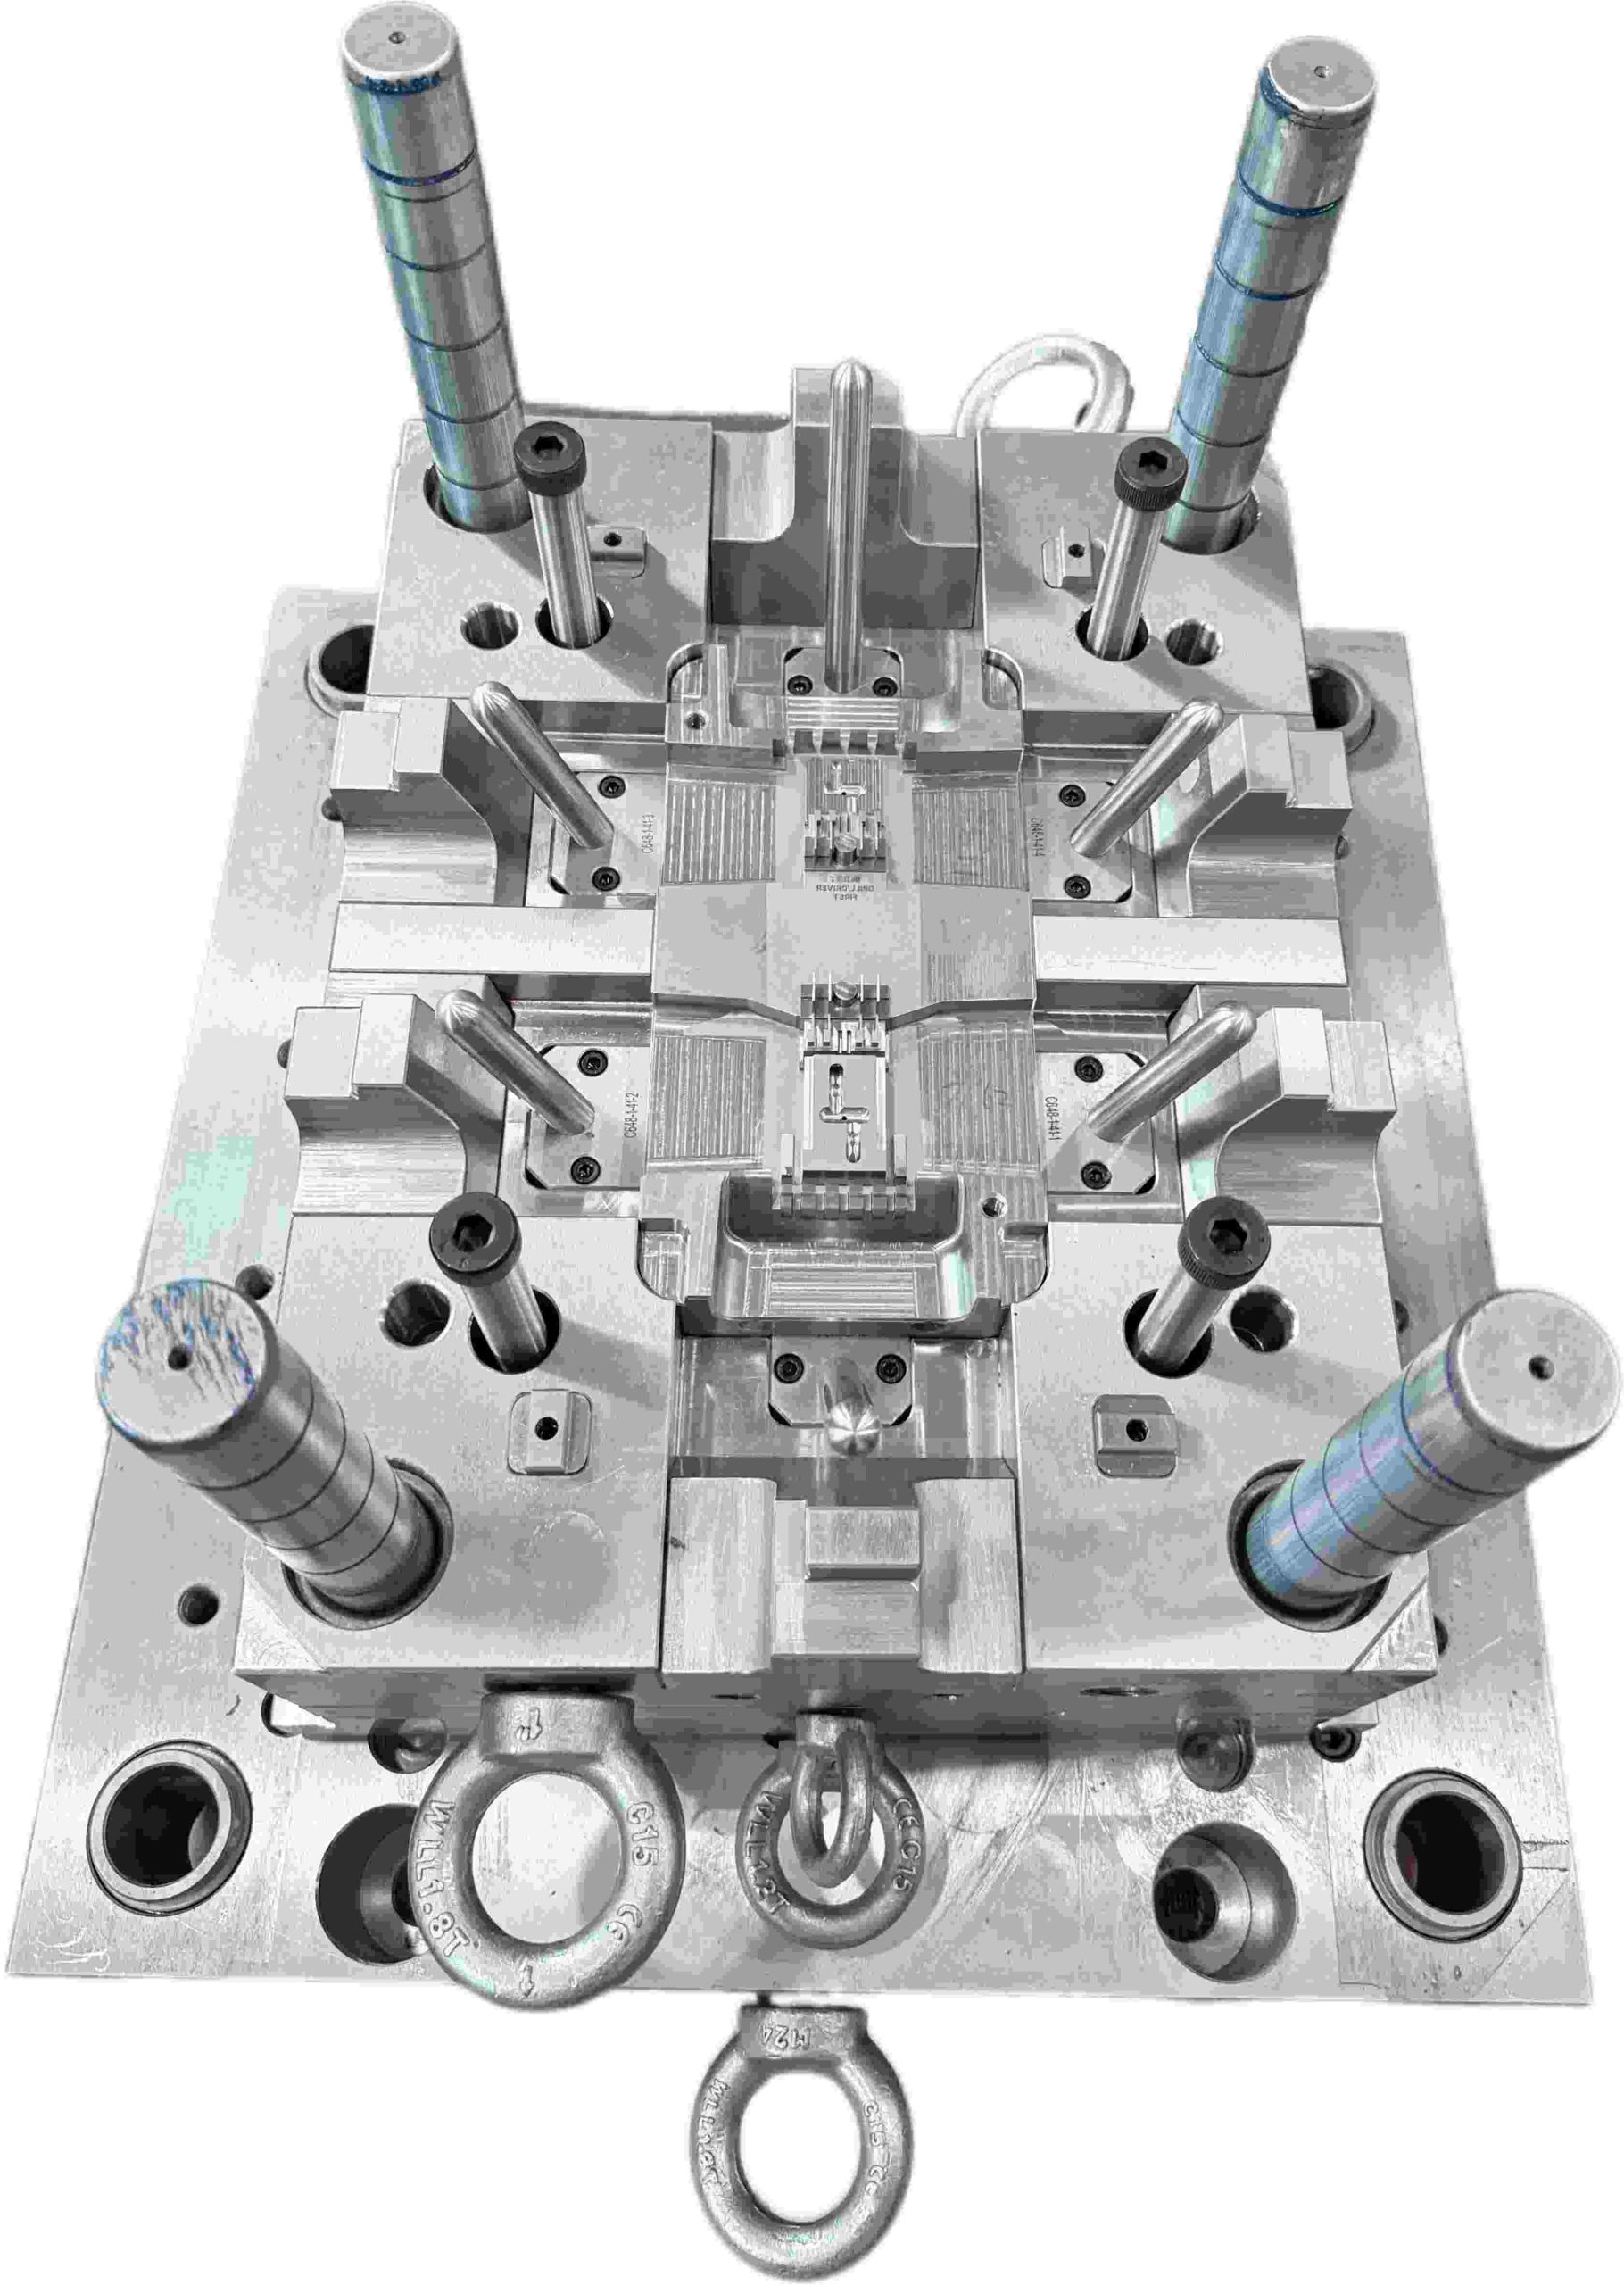
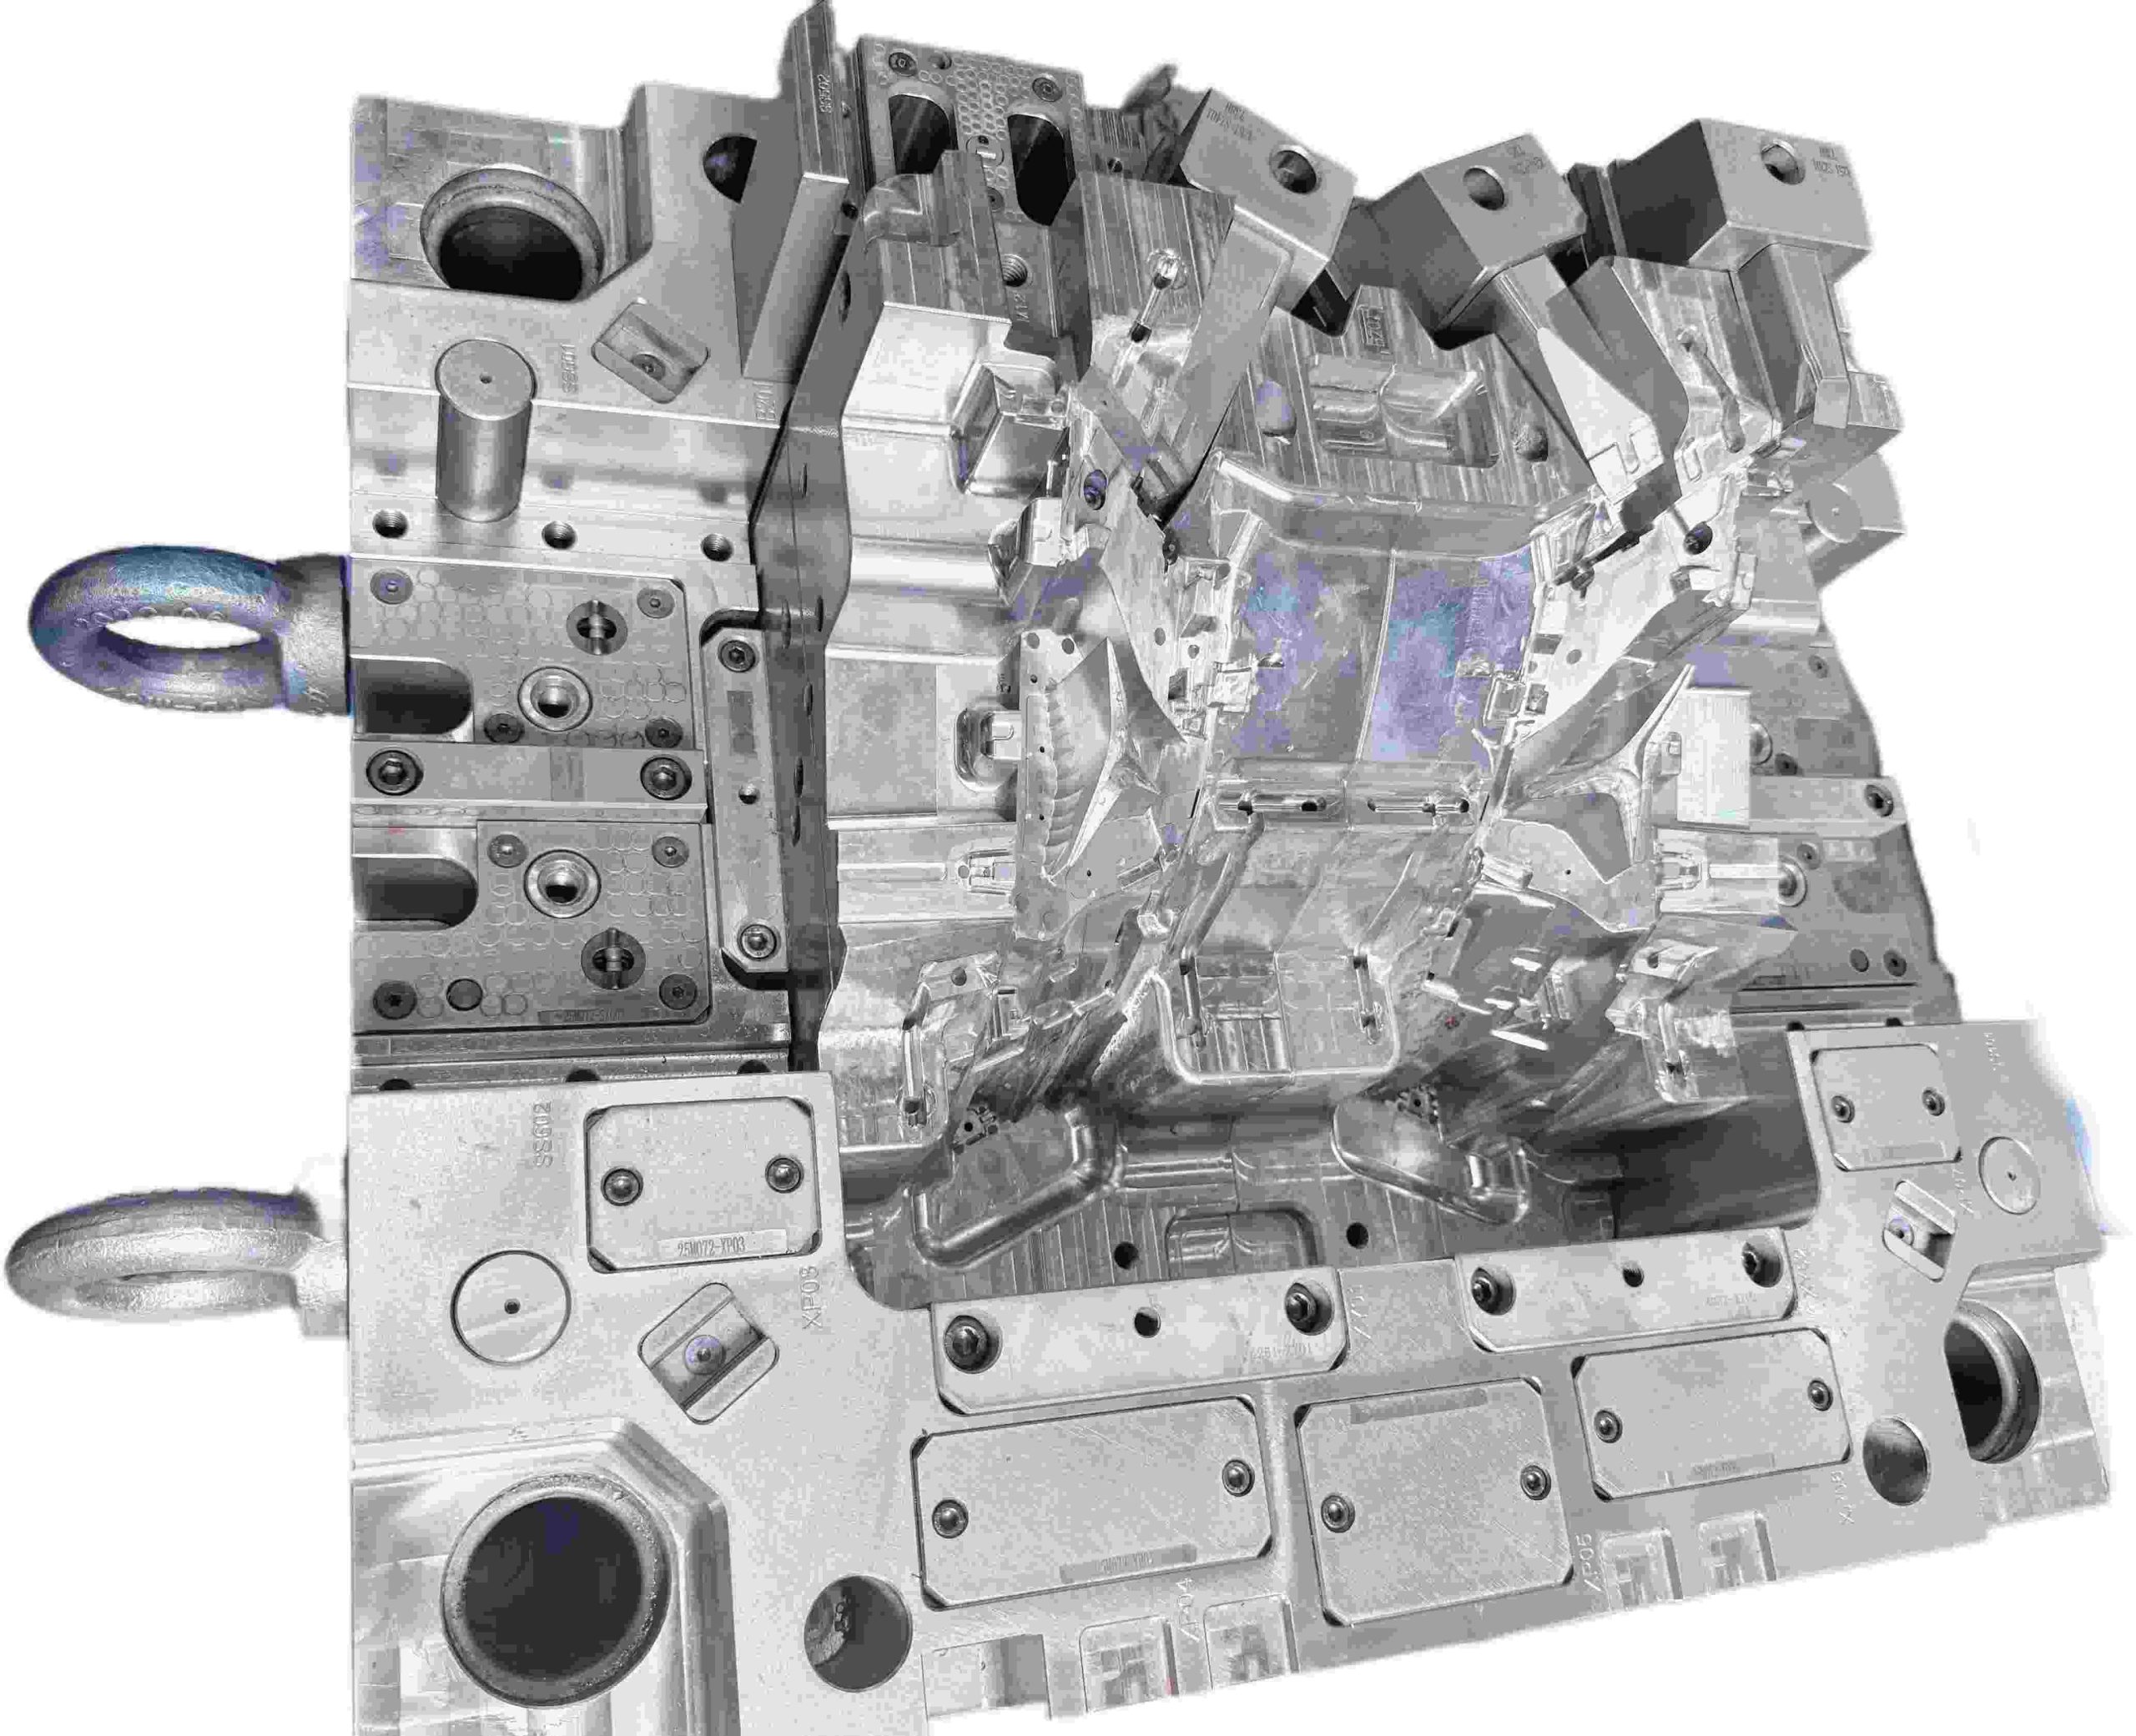
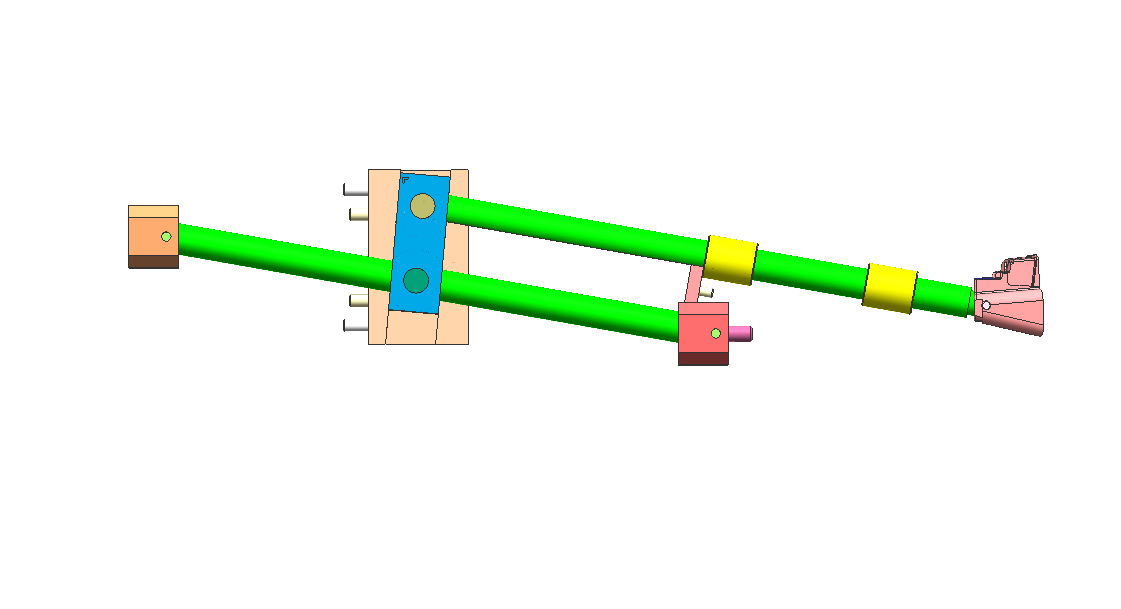
Conception des glissières de moules d'injection : structure, fonction et meilleures pratiques
Introduction
Les coulisseaux (également appelés noyaux latéraux) sont des composants de moule qui se déplacent perpendiculairement (ou en biais) à la direction d'ouverture du moule. Ils servent à former et à libérer les contre-dépouilles externes qui, autrement, empêcheraient l'éjection rectiligne. Pour les ingénieurs moulistes travaillant sur des pièces plastiques complexes, la compréhension de la conception des coulisseaux est essentielle.
Qu'est-ce qu'un coulisseau de moule ?
Un coulisseau est un composant mobile de moule qui se déplace latéralement lors de la course d'ouverture pour libérer les contre-dépouilles externes d'une pièce moulée. Il est généralement actionné par un axe angulaire (également appelé axe de came ou axe à corne) monté sur la partie fixe du moule.
Lors de l'ouverture du moule, l'axe angulaire pousse le coulisseau vers l'extérieur. Lors de la fermeture du moule, le coulisseau est ramené à sa position de travail, prêt pour le cycle suivant.
Pour garantir la stabilité pendant l'injection, le coulisseau est bloqué par un bloc de blocage. Sans ce support, la pression élevée dans la cavité (atteignant souvent plusieurs centaines de tonnes) peut déplacer le coulisseau, entraînant des bavures ou des variations dimensionnelles. Pour la fabrication de moules standard, on utilise couramment des aciers à outils pré-trempés comme le P20 pour le corps du coulisseau. Cependant, pour les applications à grand volume, le P20 seul ne suffit pas. Des inserts trempés ou des plaques d'usure sont souvent ajoutés dans les zones de contact important afin de réduire le frottement, d'améliorer la résistance à l'usure et d'allonger considérablement la durée de vie de l'outil.
Le coulisseau est guidé par des cales ou des piliers de guidage pour maintenir son alignement tout au long de sa course. La distance de course doit être au moins égale à la profondeur de la contre-dépouille, majorée d'une marge de sécurité de 2 à 3 mm.
Pourquoi les coulisseaux sont-ils nécessaires ?
De nombreuses pièces en plastique présentent des caractéristiques telles que des trous latéraux, des filetages, des crochets, des clips ou des géométries en retrait sur leurs surfaces externes. Ces caractéristiques créent des contre-dépouilles qui empêchent l'éjection en ligne droite du moule.
Sans un système d'action latérale comme un coulisseau, la pièce serait bloquée mécaniquement dans la cavité. Toute tentative d'éjection directe risquerait d'endommager la pièce, d'user le moule, voire d'arrêter la production. En pratique, le coulisseau agit comme un mécanisme de libération obligatoire : il doit se rétracter complètement avant l’activation du système d’éjection. Un mauvais timing peut entraîner le blocage de la pièce, provoquant des dommages et des arrêts de production imprévus.
Comparés aux éjecteurs internes, les coulisseaux sont généralement plus robustes pour les contre-dépouilles externes. Entraînés par le mouvement d’ouverture du moule et verrouillés mécaniquement contre la pression d’injection par le bloc de talon, ils sont adaptés aux environnements de production à grand volume nécessitant des millions de cycles.
Un avantage clé des coulisseaux réside dans leur capacité de répartition de la charge. Le bloc de talon et les surfaces de guidage répartissent les forces d’injection sur une plus grande surface de contact, réduisant ainsi la déformation et l’usure par rapport aux systèmes de levage mécaniques plus petits.
Problèmes courants des coulisseaux
1. Grippage et blocage : Le grippage des coulisseaux se produit lorsque les surfaces de glissement fonctionnent avec une lubrification insuffisante, entraînant une accumulation de métal et un blocage final. Ce phénomène est particulièrement fréquent dans les moules utilisant des matériaux abrasifs tels que le nylon chargé de verre ou le polypropylène chargé de minéraux. Une fois amorcé, le grippage a tendance à s’accélérer rapidement et peut finalement provoquer le blocage du coulisseau et le démontage du moule pour réparation.
2. Charge excessive sur l'axe angulaire : Lorsque l'angle de l'axe angulaire dépasse environ 25°, la charge latérale augmente considérablement. Ceci accélère l'usure des cales, des blocs de talon et de l'axe angulaire lui-même.
Des angles plus prononcés augmentent également la force nécessaire lors de l'ouverture du moule, ce qui engendre des contraintes supplémentaires sur l'ensemble du mécanisme au fil du temps.
3. Bavures sur les surfaces d'arrêt : La présence de bavures sur la face d'arrêt du coulisseau indique un mauvais positionnement. Les causes fréquentes incluent des blocs de talon usés, une précharge insuffisante ou une légère déformation de l'axe angulaire.
Si ce problème n'est pas traité rapidement, l'accumulation de bavures peut accélérer l'usure du coulisseau et des surfaces d'accouplement.
4. Défaut de synchronisation : Une synchronisation incorrecte du coulisseau peut entraîner des défauts importants. Si le coulisseau se déplace avant que la pièce ne soit complètement libérée, il peut entraîner la pièce latéralement, ce qui provoque des rayures, des déformations ou des distorsions dimensionnelles.
Solutions de conception et bonnes pratiques
Maintenir la géométrie de l'axe angulaire entre 15° et 22° afin d'équilibrer les forces et de réduire la charge latérale. Usiner des rainures de lubrification dédiées dans les plaques d'usure et veiller à ce que la graisse atteigne toutes les interfaces de glissement.
Utiliser des matériaux autolubrifiants tels que le bronze AMPCO, les bagues Oilite ou les inserts d'usure composites.
Mettre en œuvre un système de retour à ressort pour garantir une fermeture complète du coulisseau avant la fermeture du moule.
Concevoir des angles de verrouillage du bloc de talon 2 à 3° plus prononcés que l'angle de la goupille d'angle pour assurer une fermeture sécurisée sous pression.
Ajouter un système de retour anticipé des éjecteurs afin que les goupilles d'éjection se rétractent avant le mouvement du coulisseau et évitent ainsi toute interférence mécanique.
Conseil de pro : Un coulisseau bien conçu doit offrir les sensations d'un mécanisme de précision : un mouvement fluide, un verrouillage précis et une constance irréprochable du premier au dernier tir.
La performance est rarement le fruit de la complexité. Elle repose sur des principes fondamentaux : le choix des matériaux d'usure appropriés, une lubrification optimale et la conception d'un système de retour mécanique fiable.Lorsque ces principes de base sont respectés, le moule fonctionne avec un minimum d'intervention.
Cependant, le coulisseau le plus économique est souvent celui qu'on ne fabrique jamais. Il est toujours judicieux d'évaluer si une petite modification de la conception d'une pièce peut éliminer complètement le contre-dépouille. Simplifier la géométrie permet généralement de réduire les coûts, d'améliorer la fiabilité et de faciliter la maintenance.
EN SAVOIR PLUS
Temps de cycle du moule : le levier de profit caché du moulage par injection
Si vous avez déjà passé du temps dans un atelier de moulage par injection, vous aurez vite remarqué une chose : tout le monde parle de qualité, mais le véritable enjeu, c’est le temps.
Le temps de cycle n’est pas qu’un simple chiffre sur l’écran de la machine ; il est directement lié aux coûts, à la productivité et, au final, à votre marge bénéficiaire. Dans de nombreux projets, le temps de cycle est souvent négligé au début. Lorsqu’il devient un problème, la conception du moule est déjà finalisée et les modifications sont coûteuses.
Dans cet article, nous allons détailler ce que signifie concrètement le temps de cycle en atelier, les facteurs qui ont tendance à le ralentir et les pistes d’amélioration réalistes, sans compromettre la qualité des pièces.
Qu’est-ce que le temps de cycle du moule ?
Le temps de cycle du moule correspond au temps total nécessaire pour réaliser un cycle complet de moulage par injection. Ce cycle comprend :
Fermeture du moule
Injection (remplissage)
Maintien et accumulation
Refroidissement
Ouverture du moule
Éjection de la pièce
En résumé : le temps de cycle est le temps écoulé entre la fermeture d’un moule et l’injection suivante. À première vue, 25 secondes contre 30 secondes ne semblent pas alarmantes. Mais en production continue, la différence s'accumule rapidement. Au fil du temps, le nombre de cycles diminue, ce qui se traduit directement par une baisse de la production pour les mêmes ressources.
C'est là que le temps de cycle devient crucial, non pas sur le papier, mais sur vos résultats financiers.
Le coût machine par pièce augmente.
Les coûts de main-d'œuvre et d'énergie augmentent.
Les délais de livraison s'allongent.
C'est pourquoi les concepteurs de moules expérimentés ne se contentent pas de concevoir des « pièces de qualité », ils conçoivent des cycles efficaces.
Facteurs clés influençant le temps de cycle du moule
Le temps de cycle n'est pas déterminé par un seul paramètre. Il résulte de multiples décisions de conception et de processus.
1. Temps de refroidissement (le facteur le plus important)
Le refroidissement représente souvent 60 à 80 % du temps de cycle total.
Facteurs d'influence :
Épaisseur de la pièce
Type de matériau
Température du moule
Conception du canal de refroidissement
Les pièces plus épaisses conservent la chaleur plus longtemps. Une mauvaise conception du système de refroidissement aggrave le problème. � Pour des cycles plus rapides, privilégiez un meilleur refroidissement plutôt qu'une injection plus rapide.
2. Conception des pièces
Les choix de conception effectués en amont peuvent influencer considérablement le temps de cycle.
Facteurs clés de conception :
Épaisseur de paroi uniforme → refroidissement plus rapide
Éviter les nervures/bosses épaisses → concentration de chaleur réduite
Angles de dépouille appropriés → éjection plus rapide
Une mauvaise conception entraîne un refroidissement plus long et des problèmes d'éjection.
3. Choix des matériaux
Les différents plastiques se comportent différemment.
Par exemple :
PP/PE → refroidissement plus rapide
PC/ABS → refroidissement plus lent
Matériaux chargés de fibres de verre → nécessitent un contrôle plus précis
Choisir un matériau sans tenir compte du temps de cycle est une erreur fréquente.
4. Conception et ingénierie du moule
Un moule bien conçu peut réduire considérablement le temps de cycle. Éléments critiques :
Canaux de refroidissement optimisés (refroidissement conforme si possible)
Emplacement correct du point d'injection
Ventilation efficace
Système d'alimentation équilibré
Un moule moyen « fonctionne ». Un moule bien conçu génère des profits plus rapidement.
5. Paramètres machine
Même avec un moule parfait, de mauvais réglages machine peuvent ralentir considérablement la production.
Paramètres clés :
Vitesse d'injection
Pression/temps de maintien
Temps de refroidissement
Vitesse d'ouverture/fermeture du système de serrage
Un réglage précis est important, mais ne peut corriger une mauvaise conception.
Méthodes pratiques pour réduire le temps de cycle du moule
Voici ce qui fonctionne réellement en production :
Optimiser d'abord le système de refroidissement
Ajouter des canaux de refroidissement près des points chauds
Utiliser des chicanes ou des aérateurs si nécessaire
Envisager un refroidissement conforme pour les pièces complexes
� C'est la solution qui offre le meilleur retour sur investissement.
Réduire l'épaisseur des parois (si possible)
Même une légère réduction peut diminuer significativement le temps de refroidissement. Exemple : Une épaisseur de 3,0 mm réduite à 2,5 mm peut diminuer sensiblement le temps de refroidissement.
Il est cependant essentiel de toujours trouver un équilibre entre résistance et fonctionnalité.
Améliorer la ventilation du moule
Une meilleure ventilation permet :
Un remplissage plus rapide
Une réduction des marques de brûlure
Une pression d’injection plus faible
Ce qui raccourcit indirectement le temps de cycle.
Utiliser des matériaux de moule haute performance
Inserts en cuivre-béryllium (pour les zones chaudes)
Accroître la conductivité thermique
Ces matériaux contribuent à une dissipation thermique plus rapide.
Automatiser autant que possible
Éjection robotisée des pièces
Éjection plus rapide et plus régulière
La manipulation manuelle ralentit les cycles plus qu’on ne le pense.
Erreurs courantes qui augmentent le temps de cycle
Soyons honnêtes : ces erreurs sont fréquentes :
Surdimensionner l’épaisseur des parois « par sécurité »
Négliger le refroidissement lors de la conception du moule
Mauvais positionnement des points d’injection entraînant un remplissage irrégulier
Définir un temps de refroidissement excessif par sécurité
Tenter de corriger les problèmes de conception avec les paramètres de la machine
Ces décisions grignotent vos marges sans que vous vous en rendiez compte.
Temps de cycle vs. Qualité des pièces : Trouver le juste équilibre
Réduire le temps de cycle de manière trop drastique peut s'avérer contre-productif.
Vous pourriez observer :
Déformation
Retraits de matière
Contraintes internes
Instabilité dimensionnelle
L'objectif n'est pas le cycle le plus court, mais le cycle optimal.
Conclusion
Le temps de cycle du moule est l'un des facteurs les plus sous-estimés de la rentabilité du moulage par injection.
Il ne s'agit pas simplement d'un paramètre de traitement, mais du résultat de :
Une conception intelligente de la pièce
Une ingénierie de moule réfléchie
Un choix judicieux des matériaux
Un processus maîtrisé
En prenant en compte le temps de cycle dès la conception de la pièce et du moule, vous vous donnez une marge de manœuvre bien plus importante pour l'optimisation. Une fois l'outillage terminé, l'améliorer devient beaucoup plus difficile et coûteux.
FAQQu’est-ce qu’un « bon » temps de cycle en moulage par injection ? R : Il n’existe pas de valeur de référence unique. Cela dépend de la pièce : sa taille, sa géométrie et son matériau. Les pièces simples à parois fines peuvent être moulées assez rapidement, souvent en moins de 20 secondes. Les pièces plus grandes ou plus épaisses nécessitent généralement plus de temps, parfois 40 secondes ou plus.
Q : Qu’est-ce qui influe le plus sur le temps de refroidissement ? R : Le plus souvent, il s’agit de l’épaisseur de la paroi et de la configuration du système de refroidissement à l’intérieur du moule. Les zones plus épaisses mettent plus de temps à dissiper la chaleur, et si les canaux de refroidissement ne sont pas bien positionnés, ce délai est encore plus important.
Q : Pourquoi mon temps de cycle est-il trop long ? R : Les causes fréquentes incluent les pièces épaisses, une conception de refroidissement inadéquate, des réglages machine trop conservateurs ou une configuration de moule inefficace.
EN SAVOIR PLUS
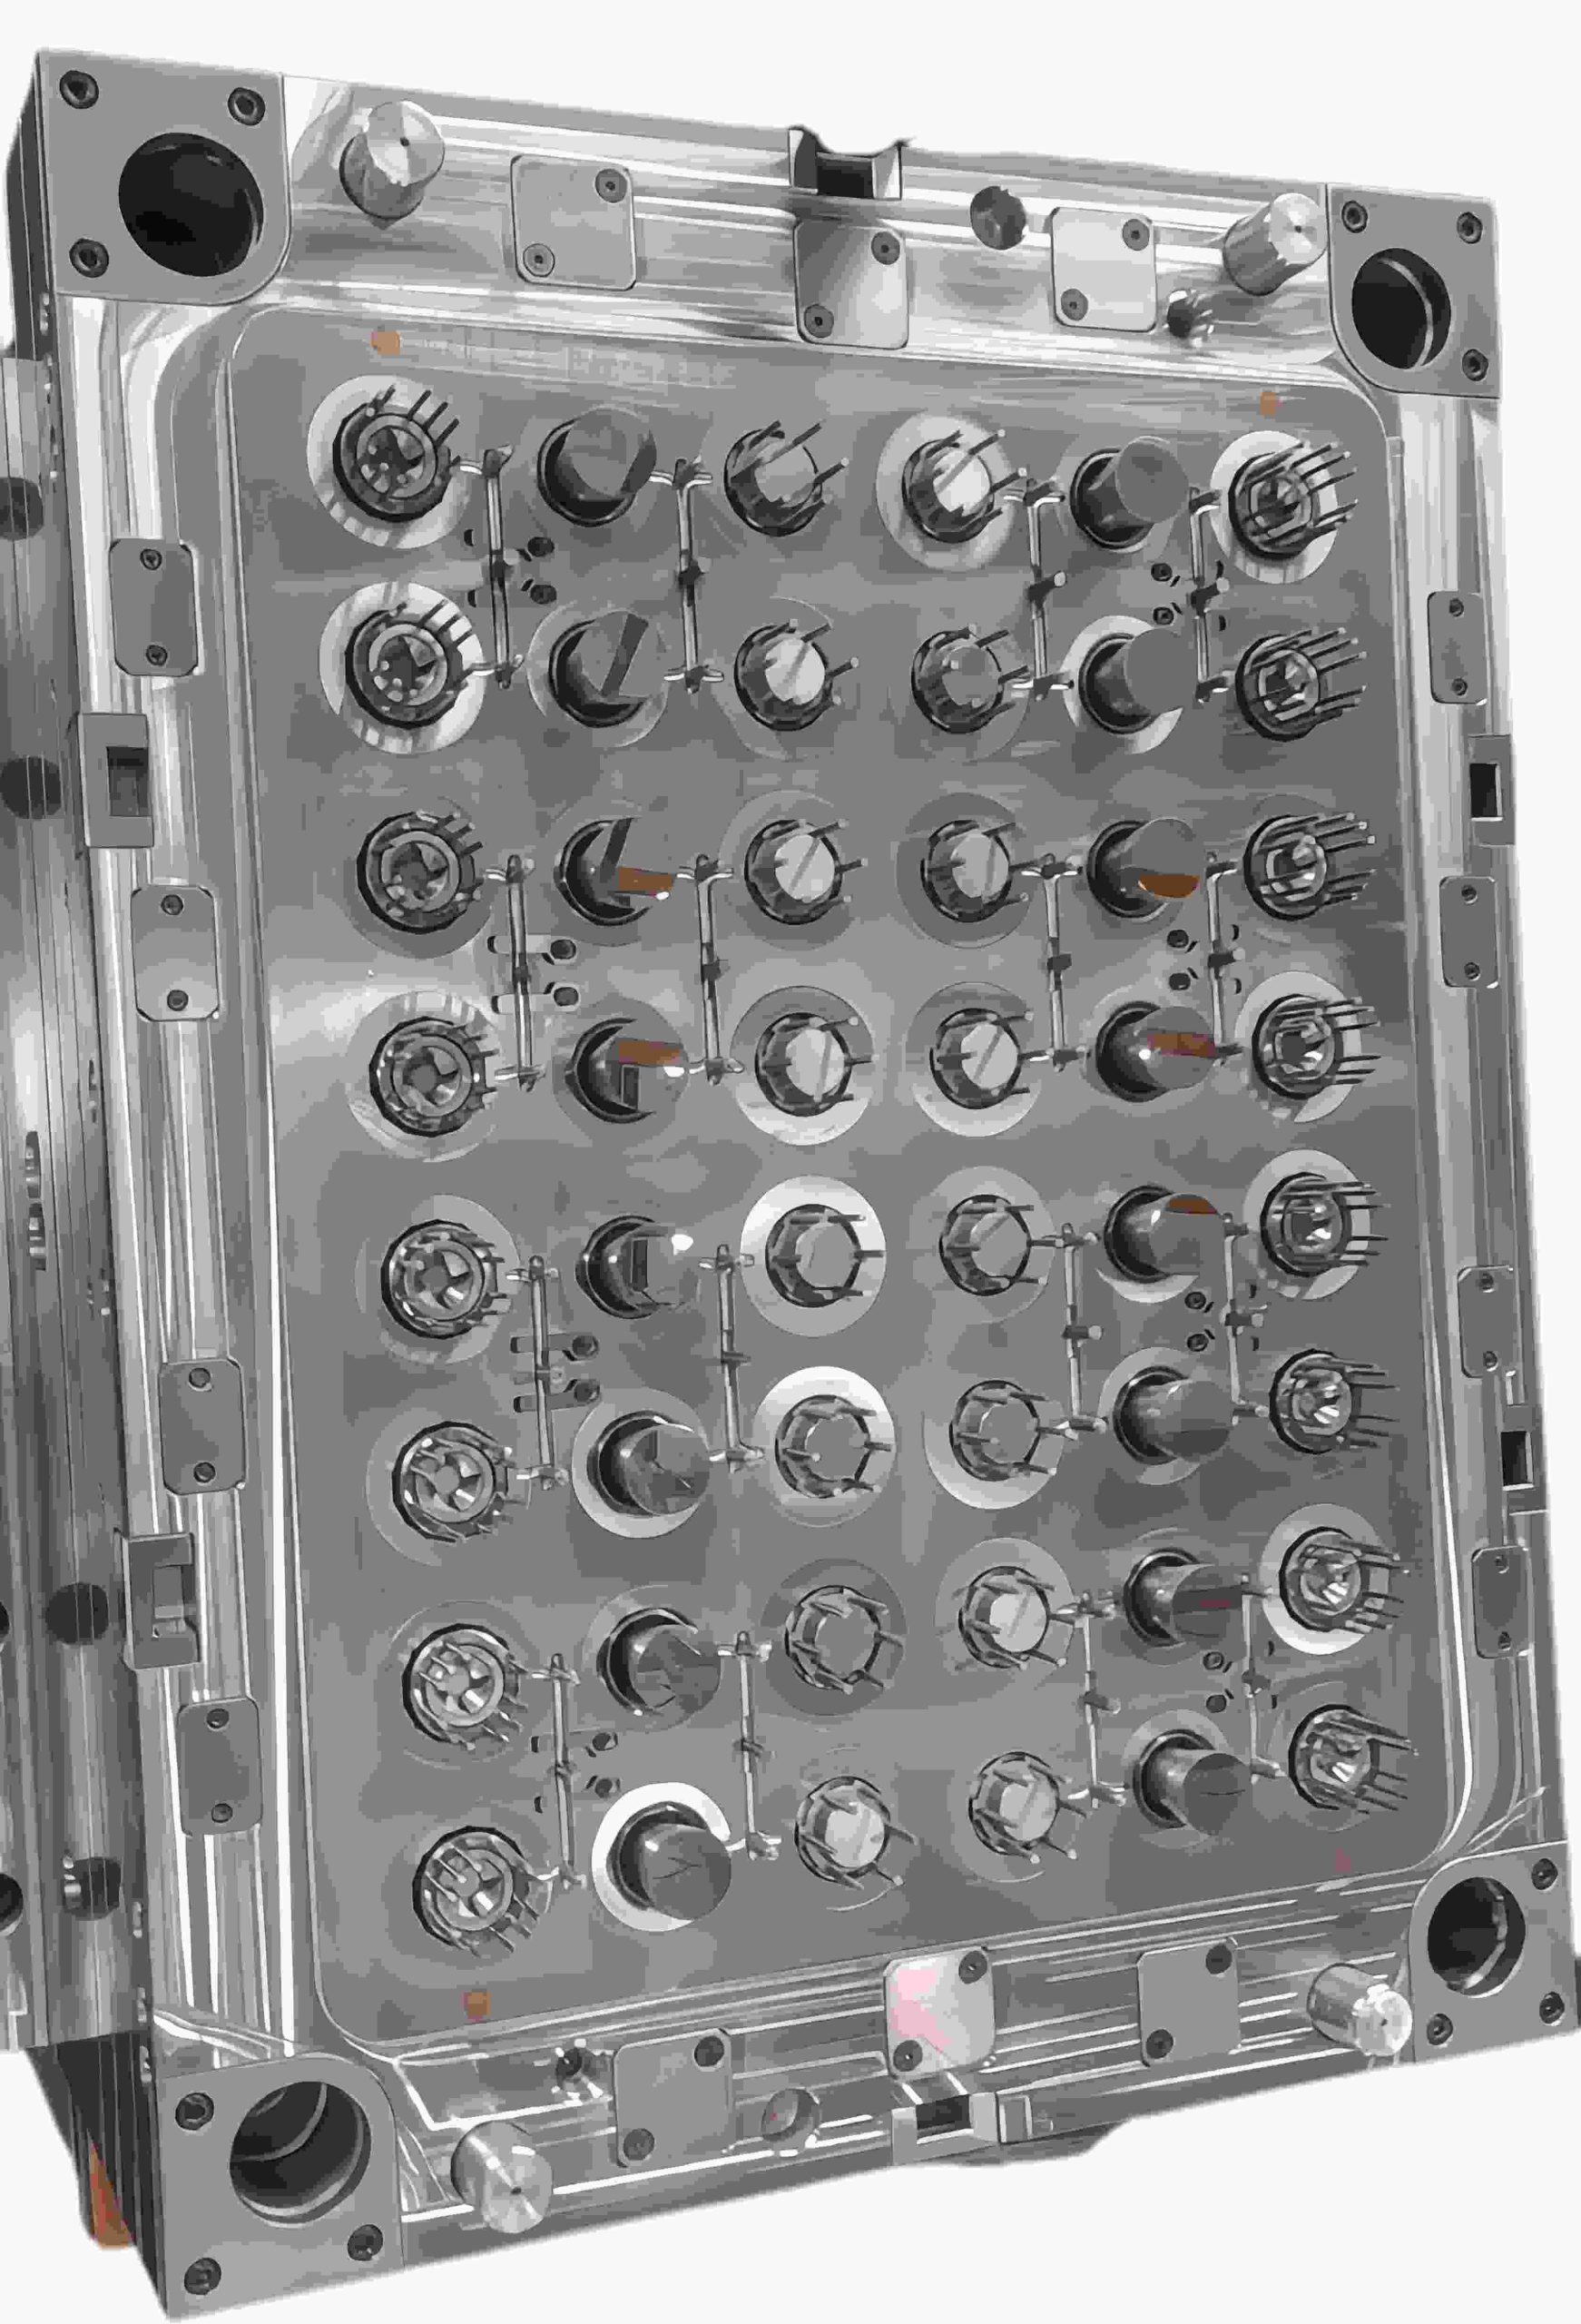
Pourquoi les contre-dépouilles internes constituent un problème sérieux en moulage par injection
Soyons honnêtes : les contre-dépouilles internes sont un véritable cauchemar pour les concepteurs de moules. Contrairement aux éléments externes, elles ne peuvent être gérées avec des coulisseaux standards.
Si la géométrie n’est pas correctement conçue, les conséquences sont graves :
Pièces collées définitivement au noyau
Dommages ou éraflures de surface
Rupture de la tige de levage
Arrêts de production coûteux
Pour les clips ou bossages internes, le dispositif de levage de moule s’avère la solution mécanique la plus fiable.
Fonctionnement d’un dispositif de levage de moule : le principe du « pas latéral »
Un dispositif de levage de moule ne fonctionne pas comme un coulisseau traditionnel. Il est actionné par le système d’éjection.
Pendant le cycle d’éjection :
Le dispositif de levage se déplace vers le haut avec la plaque d’éjection
Simultanément, il suit une trajectoire oblique
Ceci crée un mouvement combiné vertical et latéral
Ce mouvement latéral, souvent appelé « pas latéral », permet de libérer la contre-dépouille.
Règle de conception essentielle
Prévoir systématiquement une course supplémentaire d’au moins 2 mm au-delà de la profondeur de la contre-dépouille. Tout angle inférieur augmente le risque de :
Marques de frottement
Rayures superficielles
Libération incomplète
Erreur la plus fréquente : Angle de levage incorrect
L’une des erreurs de conception les plus courantes consiste à concevoir un angle de levage trop prononcé pour gagner de la place.
Angle de levage recommandé
Plage optimale : 5° – 11°
Zone à risque
Au-delà de 15° : Risque élevé de blocage et de défaillance
À des angles plus prononcés :
La force latérale augmente considérablement
Le mouvement vertical est restreint
Le levage peut se bloquer ou la tige peut se tordre
Quand les angles prononcés sont inévitables
Si votre conception impose un angle plus important, envisagez :
Une base de levage articulée
Une conception de levage à rainure en T
Ces solutions permettent de réduire les contraintes sur la tige de levage et d’améliorer la durabilité.
Choix des matériaux : Prévenir le grippage et l’usure
Les systèmes de levage fonctionnent sous :
Haute pression
Haute température
Contact métal-métal continu
Un mauvais choix de matériau peut entraîner un grippage, où les surfaces se soudent entre elles et provoquent une défaillance. Matériaux recommandés
Acier à outils H13
Acier pré-trempé 718H
Recommandations de dureté
Objectif : 50–54 HRC
Le poussoir doit être légèrement plus dur que le noyau.
Option haute performance
Pour des temps de cycle plus courts :
Utiliser des inserts en cuivre-béryllium
Avantages :
Dissipation thermique plus rapide
Temps de refroidissement réduit
Efficacité de production accrue
3 conseils d’experts pour une conception de poussoir à toute épreuve
1. Ajouter un guide de queue
Toujours soutenir l’extrémité inférieure de la tige du poussoir avec un bloc de guidage.
Sans support :
La tige vibre.
Les vibrations entraînent des bavures et une usure prématurée.
2. Utiliser des rainures de lubrification
Le frottement est l’ennemi de tout composant mobile.
Meilleure pratique :
Ajouter des rainures de lubrification aux surfaces de glissement.
Exception :
Moules médicaux → utiliser un revêtement DLC au lieu d’huile.
3. Contrôler l’ajustement de la ligne de joint (PL)
La surface d’arrêt du poussoir doit correspondre parfaitement à celle du noyau. Même un jeu de 0,01 mm peut entraîner :
Des lignes de contrôle visibles
Une mauvaise qualité de surface
Élévateur ou coulisseau : lequel choisir ?
Le choix entre un élévateur et un coulisseau dépend entièrement de l’emplacement de la contre-dépouille.
Utilisez un coulisseau lorsque :
La contre-dépouille est externe
L’espace est suffisant pour un mouvement latéral
Utilisez un élévateur lorsque :
La contre-dépouille est interne
L’espace est limité
Les systèmes hydrauliques ne sont pas envisageables
Conclusion
Un élévateur de moule est l’une des solutions les plus efficaces pour les contre-dépouilles internes, à condition d’être correctement conçu.
En contrôlant :
L’angle
Le jeu de course
Le choix du matériau
Le support structurel
Vous pouvez transformer un élément à haut risque en un mécanisme fiable et reproductible, garantissant le bon fonctionnement de votre ligne de production.
Besoin d’aide pour optimiser la conception de votre moule ou résoudre des contre-dépouilles complexes ? Rendez-vous sur www.xinkeymould.com pour bénéficier d’une assistance experte et améliorer les performances de votre outillage.
EN SAVOIR PLUS


