为什么我们现在不用 Moldflow 就不能切割钢材了
说实话,在注塑成型领域,“事后补救”简直是噩梦。如果等到模具装上注塑机才发现严重的缩痕或翘曲,那就已经输了。重新切割钢材的成本和运输延误会严重影响项目的投资回报率。
正因如此,Moldflow 对我们来说不仅仅是一个“花哨的工具”,它更是我们的保障。以下是它对任何严肃项目都不可或缺的原因。
1. 缺陷不再“靠猜测”
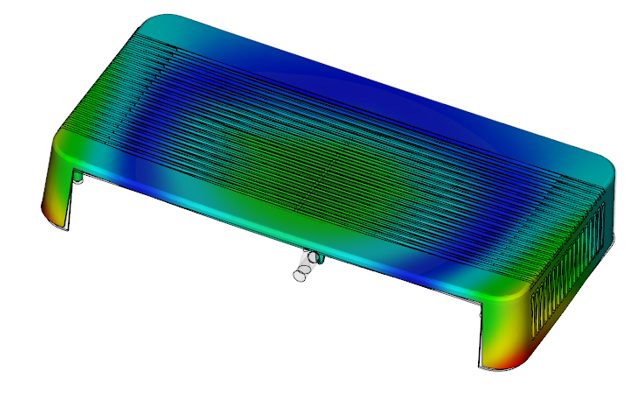
我们都遇到过这种情况:零件在 CAD 模型上看起来完美无瑕,但实物样品却在可见表面上出现了一条难看的焊缝。Moldflow 让我们在接触模具之前就能“看到看不见的缺陷”。我们指的是在设计仍处于数字化阶段时,就发现气穴、短射和缩痕。修复一个 3D 模型只需几分钟;而修复一个硬化钢模具则需要数周时间(以及数千美元)。
2. 精准实现“T0”试验
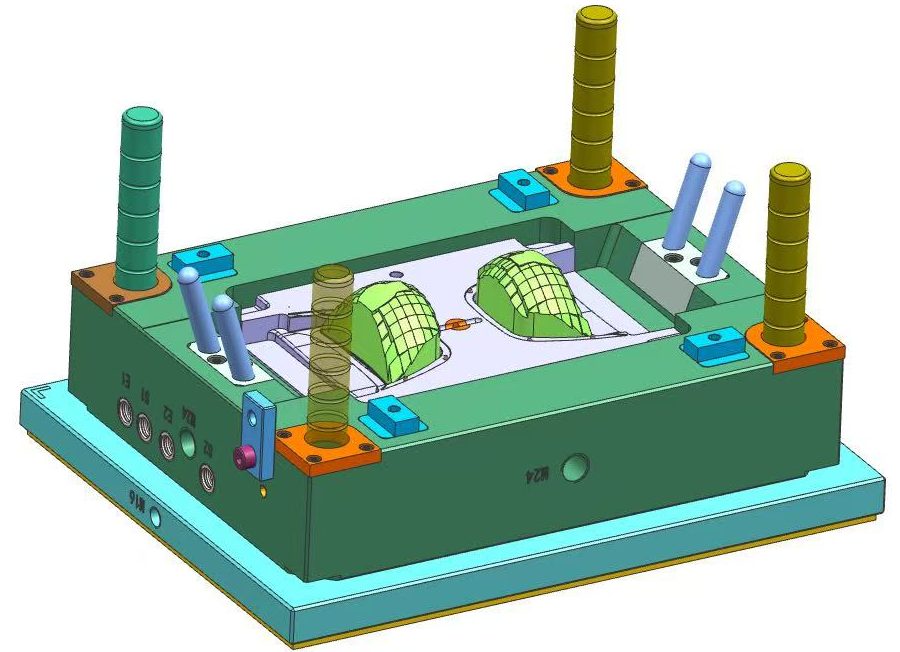
我们的目标始终是实现完美的 T0 试验。要达到这个目标,仅仅对浇口位置的准确估计是不够的。我们使用仿真来测试不同的场景:如果将浇口移动 5 毫米会怎样?冷却布局如何影响循环时间?通过尽早找到最佳的“工艺窗口”,我们可以帮助客户避免在模具取样过程中陷入无休止的试错循环。
3. 确保“钢材安全”
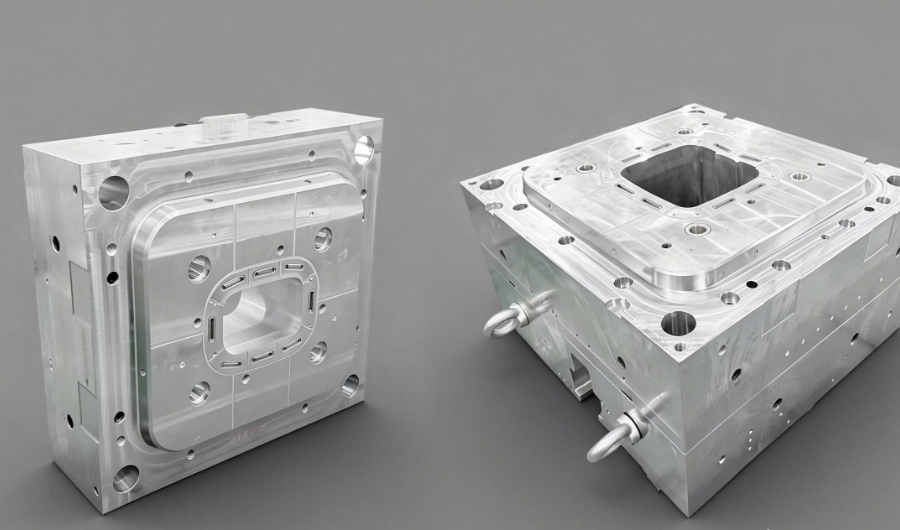
预测收缩和翘曲不仅仅是数学运算——它关乎“钢材安全”。最糟糕的情况莫过于拿到第一批样品后才发现零件严重变形,尺寸完全不合格,而你已经把金属全部切掉了。Moldflow 允许我们提前设置这些偏移量。它能避免你在项目进行到一半时发现模具“彻底损坏”,需要昂贵的焊接或完全重建才能获得可用尺寸的窘境。
4. 注塑一致性
任何人都有可能运气好,做出一个不错的首件样品。但要保证 10 万件产品的一致性?这才是真正的考验。如果你的冷却不均匀,或者填充不完美平衡,那么在模具的整个生产周期内,你都将疲于奔命地“追逐尺寸误差”。Moldflow 通过确保每个型腔的行为完全一致,帮助我们解决这些问题。无论是第一次注塑还是第 50,000 次注塑,零件都必须装配到位——尤其是在高精度装配中,几微米的误差就可能决定成败。
5. 数据胜于“直觉”
我们都曾参加过这样的会议:三个人对浇口的位置各执己见,各执己见。经验固然重要,但物理定律不会凭感觉行事。Moldflow 基于实际的压力梯度和热曲线,为我们提供了量化的路线图。它将讨论的焦点从主观的“我觉得这或许可行”转移到了客观的“数据表明这行得通”。它消除了猜测,让我们能够专注于工程设计。
归根结底,Moldflow 是您降低风险的终极策略。关键在于缩短那些漫长的开发周期,确保当我们最终按下“启动周期”按钮时,我们不是抱着侥幸心理,祈祷一切顺利。我们不会拿您的预算冒险——我们执行的是一个已经在虚拟环境中验证过的方案。
阅读更多