Low-Volume Injection Molding: On-Demand Production & Fast Tooling
23rd October 2026


 author
A plastic part can look simple on screen and become expensive once steel cutting starts. A hidden undercut may need a slider. One thick wall can cause a sink mark. A gate moved a few millimeters can change the weld line and warpage. That is why plastic injection mold tooling starts before CNC work.
Plastic injection mold tooling covers the tool and the work needed to make it production-ready, including injection molding DFM, mold flow analysis, injection mold design, machining, trials, and injection mold validation. Good injection molding tooling gives you repeatable parts and fewer surprises after launch.

A plastic injection mold is a matched metal tool that shapes molten resin under pressure. The cavity forms the outside of the part, while the core forms its inside. The wider term plastic injection tooling also covers the decisions that make the tool run reliably.
The injection mold structure must feed resin, vent air, remove heat, and eject the part cleanly. It may run a few hundred prototype shots or millions of production cycles. Expected volume should guide the specification.
During the injection molding cycle, molten resin enters through the sprue, mold runner system, and gate. Holding pressure compensates for shrinkage. The injection mold cooling system removes heat, the mold opens at the injection mold parting line, and the injection mold ejection system releases the part.
Poor injection mold venting can leave burns or short shots. Uneven cooling creates injection molding warpage and longer cycles. An unbalanced runner may make one cavity pass inspection while the next fails.
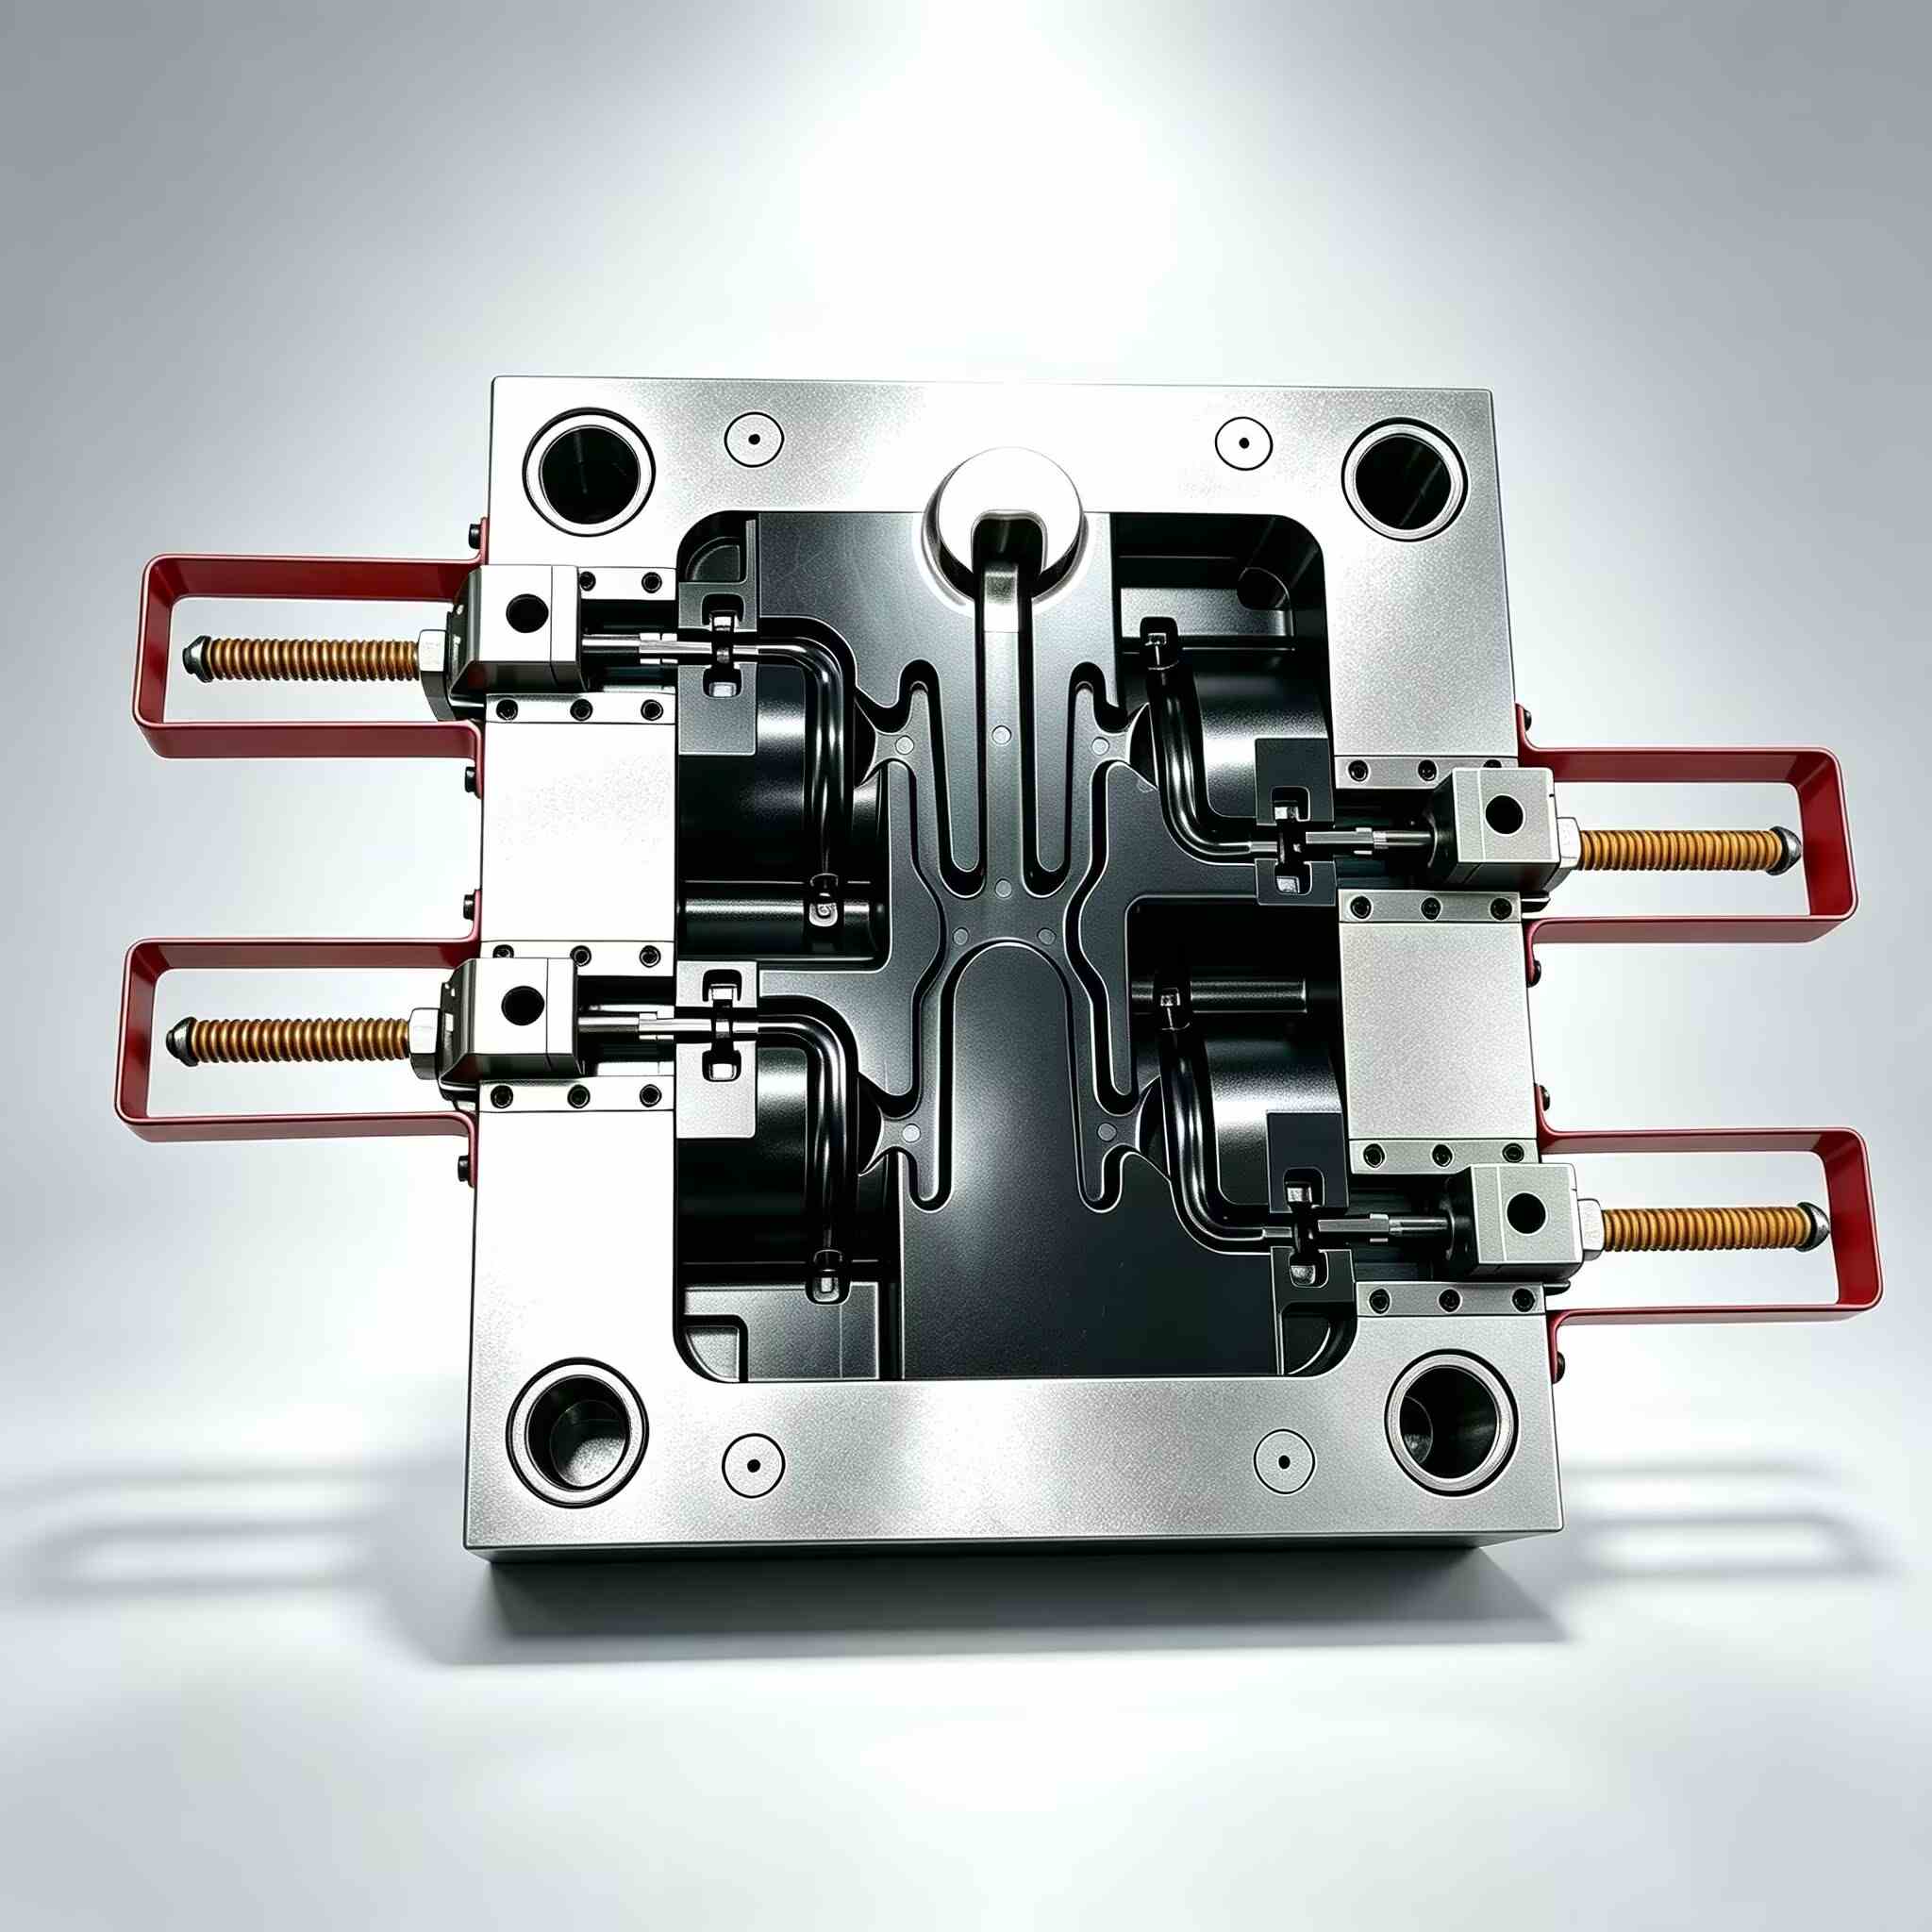
Core and cavity inserts define geometry and finish. A mold base supports them, while guide pins keep both halves aligned. Gates and runners control flow. Cooling channels manage temperature. Vents release air. Pins, sleeves, lifters, and stripper plates handle ejection.
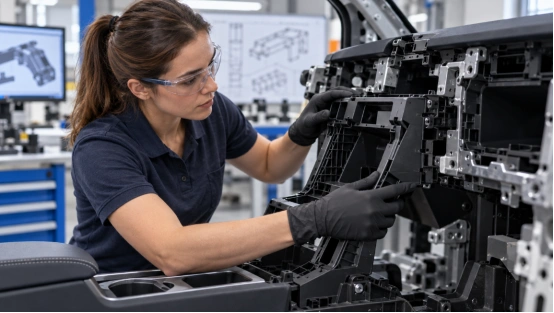
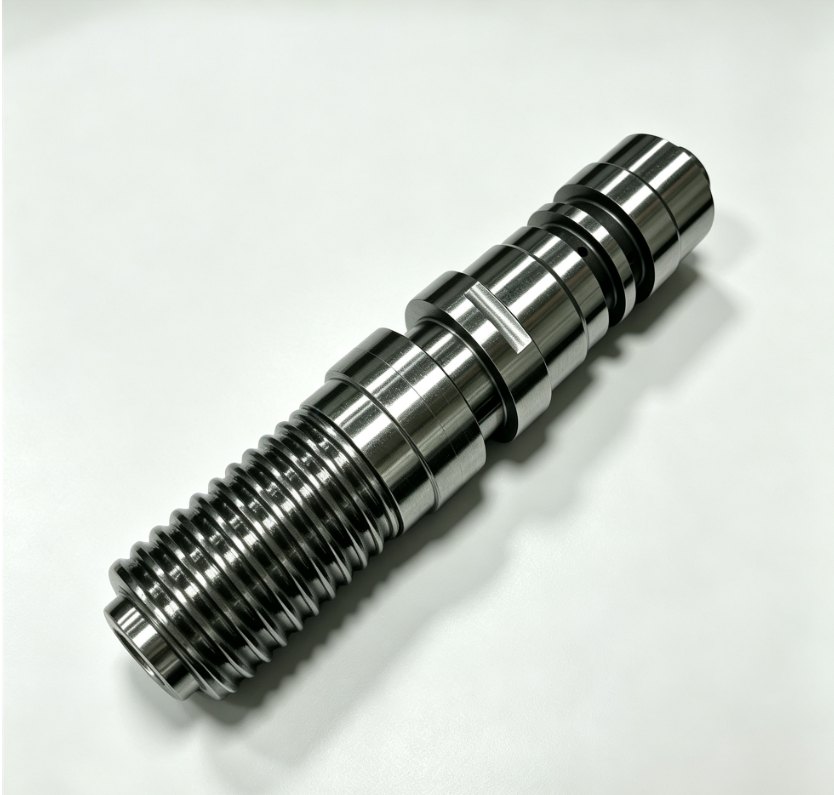
Complex injection mold components solve specific features. Slides clear external undercuts, while lifters handle internal injection molding undercuts. A rotating core can form and release a threaded cap automatically. Replaceable wear parts simplify injection mold maintenance.
Types of injection molds should match volume, resin, shape, and budget. A prototype injection mold suits low-volume injection molding. A production injection mold uses stronger material for high-volume injection molding and a longer injection mold lifespan.
A single-cavity injection mold makes one part per cycle. A multi-cavity injection mold raises output but needs balanced flow and cooling. A family injection mold makes related parts in one shot, though unequal sizes complicate control.
A cold runner mold ejects solid runner material each cycle and handles color changes well. A hot runner mold keeps resin molten in heated channels, reducing scrap and cycle time. High volume can repay its higher cost.
A two-shot injection mold forms two materials in one cycle. Insert molding tooling places a component in the cavity. Overmolding tooling adds material around a substrate. An unscrewing injection mold uses gears, hydraulics, or motors to release threads.

Injection mold manufacturing starts with design for manufacturability. Engineers review injection molding wall thickness, injection molding draft angle, tolerances, undercuts, parting lines, and finish. A part may look fine in CAD yet fail to eject.
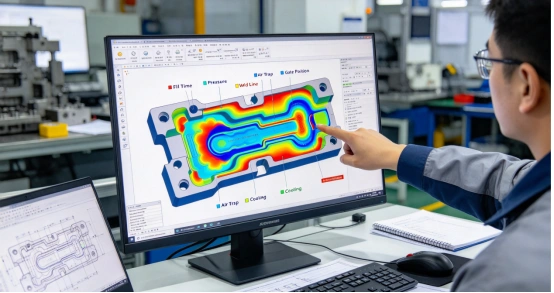
Mold flow analysis checks filling, weld lines, air traps, shrinkage, and injection molding warpage. Engineers can revise injection mold gate design and injection mold cooling design before changes become costly.
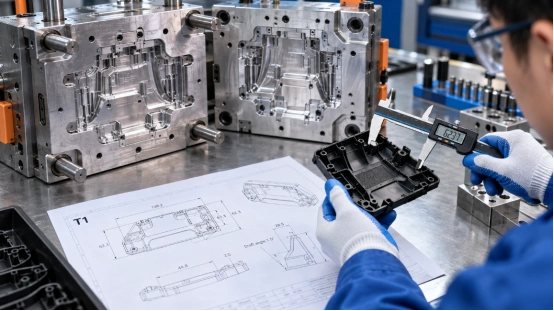
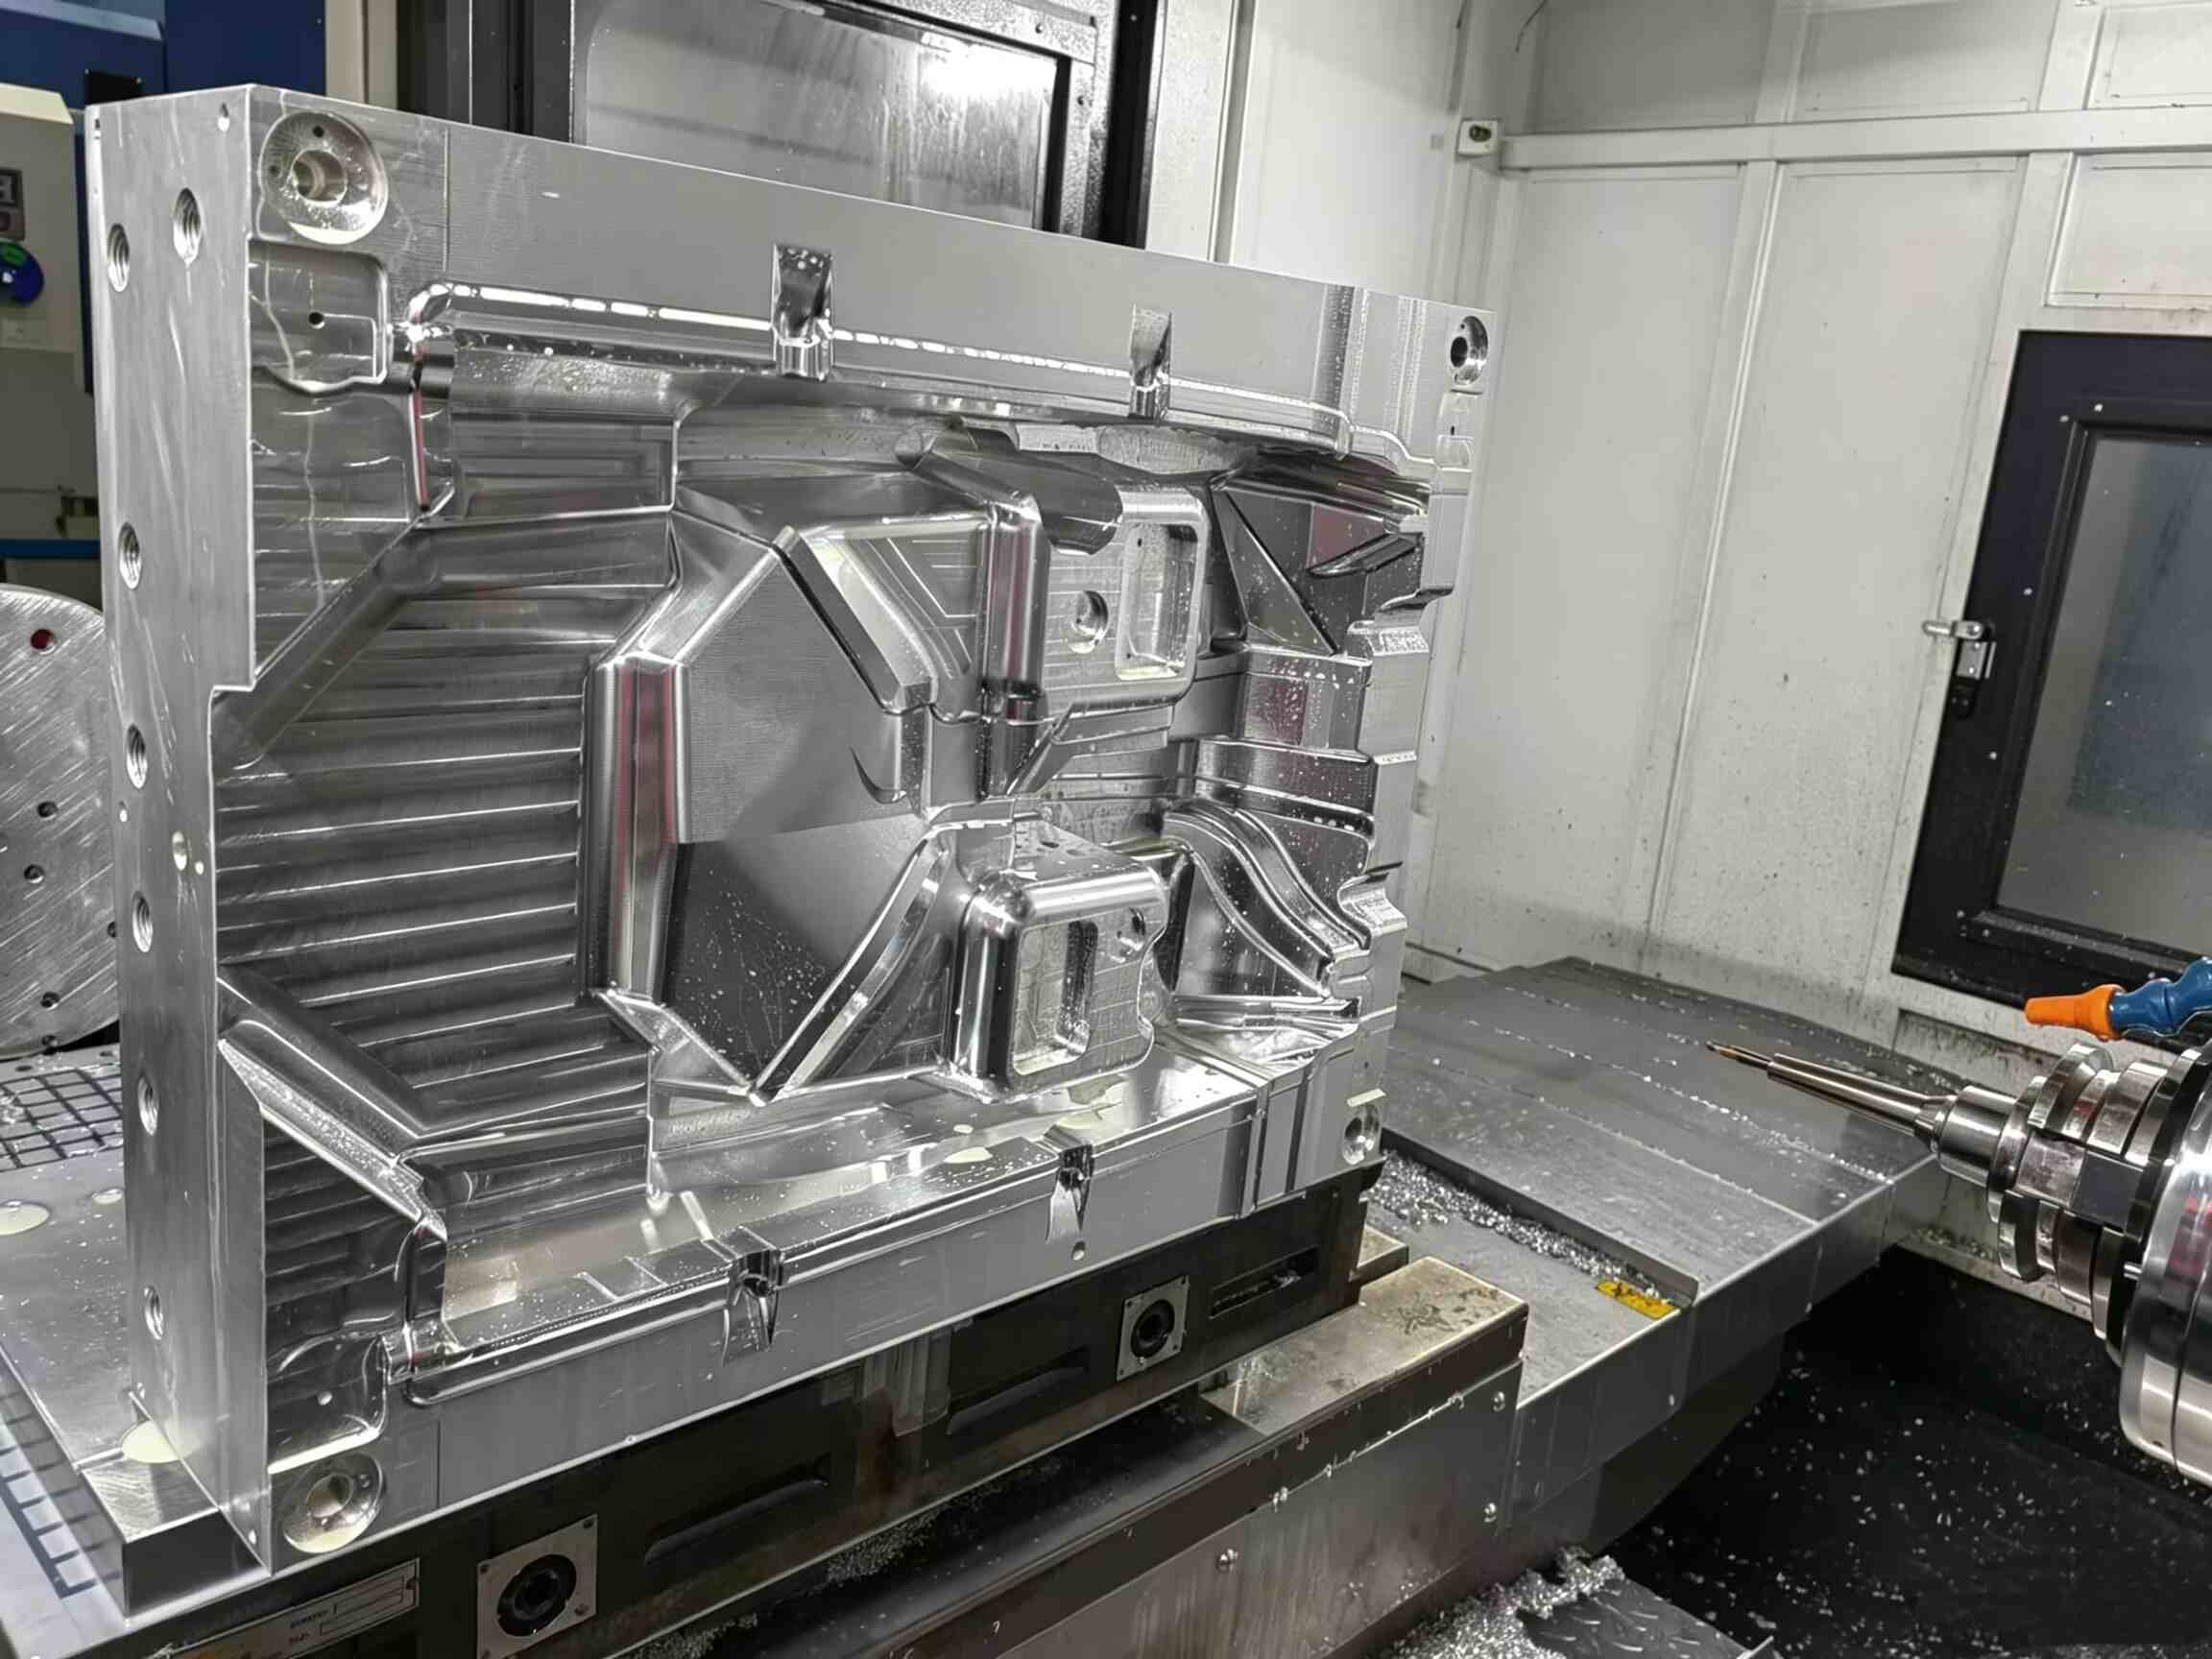
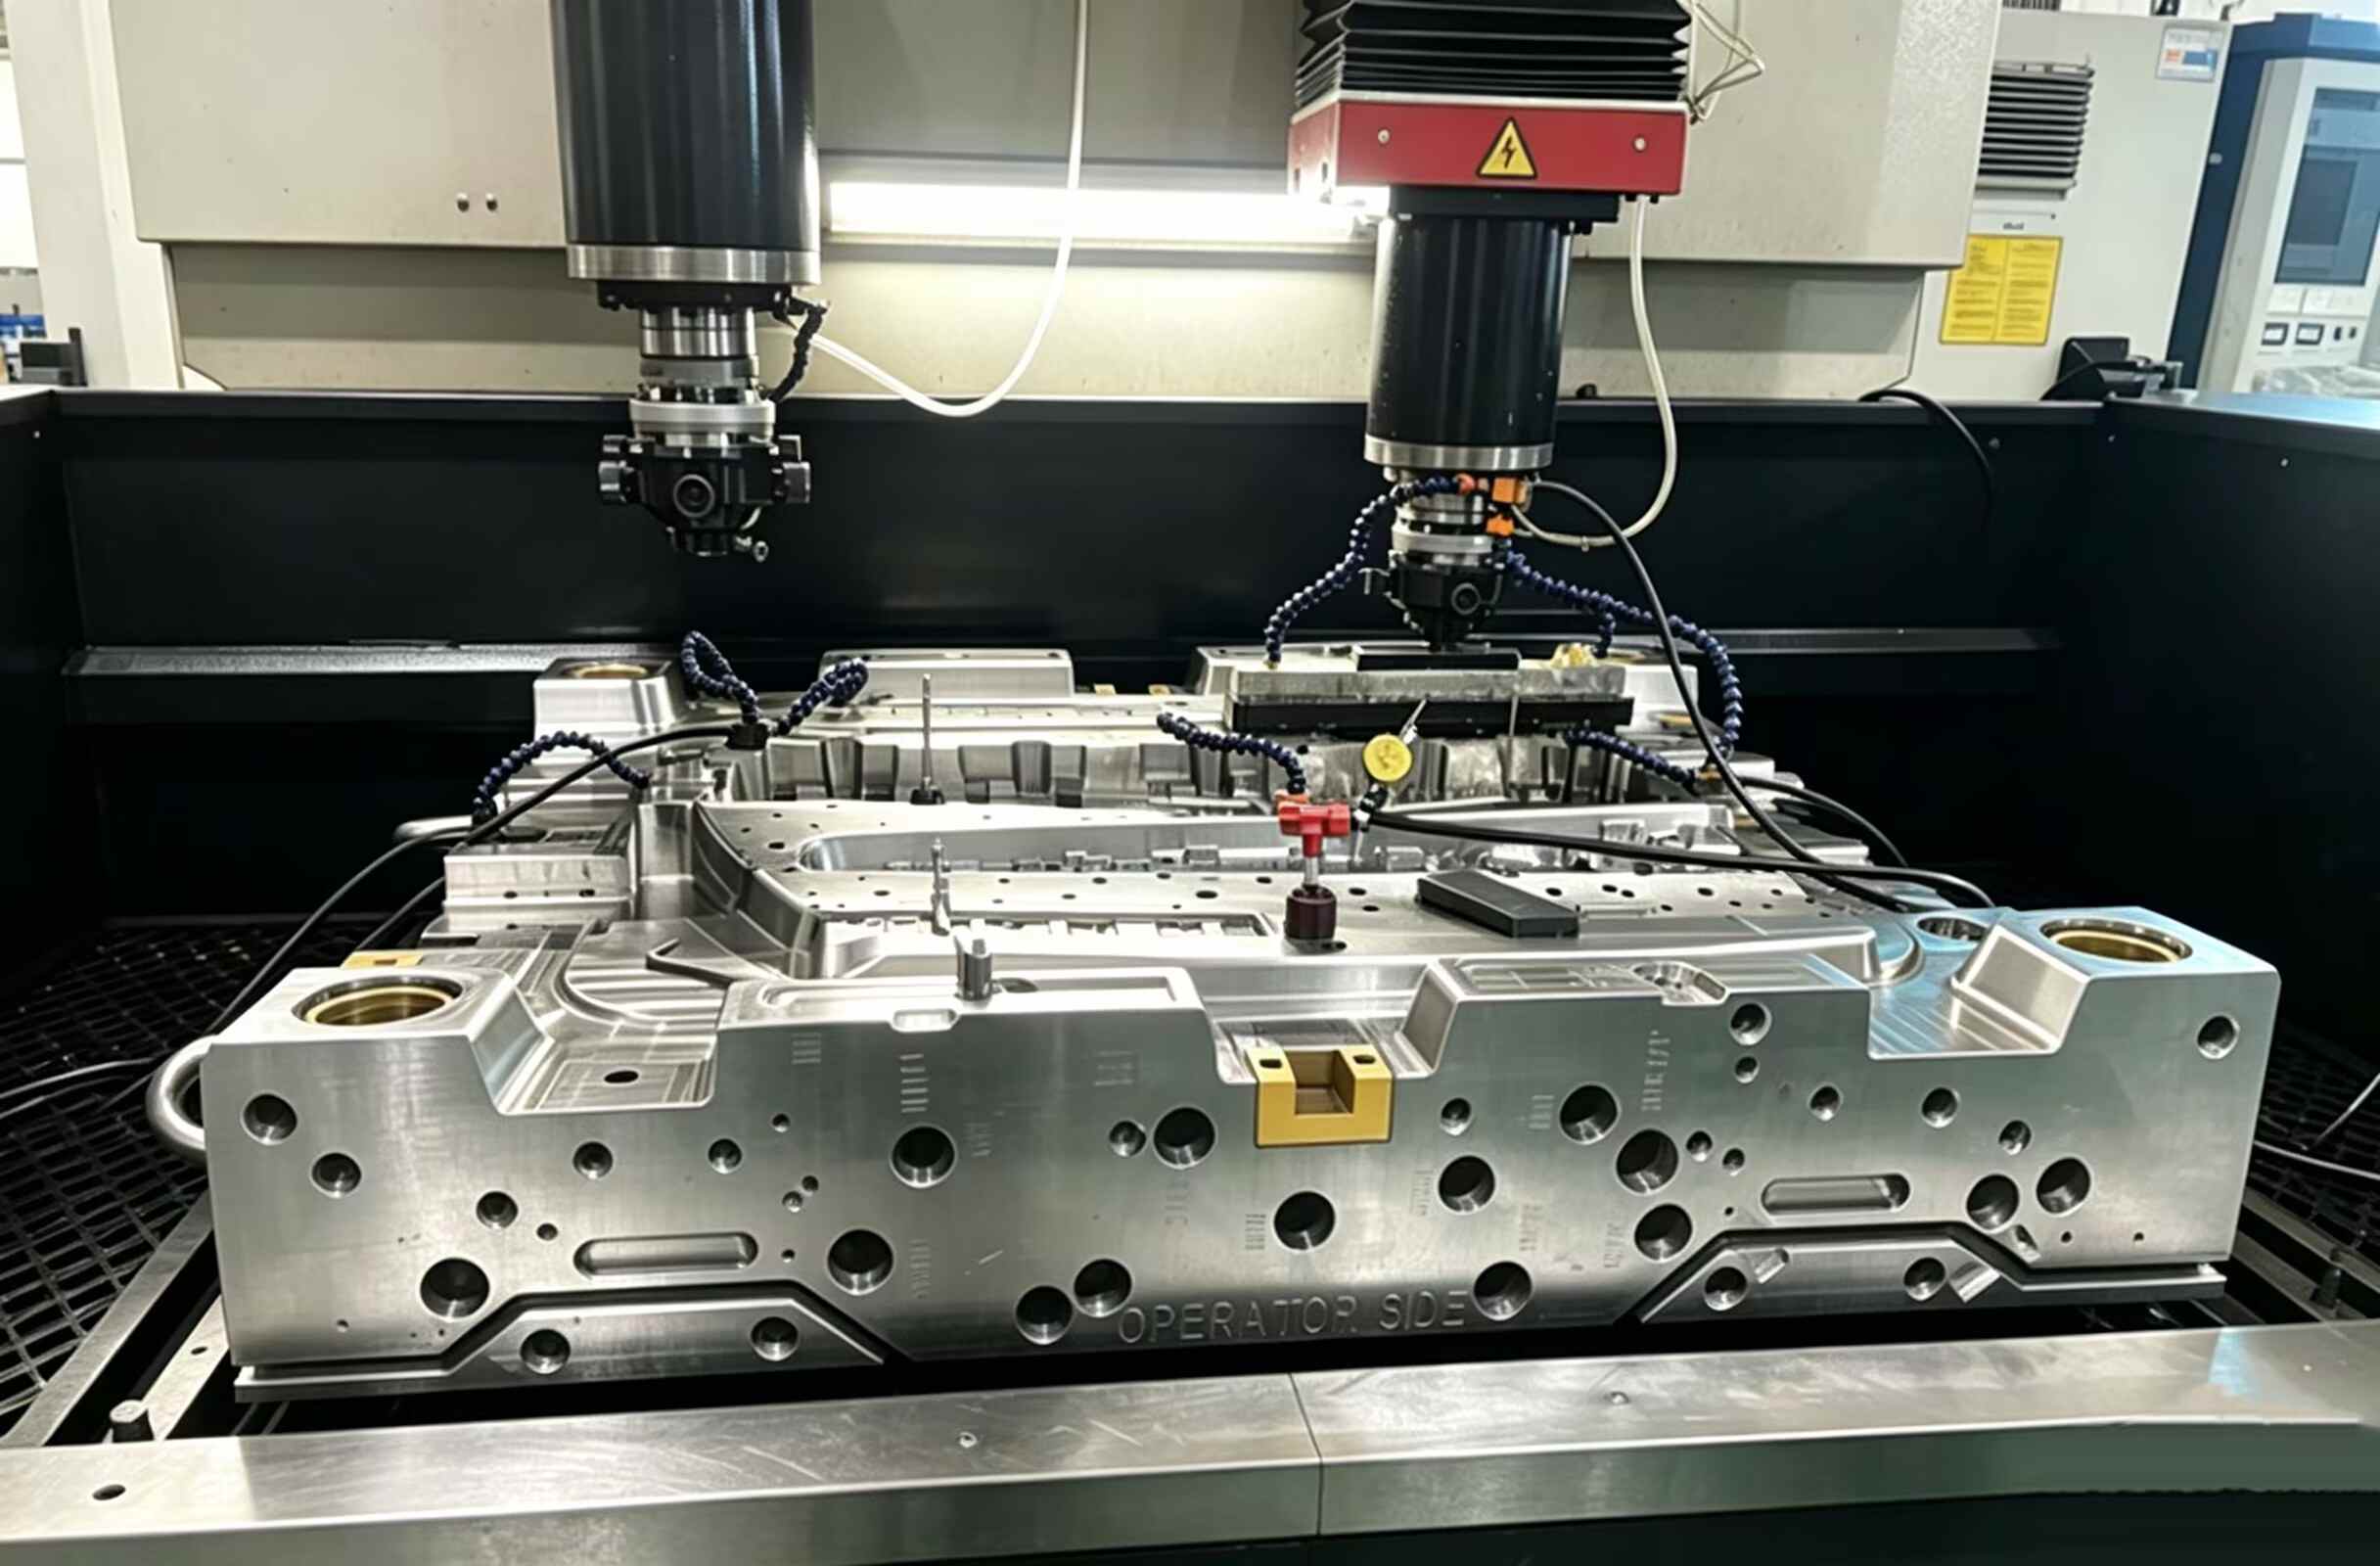
Technicians machine the steel by CNC, EDM, wire cutting, grinding, and polishing. Assembly checks alignment, cooling, slides, and ejectors. A T0 mold trial checks function. T1 mold samples support dimensional and cosmetic review. Corrections require another controlled injection mold trial.
Injection mold materials affect wear, finish, time, and price. P20 mold steel suits mid-volume work. H13 mold steel handles heat and abrasive resin. S136 mold steel resists corrosion, while NAK80 mold steel suits high-gloss parts. Other choices include 1.2343, 1.2344, 1.2767, and 8407.
An aluminum injection mold works well for prototypes or bridge production. It wears faster than hardened injection mold steel with glass-filled resin. Buying a production tool for 800 samples wastes money. Running 500,000 abrasive shots in soft tooling costs more later.
Plastic injection mold tooling cost depends on part size, cavity count, mold material, surface finish, injection molding tolerances, runner choice, and moving mechanisms. Every slider, lifter, insert, or rotating core adds design, machining, fitting, and maintenance work. These are the main injection mold cost factors.
Injection mold lead time also includes engineering review, steel preparation, machining, heat treatment, assembly, sampling, and correction. Standard tools may reach T1 in roughly two to four weeks. Complex two-shot or unscrewing projects can take four to eight weeks or longer. Ask an injection mold tooling supplier to explain the schedule behind an injection mold tooling quote, not just give a ship date. Total cost of ownership matters more than the opening price.
Send a 3D CAD file, a tolerance drawing, resin grade, annual volume, lifetime volume, finish, color, and target date. Add the preferred mold standard and the injection machine details if the tool will run in your own plant. A useful injection mold RFQ checklist also states sample approval rules, spare-part needs, and whether you expect hot or cold runners.
Clear inputs help a custom injection mold tooling team spot risk early. They also make competing injection mold tooling quotes easier to compare. A quote built on missing resin data or vague volume is mostly a guess, and usually not a good one.
The right plastic injection mold manufacturer should connect product design with stable production. Check whether engineering, mold building, trials, and quality checks sit under one project process. Ask to see the DFM report format, mold flow work, machining controls, and how the team handles problems found at T0.
For context, XINKEY MOULD has 25 years of mold engineering experience and 22 in-house designers. Its capability covers DFM and Moldflow work, complex sliders and lifters, hot and cold runners, 2K tooling, automatic unscrewing molds, precision machining, trials, and low-volume production.
The facility supports injection presses from 90T to 750T, while tooling projects range from about 150 kg to 15 tons. Its engineering approach starts with manufacturability and carries the tool through trial verification, which is the useful part for a buyer trying to avoid a finished mold that still cannot run stable production.
Q1: What is the difference between a mold and injection mold tooling?
A: The mold is the physical tool. Injection mold tooling also covers DFM, design, machining, trials, validation, and production support.
Q2: How much does plastic injection mold tooling cost?
A: Cost changes with part size, steel, cavities, tolerances, finish, runner system, and mechanical actions. A reviewed CAD file is needed for a useful estimate.
Q3: How long does injection mold manufacturing take?
A: A standard tool may need two to four weeks for T1. Complex multi-cavity, 2K, or unscrewing tools often need four to eight weeks or more.
Q4: How many parts can a plastic injection mold produce?
A: Tool life ranges from hundreds of prototype shots to more than one million production cycles. Steel, resin, construction, and maintenance set the real limit.
Q5: Why is injection molding DFM completed before steel cutting?
A: It catches wall, draft, undercut, gate, ejection, and tolerance problems while changes are still quick and inexpensive.
Related Posts



Contact Us