Prototype Injection Molding vs 3D Printing vs CNC Machining
Choosing a prototype process depends on the question you need the parts to answer. A housing for a fit check, a snap-fit cover, and a ten-piece pilot run each need different evidence. This guide compares prototype injection molding, 3D printing, and CNC machining by lead time, material behavior, accuracy, finish, quantity, and purchasing risk.
What Does Each Plastic Prototyping Method Produce?
The three methods build parts in different ways, so the part carries different evidence. Injection molding fills a cavity with molten thermoplastic and repeats the same cycle. 3D printing adds material layer by layer. CNC machining removes material from a solid block. Your intended use should decide which behavior matters most.
Prototype Injection Molding
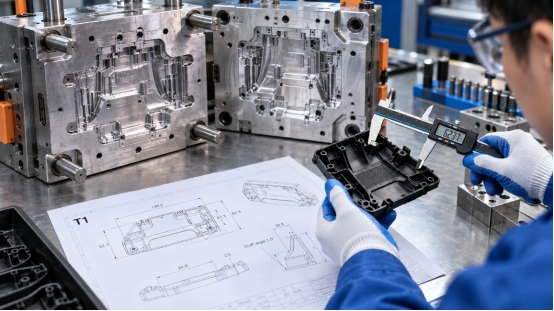
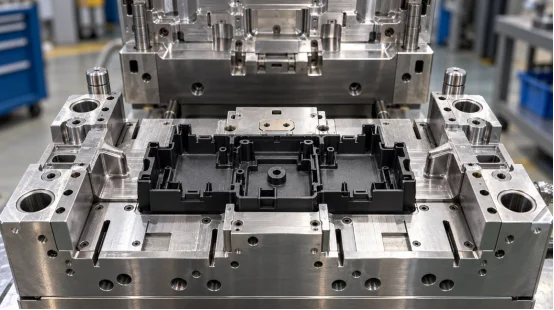
Prototype injection molding uses a short-run mold, often aluminum or softer tool steel, to make parts from the planned production resin. You can inspect weld lines, sink marks, warpage, snap-fit force, and texture with a molded part.
3D Printing
3D printing suits daily geometry changes or one to five quick parts. FDM can use ABS, PLA, and polycarbonate; resin and powder systems cover finer detail. Layer direction affects strength, stair-step texture, and heat response. A printed hinge may flex differently from an injection-molded hinge with the same nominal polymer.
CNC Machining
CNC machining cuts a part from ABS, POM, nylon, PC, or another engineering plastic block. It gives clean datum references and tight dimensions on accessible features. Internal channels, deep cavities, and thin ribs can raise cost because cutters need access and support. Machined parts also show the block’s grain and tool marks, which can differ from molded texture.
Img.CNC milling machine spindle carving white plastic prototype part.webp
Which Method Fits Your Quantity and Lead Time?
Quantity changes the cost curve. Set a target quantity, sample date, and number of design revisions before comparing quotes.
One to Ten Parts
3D printing suits early form checks because dedicated tooling is unnecessary. CNC machining suits parts needing accurate holes, flat datums, or functional threads. An injection mold prototype makes sense when the decision concerns molded behavior, such as a living hinge or clip.
Ten to Several Hundred Parts
Low-volume injection molding spreads tooling cost across repeatable parts and supports production-grade materials. Bridge tooling can supply pilot or saleable units while a longer-life mold is prepared. CNC machining suits thick, rigid parts; 3D printing adds support removal, sanding, or orientation-specific inspection.
Schedule Planning
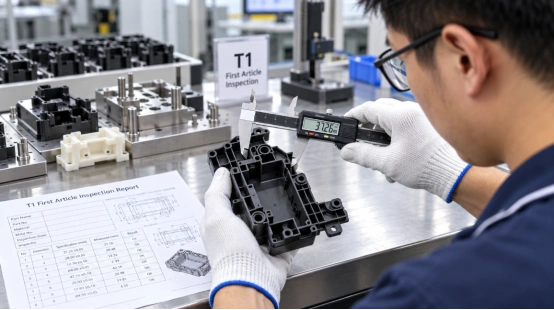
3D printing can start after file preparation and scheduling. CNC timing follows programming, stock, fixtures, and finishing. A standard rapid tooling project may reach T1 samples in about two to four weeks; sliders, inserts, unscrewing systems, special steels, or demanding finishes can extend the build to four to eight weeks. Confirm milestones with the supplier.
How Do Material and Part Performance Compare?
Material choice should follow the service condition: impact, heat, chemicals, flexing, appearance, or electrical insulation. A substitute resin leaves key performance questions open.
Production-Grade Resin Evidence
Injection molding lets you test ABS housings, PC impact parts, PP living hinges, PA loaded components, and filled grades in a controlled process. Resin drying, melt temperature, packing pressure, and cooling affect shrinkage and warpage. PP provides chemical resistance and flexibility; filled PA adds stiffness but can increase tool wear.
Printed and Machined Material Limits
Printed parts can contain voids, layer seams, or anisotropic strength. CNC parts use stock material, yet cutting can expose stress or distort thin walls. For heat aging, chemical exposure, or repeated assembly, test samples should match the final resin and process.
Which Method Gives the Right Accuracy and Finish?
Accuracy is a feature-by-feature result. Datum strategy, shrinkage, tool access, inspection method, and thermal history all affect it.
Accuracy and Detail
CNC machining can hold tight tolerances on reachable faces and holes, making it useful for gauges and mating studies. The digital build forms complex shapes directly, and the finished printed part carries the build surface; mold parting lines do not define its geometry.
Small holes and edges may need post-processing. Injection molding repeats cavity geometry after the process is stable; the DFM review must account for draft, parting lines, gates, ejection, and resin shrinkage.
Surface Finish and Cosmetics
Machined surfaces carry cutter marks that can be polished or textured. Printed surfaces often need sanding or vapor treatment. A molded cavity can carry a defined polish or texture across every shot. Gate vestige, weld lines, ejector marks, and gloss variation should be called out on the drawing, especially for visible housings.
What Should You Include in a Purchasing Comparison?
A useful quote ties price and timing to a defined scope. Compare engineering work, materials, inspection, revisions, delivery format, and unit price.
Quote Checklist
Send a 3D model, dimensioned 2D drawing, resin grade, color, finish, quantity, annual forecast, critical tolerances, assembly context, and required sample date. Ask for mold material, cavity count, runner type, tool-life target, trials, T1 report, correction policy, and ownership terms.
For CNC, list stock material, datum scheme, inspection points, and finishing. For printing, specify process, orientation, layer height, post-processing, and strength direction.
DFM and Trial Records
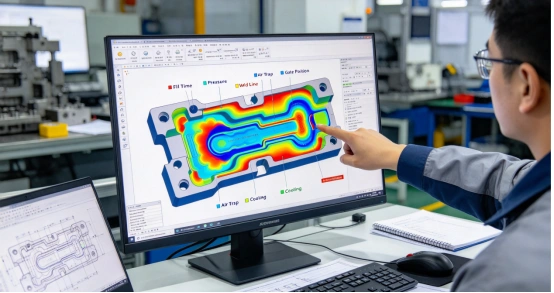
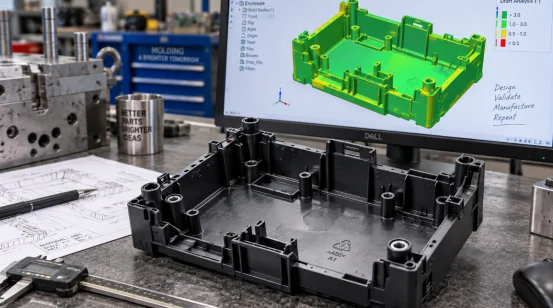
Design for manufacturability and DFM analysis should flag wall thickness, draft, ribs, bosses, undercuts, gates, vents, and ejection before metal cutting. During T0 and T1, record short shots, flash, burns, sinks, weld lines, sticking, warpage, and dimension drift. Link each issue to an action and an owner. That record gives purchasing a clear basis for approving the next tool or revising the part.
How Can an Engineering Partner Connect Prototype Results to Production?
The handoff matters when a prototype reveals a tooling or process issue. Design logic should carry from review through mold correction, trial molding, and the low-volume decision.
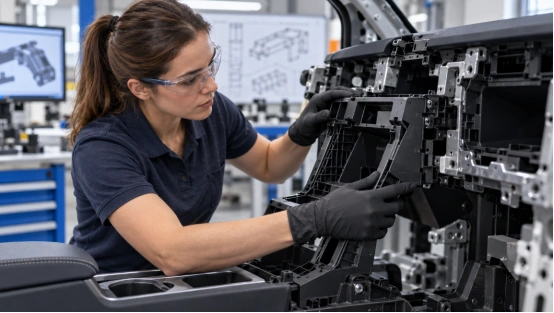
XINKEY MOULD applies this workflow to plastic part development. Its engineers review wall thickness, draft, shrinkage, gates, runners, cooling, venting, ejection, and mold strength before tooling. For side holes, threads, or two-material features, the scope includes sliders, lifters, inserts, threaded cores, automatic unscrewing, and 2K bi-injection structures. CNC, EDM, and wire cutting support the tool build, with machining control reaching ±0.01 mm where the feature and inspection method support it.
As a plastic injection mould manufacturer, it carries trial findings into mold corrections and low-volume injection molding, keeping sample data tied to production.
FAQ
Q1: Is Prototype Injection Molding Worth It for 20 Parts?
Yes, if you strictly require production-grade resin, molded clips, hinges, or specific textures. Just weigh the tool’s upfront price against machining or printing every single piece. Factor in how much you value solid, reliable performance evidence.
Q2: Can 3D Printing Replace an Injection Mold Prototype?
Only partially. 3D printing handles basic shapes, clearance, and early ergonomic checks quite well. However, injection molding reveals entirely different details. It shows exactly how cavity filling works. It highlights true shrinkage and potential weld lines. Furthermore, it demonstrates actual ejection and genuine molded resin behavior.
Q3: When Is CNC Machining the Practical Choice?
It shines when you just need a handful of rigid parts demanding highly accurate datums, holes, or precise threads. It is also a smart pick for bulky geometries. Thick sections simply take too long to print. Plus, a tiny batch size cannot justify custom tooling costs.
Q4: Which Process Uses the Final Plastic Material?
Injection molding typically runs the exact planned production resin. CNC relies on standard engineering-plastic stock. Meanwhile, 3D printing is restricted to polymers fitting that specific printer. Therefore, always verify heat, chemical, and strength specs before forming any final performance conclusions.
Q5: When Should You Move from a Prototype Tool to a Production Mold?
Transition once your design is completely stable. Your T1 samples must also pass all basic acceptance criteria. Additionally, your projected volume must support buying a longer-life tool. Make this choice confidently using the prototype run’s hard data: recorded cycle time, true scrap rate, actual maintenance needs, and proven unit cost.
READ MORE