
Entendiendo al “enemigo invisible”: por qué la ventilación del molde es crucial para el éxito o el fracaso del moldeo por inyección.
-
 autor
autor
- 27 de abril de 2026
Introducción
A primera vista, una cavidad de molde parece vacía. En realidad, nunca lo está.
Cada disparo comienza con aire atrapado en la cavidad, y ese aire tiene que salir por algún lado. Si no puede escapar correctamente, se comprime rápidamente a medida que el material fundido fluye hacia adentro. ¿El resultado? Las temperaturas pueden superar los 300 °C en milisegundos.
Lo que has creado, en efecto, es una cámara de combustión en miniatura dentro de tu molde.
En el taller, la mala ventilación suele ser el problema. culpable silencioso detrás de marcas de quemaduras, defectos estéticos y problemas de producción inexplicables.
Lo que está en juego en la compresión de aire
Durante la inyección, el plástico fundido normalmente fluye a velocidades de 20–200 mm/sA medida que llena la cavidad, empuja el aire que tiene delante.
Ese aire debe salir a través de rejillas de ventilación, generalmente pequeñas aberturas en la línea divisoria o a través de elementos de ventilación específicos.
La física es implacable:
Compresión rápida = aumento rápido de la temperatura.
En casos extremos, el aire atrapado se comporta como un motor diésel en miniatura, encendiendo y quemando la superficie de plástico.
Estas “quemaduras de gas” no son solo problemas estéticos. Indican una degradación del material a nivel molecular, lo que puede comprometer la resistencia de la pieza y su rendimiento a largo plazo.
Además de las quemaduras, el gas atrapado crea problemas adicionales:
- Contrapresiónlo que dificulta el llenado
- tomas cortasdonde las partes no se forman completamente
- Rayas de gas (“corte de gas”)donde el flujo de aire marca el frente de fusión
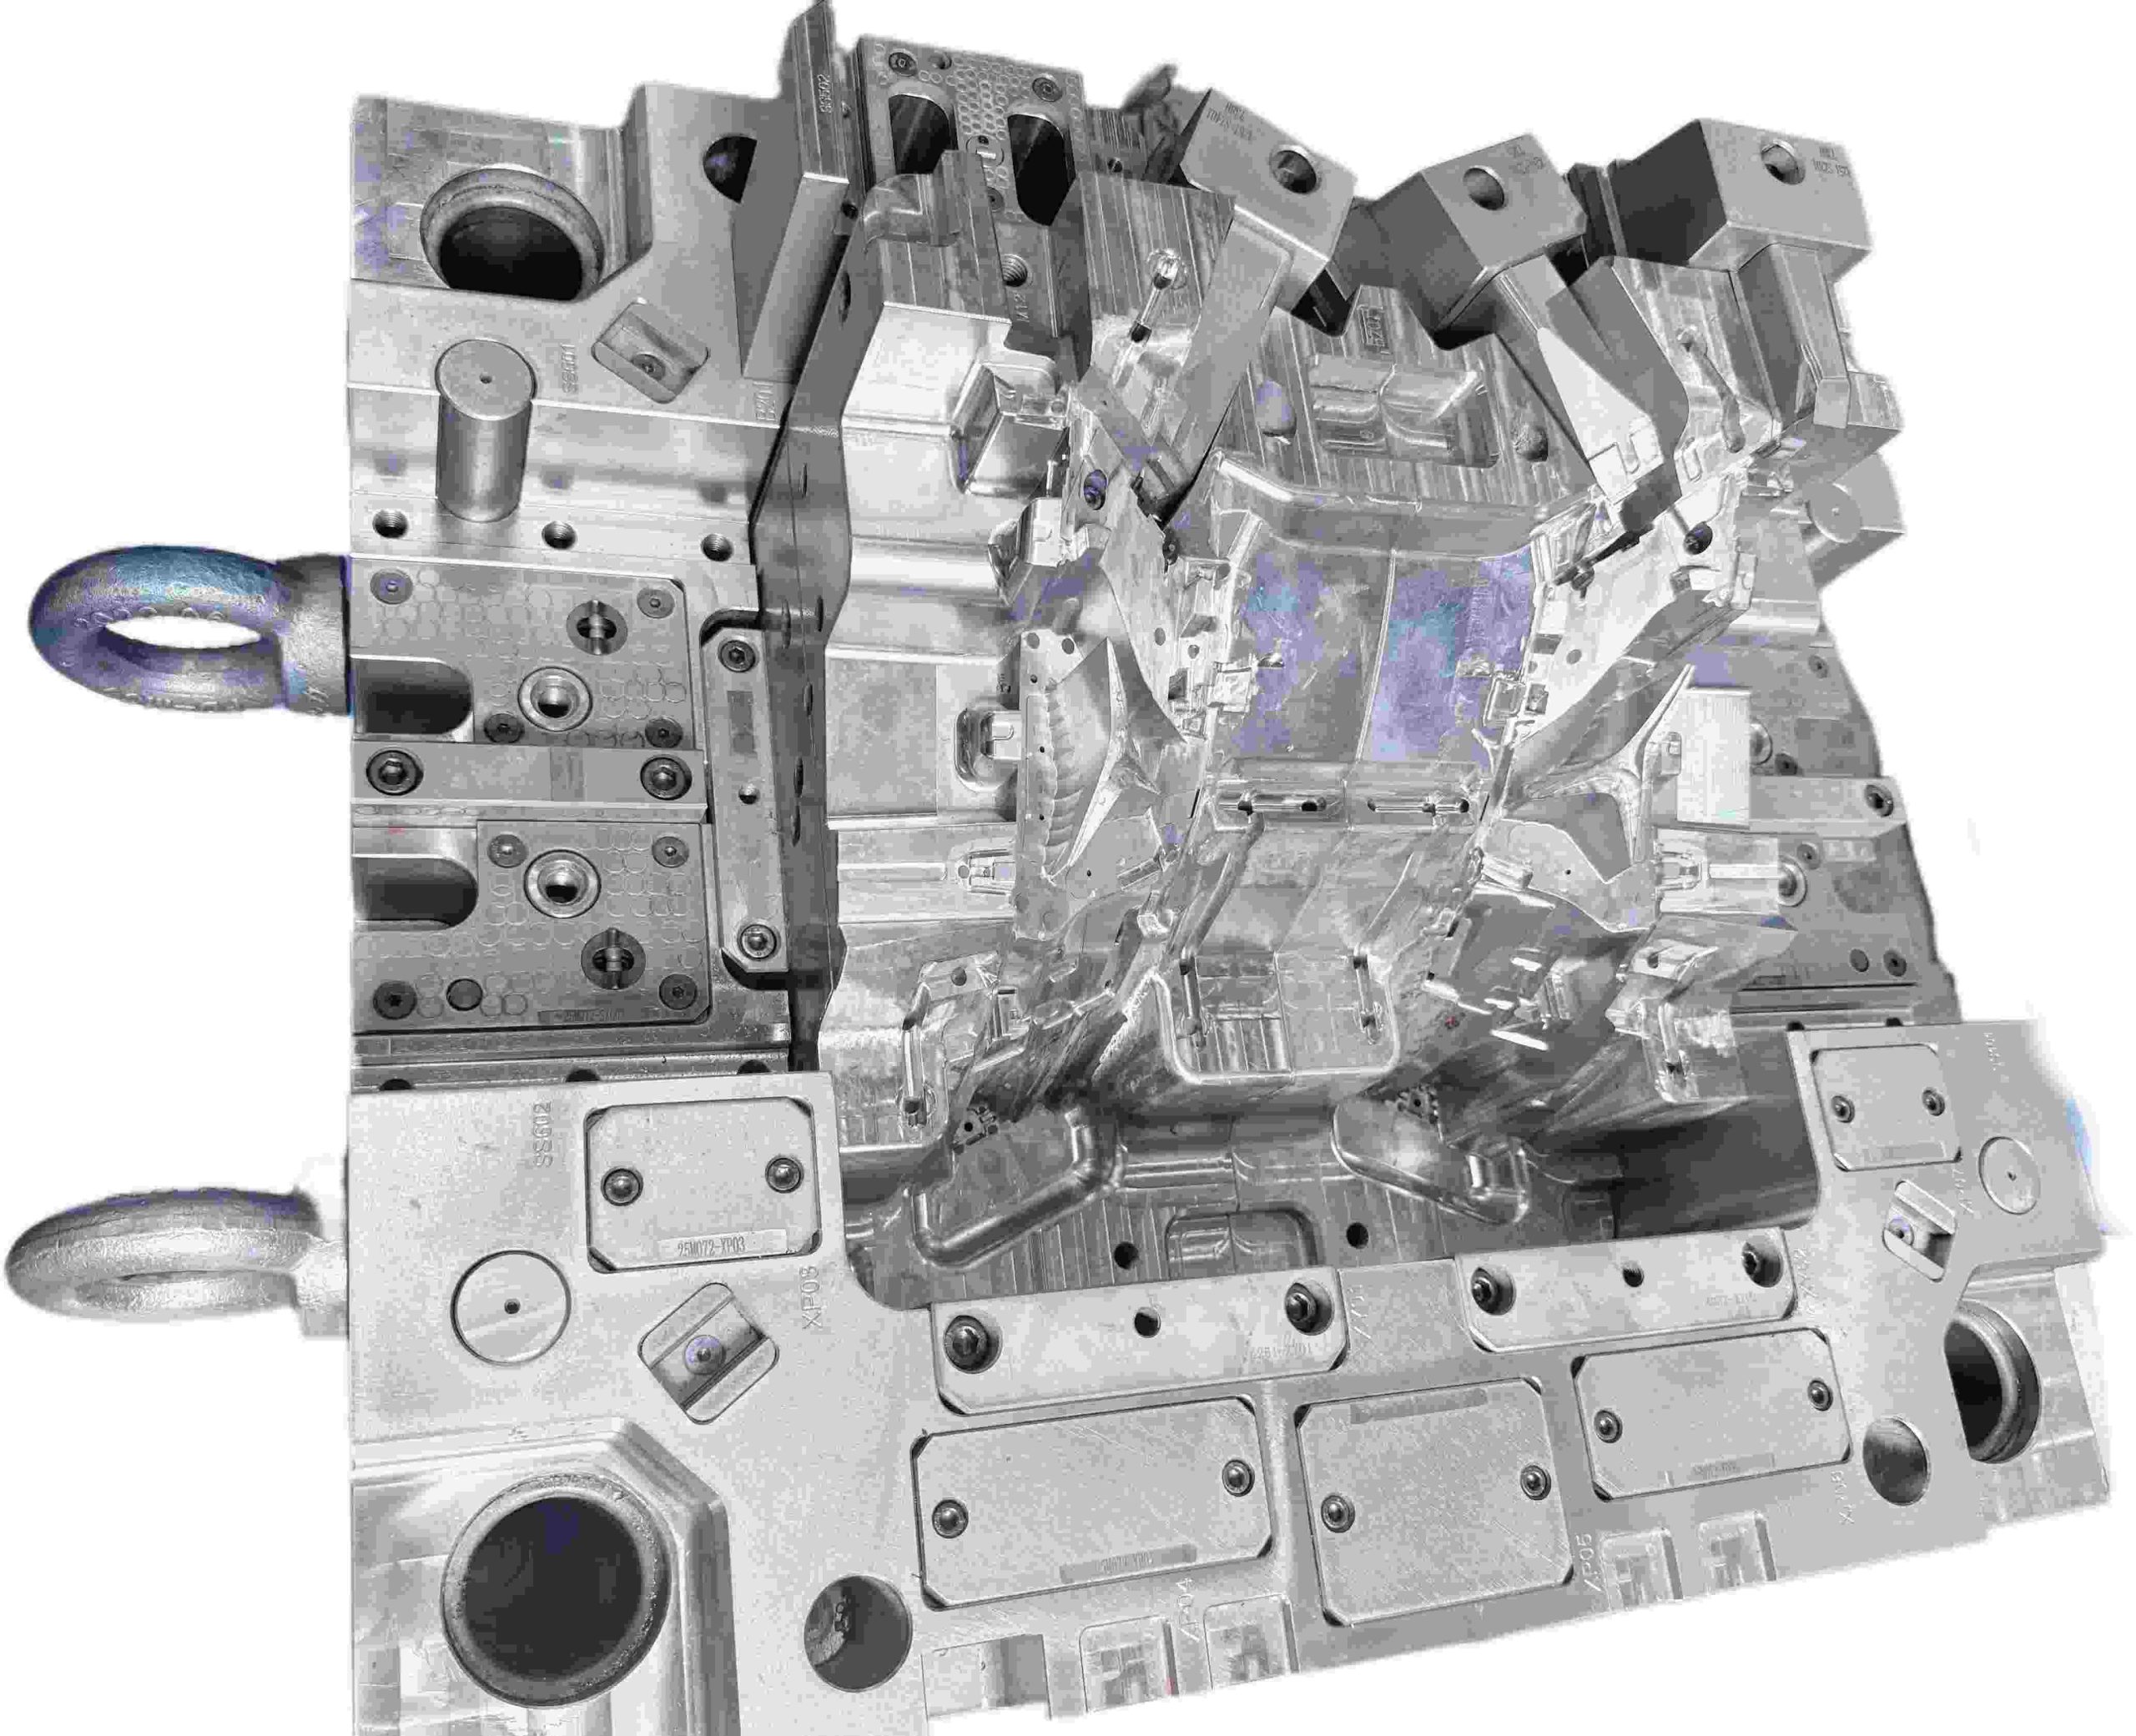
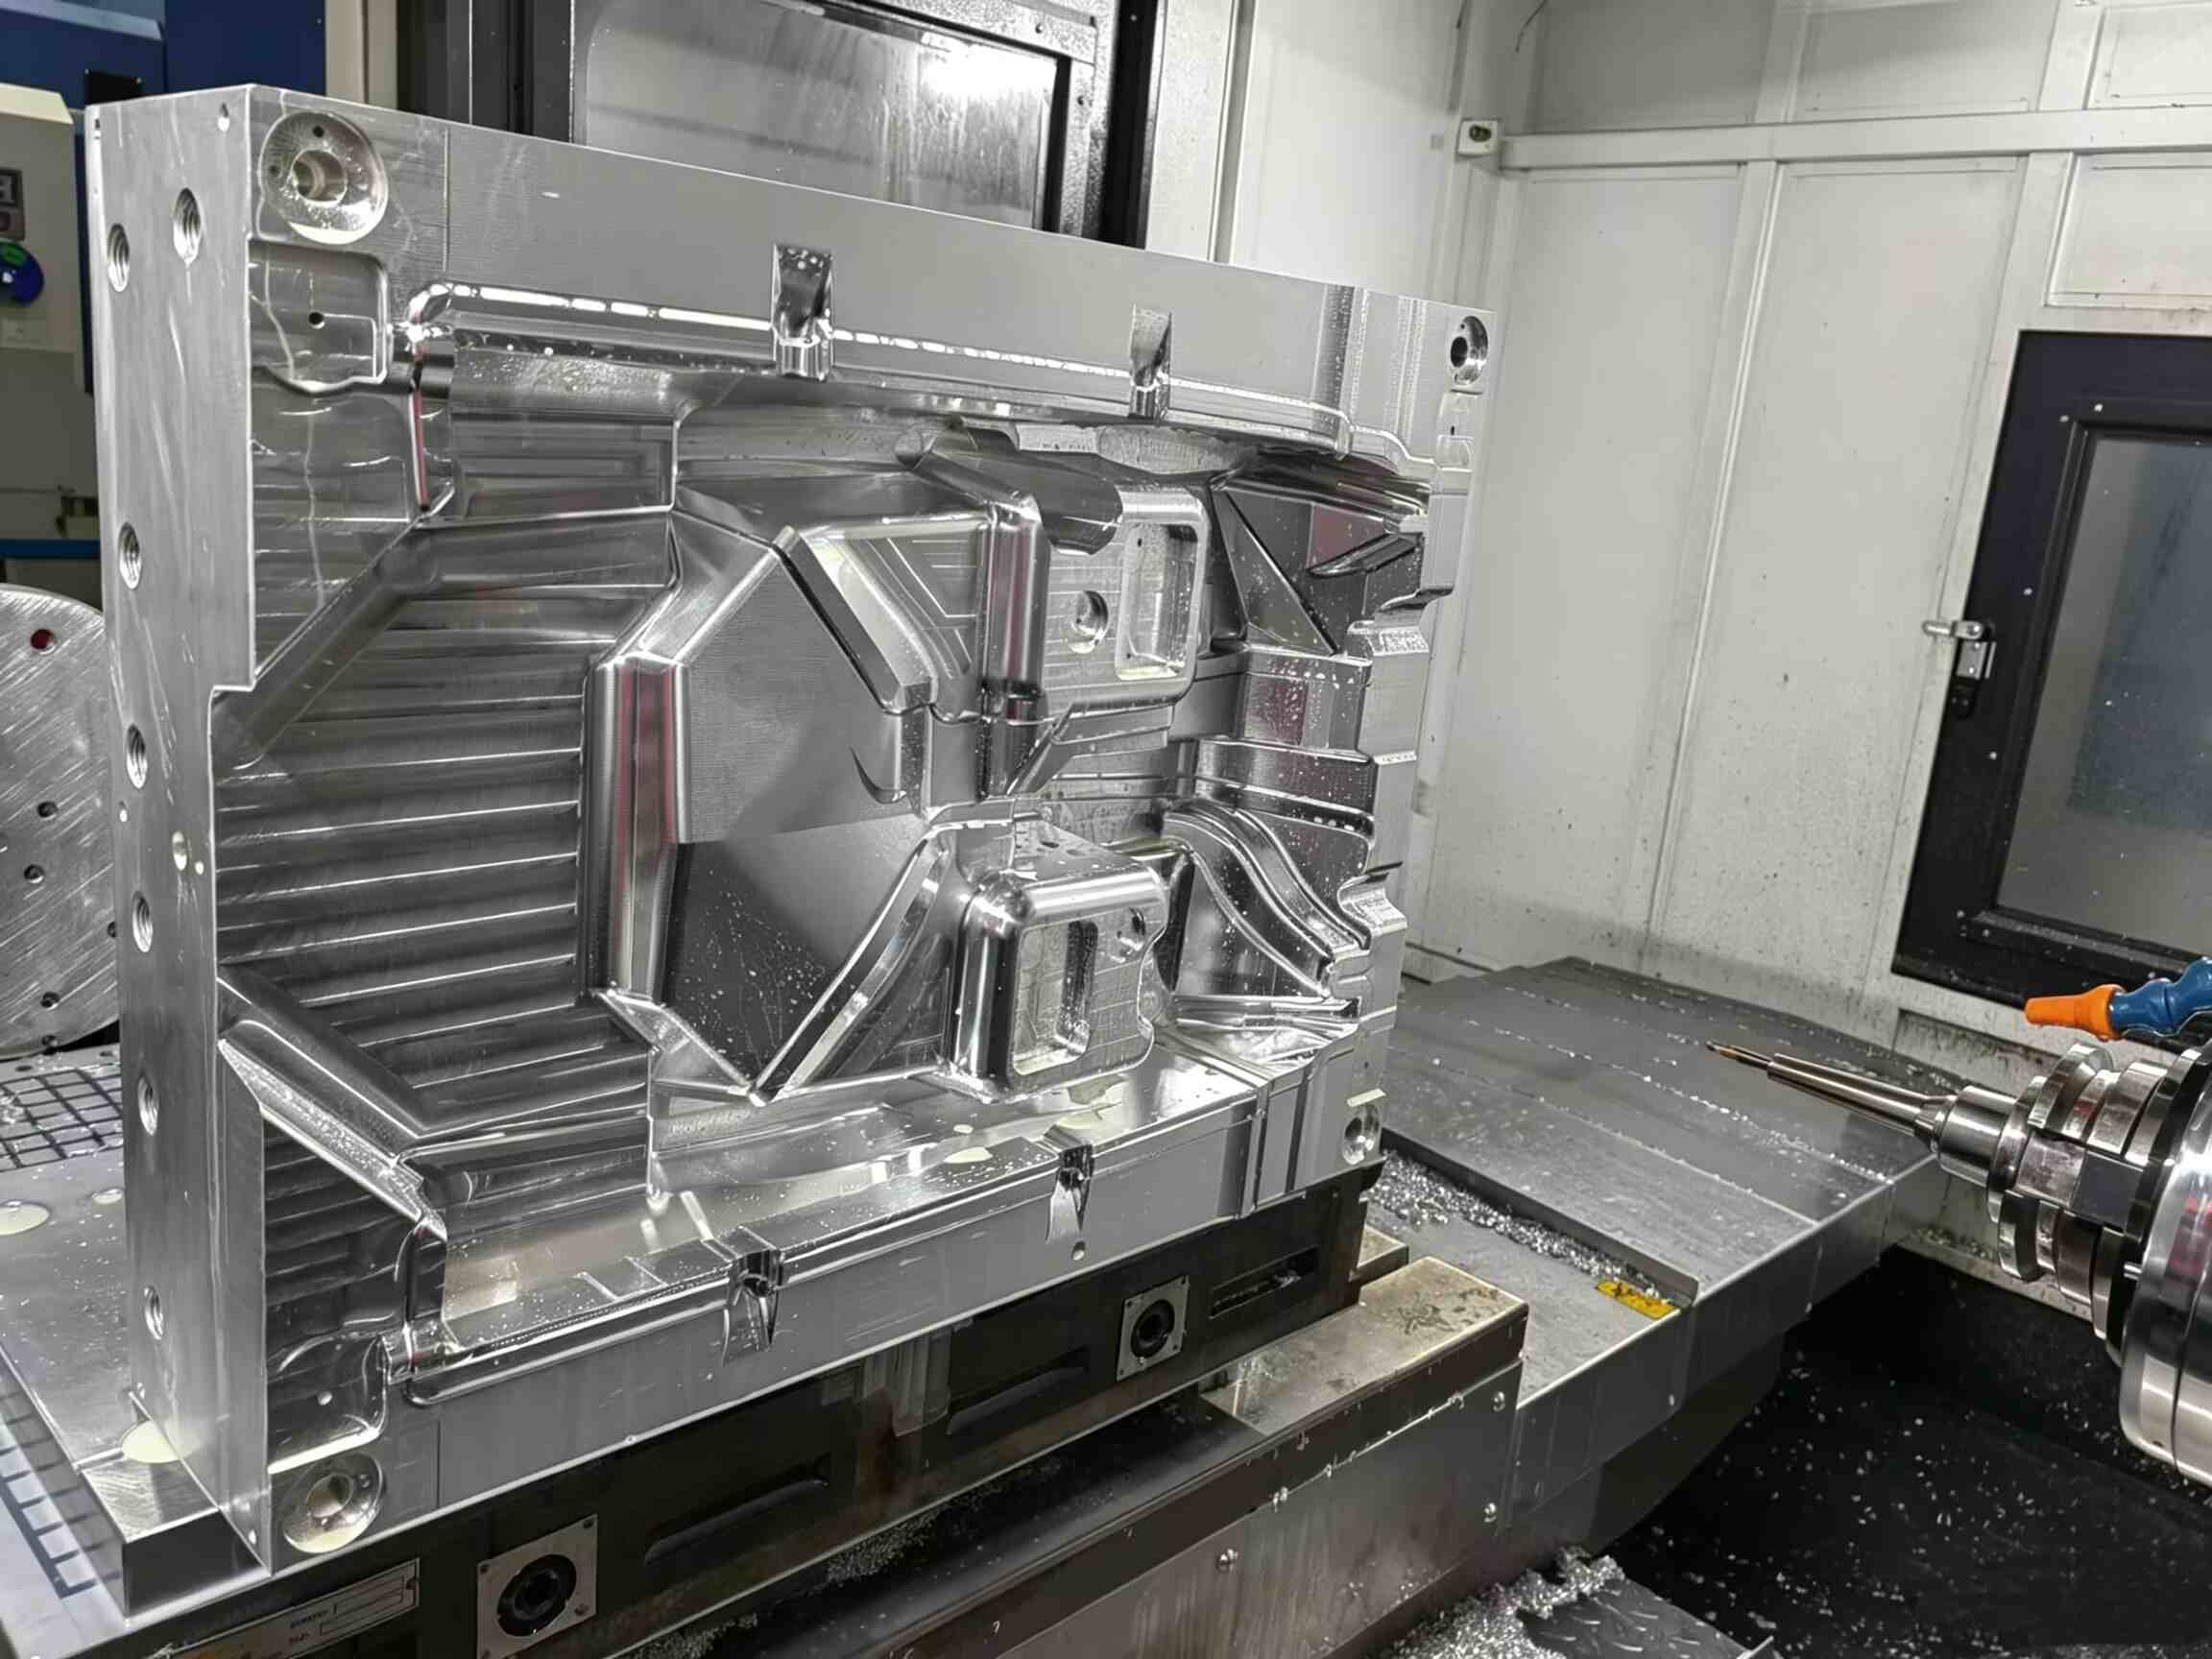
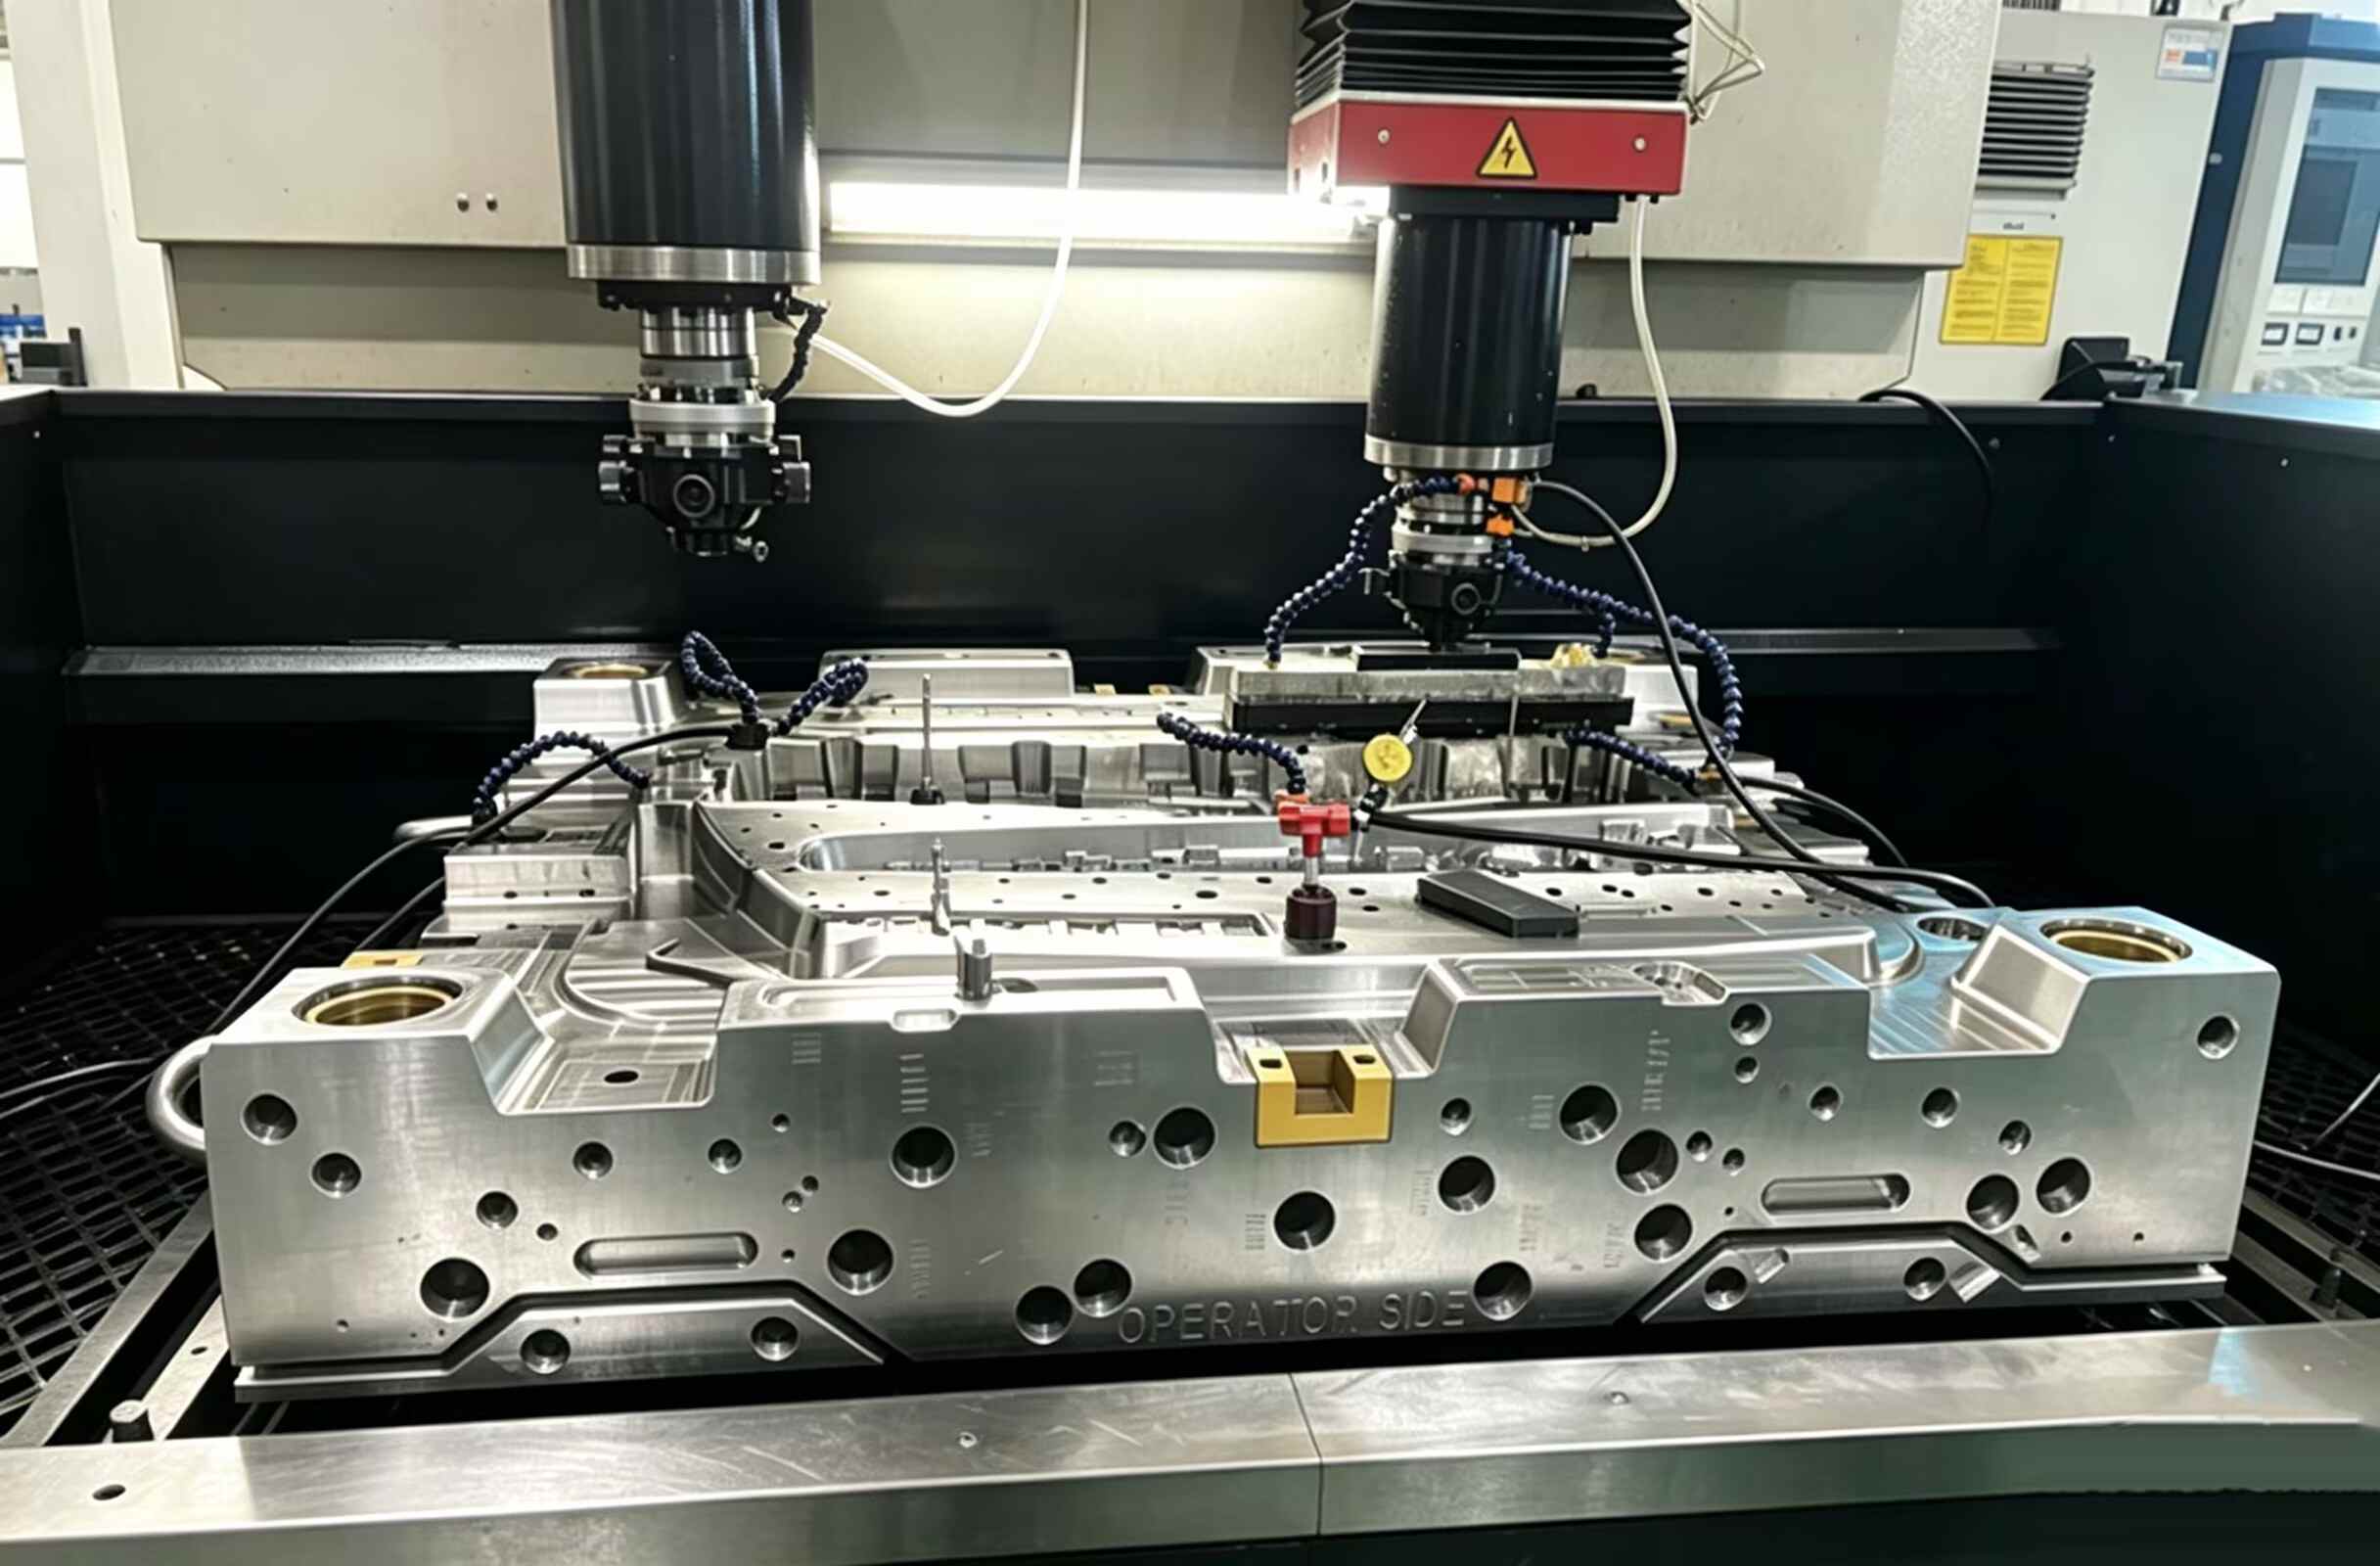
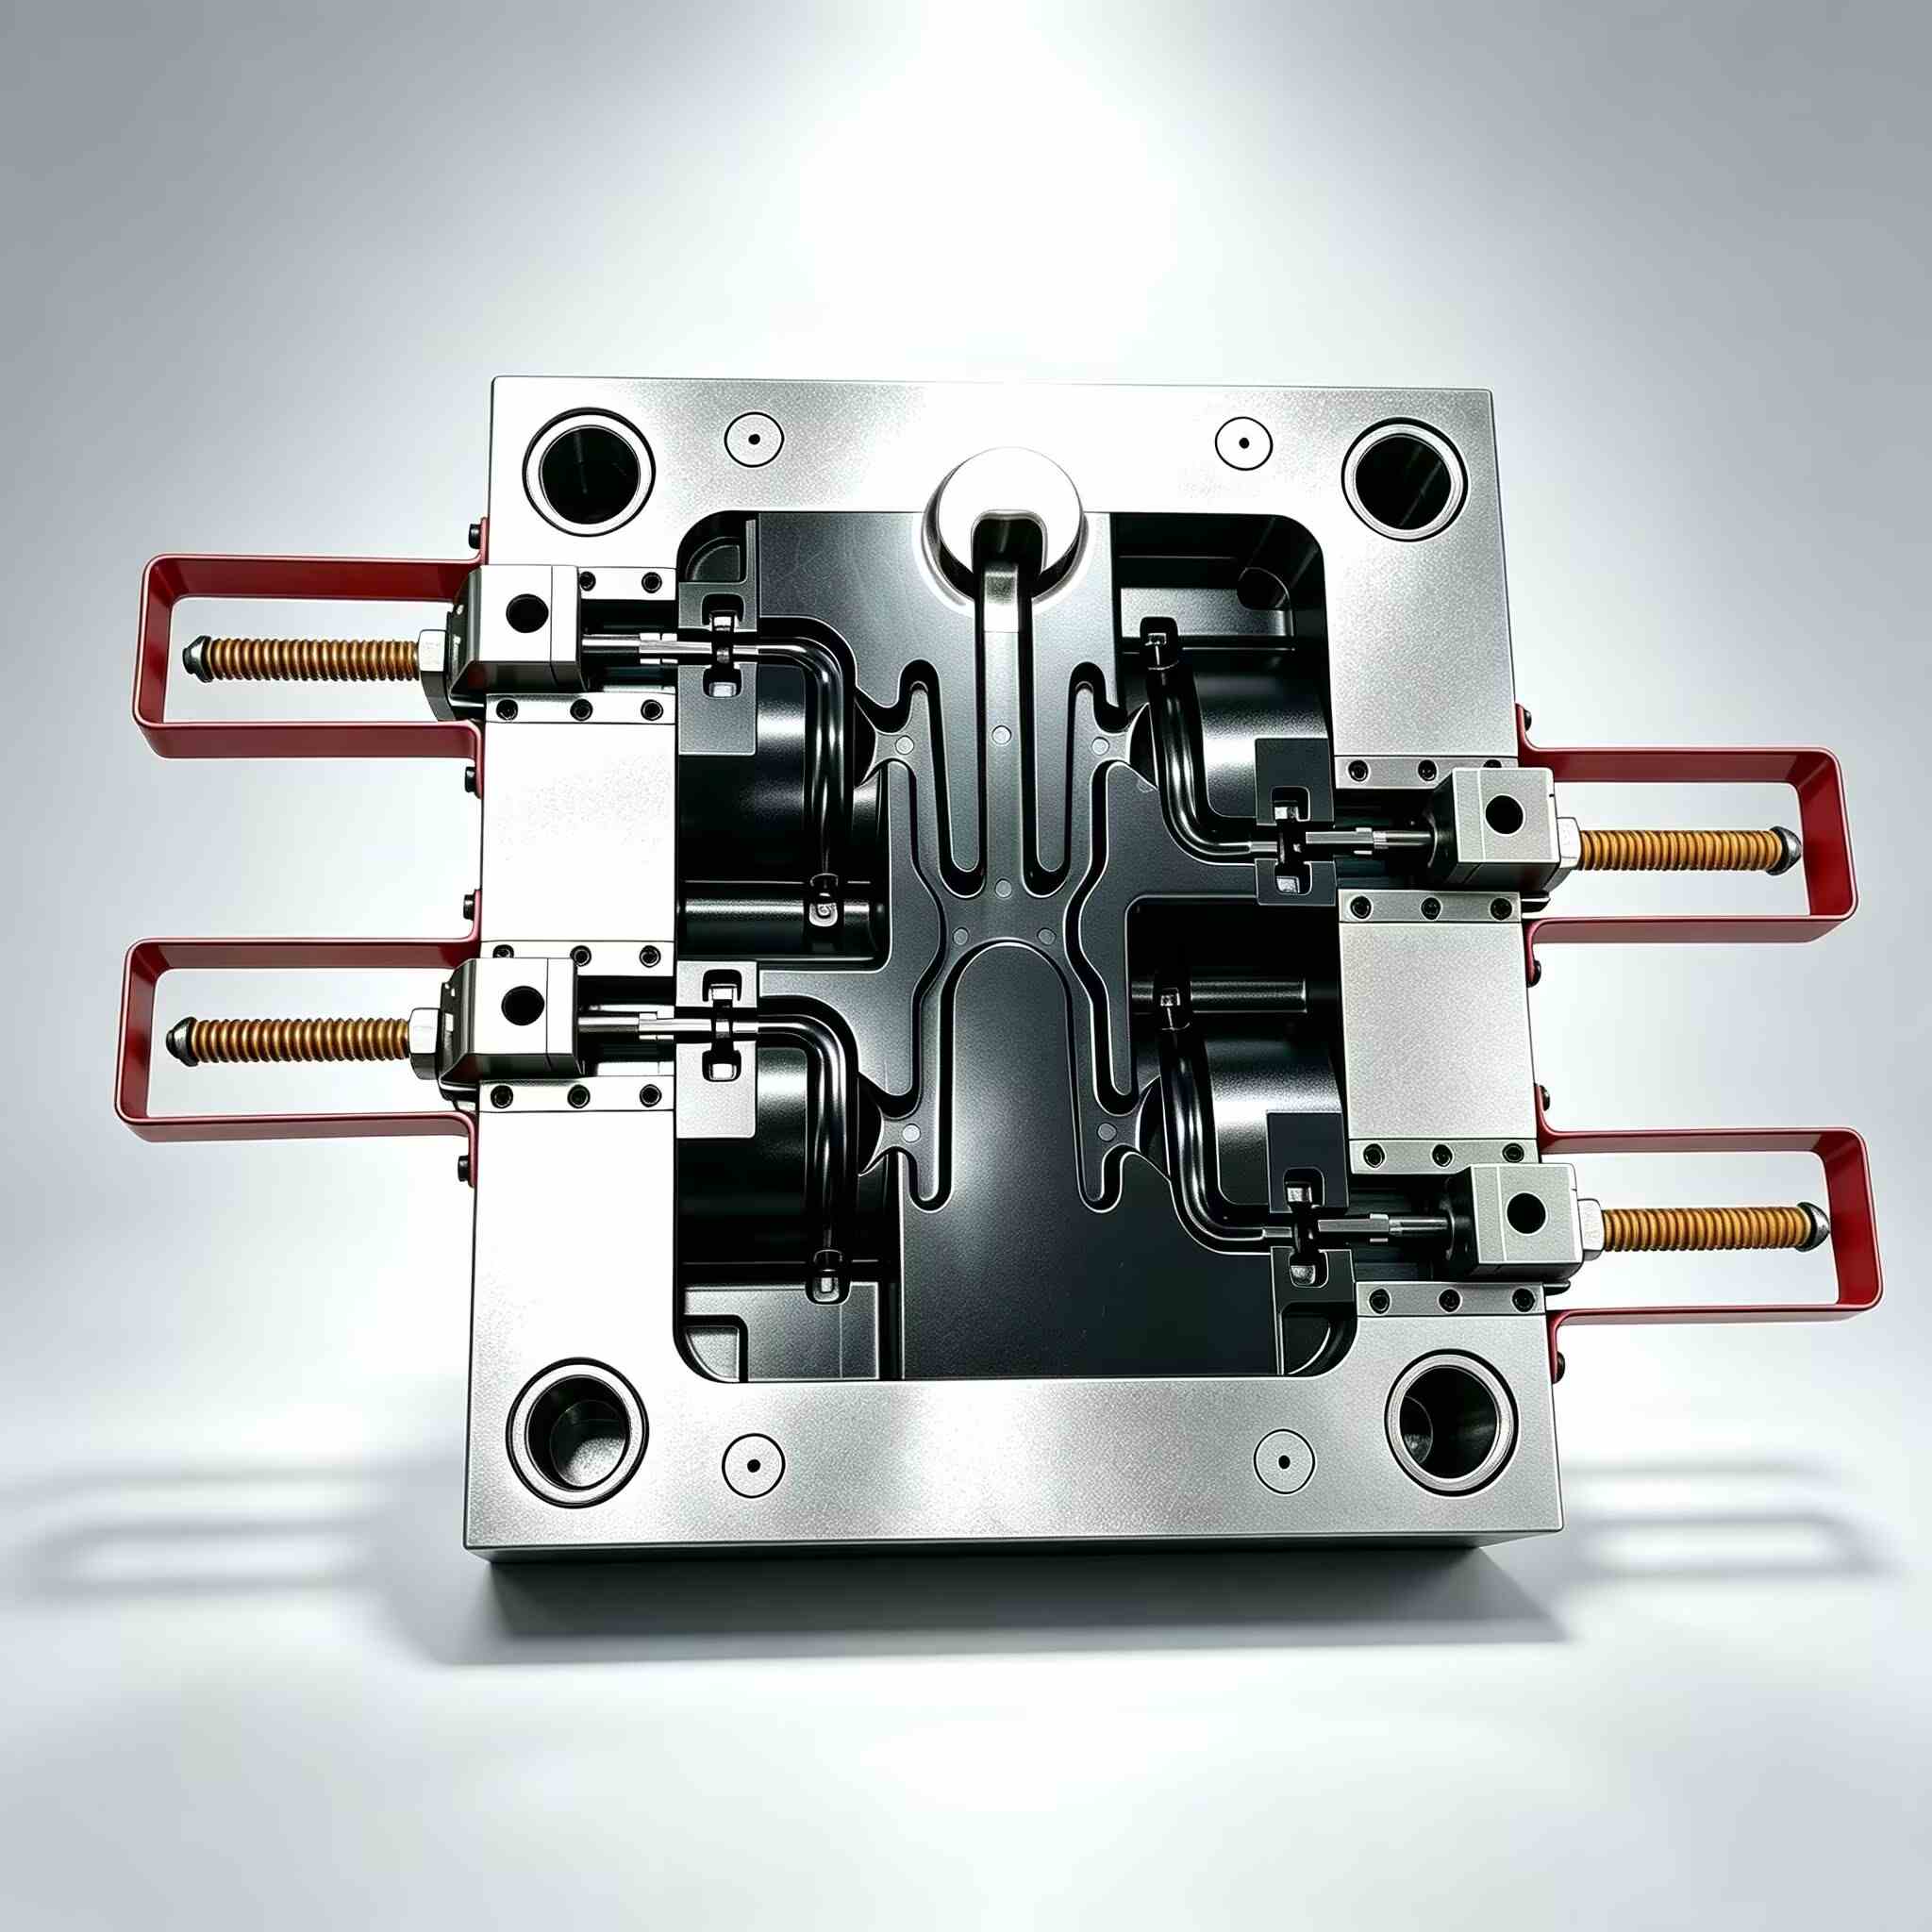
Cómo sacamos el aire
En el diseño de moldes en la práctica, la ventilación se reduce a crear vías de escape fiables. Los métodos comunes incluyen:
- Rejillas de ventilación de la línea divisoria
Este es el método más utilizado.
La clave es la precisión:
- Profundidad típica de la ventilación: 0.005–0.02 mm
- Demasiado ajustado → el aire queda atrapado
- Demasiado abierto → se produce un destello
Encontrar ese equilibrio es donde la experiencia en la fabricación de herramientas cobra mayor importancia.
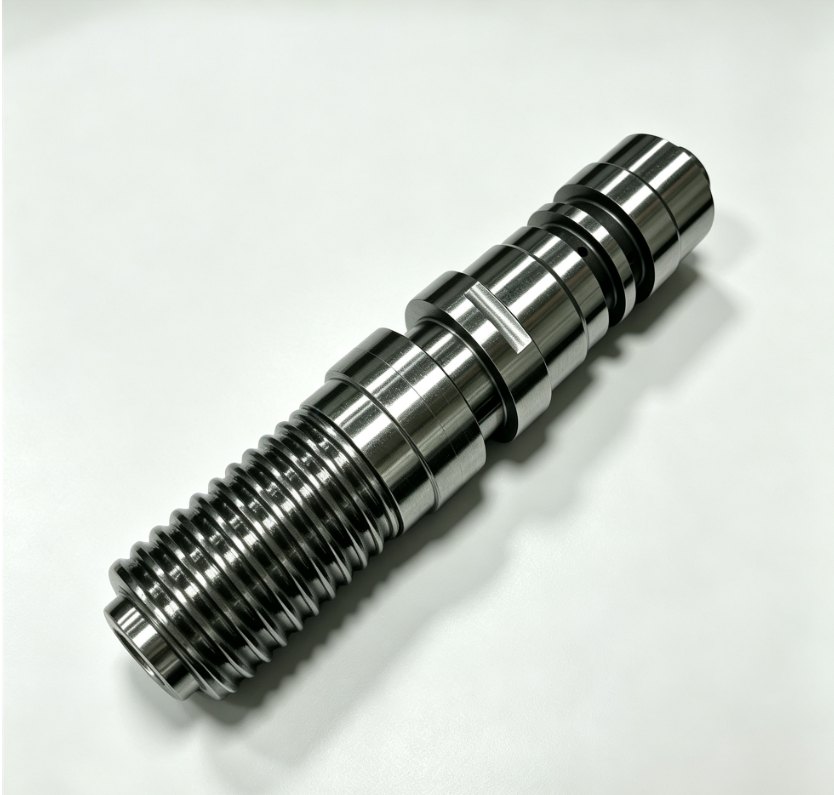
- Pinos del viento
Se utiliza en nervaduras profundas o cavidades donde tiende a quedar atrapado el aire.
- Diámetro típico: 2–4 mm
- Proporcionar vías de escape directas desde zonas problemáticas
- Ranuras e insertos de ventilación
En geometrías complejas, los canales de ventilación poco profundos guían el aire hacia las salidas.
En los casos más exigentes, Insertos de metal poroso (acero sinterizado) Permiten que el aire pase a través del propio material, lo cual resulta especialmente útil en cavidades profundas o intrincadas.
- Ventilación por vacío
Se utiliza en aplicaciones de alta gama, como paneles para automóviles.
En lugar de depender de la presión para expulsar el aire, un sistema de vacío lo elimina. incluso antes de que comience la inyección., garantizando así unas condiciones de llenado óptimas.
Dolores de cabeza comunes en la planta de producción
Quemaduras al final del llenado
Las manchas oscuras en la última zona de llenado suelen significar que el aire atrapado no tiene por dónde salir.
Cortometrajes de “Fantasma”
Si una característica no se rellena sin importar cuánta presión aplique, es probable que se trate de una bolsa de aire que actúa como amortiguador.
Instalar una rejilla de ventilación precisamente en ese lugar suele solucionar el problema de inmediato.
Compromiso entre flash y ventilación
- Demasiada holgura en la ventilación → destello
- Demasiado poco → marcas de quemaduras
Lograr el equilibrio adecuado es un desafío constante.
Líneas de soldadura débiles
Cuando los frentes de flujo se encuentran pero no se adhieren correctamente, la causa suele ser el gas atrapado.
Una ventilación adecuada en el punto de unión mejora significativamente la resistencia de la soldadura.
Consejos profesionales para mejorar tus herramientas
- Diseñar la ventilación desde el principio
No considere la ventilación como un paso secundario. Identifique las trampas de aire durante la etapa de análisis del flujo del molde. - Utilice rejillas de ventilación escalonadas.
Empiece con una sección poco profunda para bloquear el plástico y luego pase a un canal más profundo para permitir el flujo de aire. - Agregar múltiples rutas de ventilación
Para longitudes de flujo largas, coloque ventilaciones cada 50–100 mmEl aire no debería tener que recorrer toda la longitud de la cavidad.
En resumen
La ventilación no es un detalle menor, sino un factor fundamental en el rendimiento del molde.
Un molde bien ventilado:
- Se llena más fácilmente
- Requiere menos presión
- Produce piezas más uniformes
- Reduce los defectos y el tiempo de inactividad.
Intentar solucionar los problemas de ventilación una vez que el molde se ha endurecido es costoso, lento y, a menudo, frustrante.
Hacer las cosas bien desde el principio no se trata solo de la calidad de las piezas, sino de evitar costes innecesarios y mantener la producción funcionando sin problemas.


Contacta con nosotros