Low-Volume Injection Molding: On-Demand Production & Fast Tooling
23rd October 2026


 author
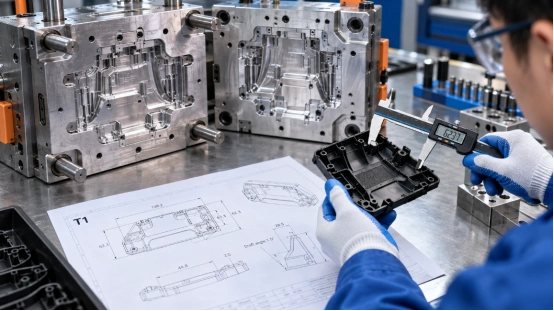
Sending CAD files to a plastic mold manufacturer may feel like a simple handoff. It is not. A small change to wall thickness, draft, or an internal undercut can affect mold cost, press size, part quality, and delivery time. Use these 12 checks before requesting a final quotation.

Before steel is cut, a capable supplier should look beyond the shape shown on your screen. The goal is to find risks early, when changing a feature costs minutes instead of a mold modification.
Ask whether the injection mold manufacturer provides support before tooling begins. A complete review should cover product structure, parting direction, draft, wall thickness, shrinkage, gates, cooling, ejection, and expected production volume.
A quotation based only on part weight and mold size leaves too many assumptions hidden. You need to know who will make the key decisions and how those decisions will be recorded.
A useful mold DFM analysis should point to specific areas in your CAD files. Look for marked-up screenshots, proposed changes, and comments on difficult features. Ask how quickly you will receive the report and whether design revisions are included before machining starts.
The best time to find a thin steel condition or an impossible demolding direction is before the purchase order, not after the first failed sample.
Draft angle affects how cleanly the part leaves the core. Too little draft can cause drag marks, whitening, or stuck parts. Texture, material shrinkage, and the depth of the feature also matter.
Wall thickness deserves the same attention. Uneven sections can create sink marks, warpage, and long cooling cycles. Review ribs, bosses, corners, and transitions together instead of checking the nominal wall alone. This practical approach is also central to most injection molding design reviews.
A parting line should support clean demolding, simple machining, and acceptable appearance. Keep it away from sealing surfaces, precision threads, and highly visible cosmetic areas when the design allows.
The mold should usually open around the widest profile, with the part staying on the moving side for ejection. A clever-looking split in CAD can become a costly, difficult-to-maintain tool on the shop floor.
Your design can be technically moldable and still become expensive or unstable because of poor gate balance, weak cooling, or an awkward ejection layout. These checks focus on the mold systems that control repeatability.
Ask where the gate will be placed and why. Gate location affects filling pattern, weld lines, air traps, surface appearance, packing pressure, and fiber direction in reinforced materials.
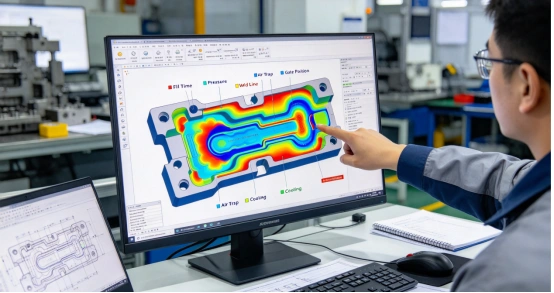
A mold flow simulation can show pressure, filling time, temperature, and likely deformation before cutting steel. It gives the design discussion a factual reference instead of several people relying on personal preference.
Cooling channel design has a direct effect on cycle time and warpage. Hot spots around thick bosses or deep ribs can keep one area soft while the rest of the part has already started to shrink.
Request a cooling layout, not just a promise that the mold will be water-cooled. Check access for cleaning, separation between circuits, and whether the design supports balanced temperature across the cavity.
The ejection system should match the part geometry. Possible solutions include ejector pins, flat pins, sleeves, lifters, stripper plates, or air-assisted ejection.
Ask where the ejectors will touch the part and what happens near thin walls or visible surfaces. Ejection force must be balanced. Otherwise, you may see distortion, drag marks, pin whitening, or mold sticking during production.
Mold steel selection should follow the resin, production volume, surface finish, and wear level. P20 may suit some lower-demand applications, while H13, S136, NAK80, 1.2344, or similar grades may be more suitable for heat, abrasion, polishing, or long runs.
Also ask about heat treatment, hardness records, material certificates, and replacement plans for wear parts. A low initial price can lose its appeal quickly when sliders and ejector pins require frequent repair.
Complex features often decide whether a supplier is truly suitable. They also create the largest gap between a clean CAD model and a stable production tool.
Ask how the supplier will handle sliders, lifters, inserts, internal threads, and other undercuts. For high-volume threaded parts, an automatic unscrewing mold may remove manual operations and shorten the cycle, but the drive, cooling, lubrication, and maintenance plan must be clear.
For metal inserts or multi-material parts, ask how positioning, bonding, and deformation will be controlled. If you need 2K injection molding, confirm that the supplier has the machine, rotary system, and alignment experience required for it.
“T1 sample” should have a clear meaning. Confirm whether it means the first molded parts, a dimensional report, a cosmetic review, or a sample close to production settings.
Ask for separate timing for design approval, machining, assembly, T1 sampling, corrections, and final approval. Standard projects may take around two to four weeks for T1, while complex threading or 2K tools may require four to eight weeks. Your mold lead time should include the revision loop, not just the machining period.
A supplier should be able to explain what happens after the first trial. Ask whether it supports low-volume injection molding, pilot runs, dimensional checks, material traceability, and production debugging.
You should receive a practical approval package, such as sample parts, inspection results, resin details, and a list of open issues. This is especially important when the mold will move between factories or production regions.
Before placing the order, confirm the mold standards, spare parts, maintenance schedule, and ownership of design files. Common standards may include DME, HASCO, and LKM, depending on your market and machine setup.
Ask who supports repairs after delivery and how wear parts are identified. Clear maintenance records reduce downtime later. They also make it easier for another qualified shop to inspect or run the tool if your production plan changes.
Once these checks are clear, supplier capability becomes easier to judge. XINKEY MOULD has 25 years of mold-making experience and supports the path from product review to tooling, T1 sampling, injection molding, and small-batch production. Its documented engineering team includes 22 in-house designers offering DFM and Moldflow analysis.
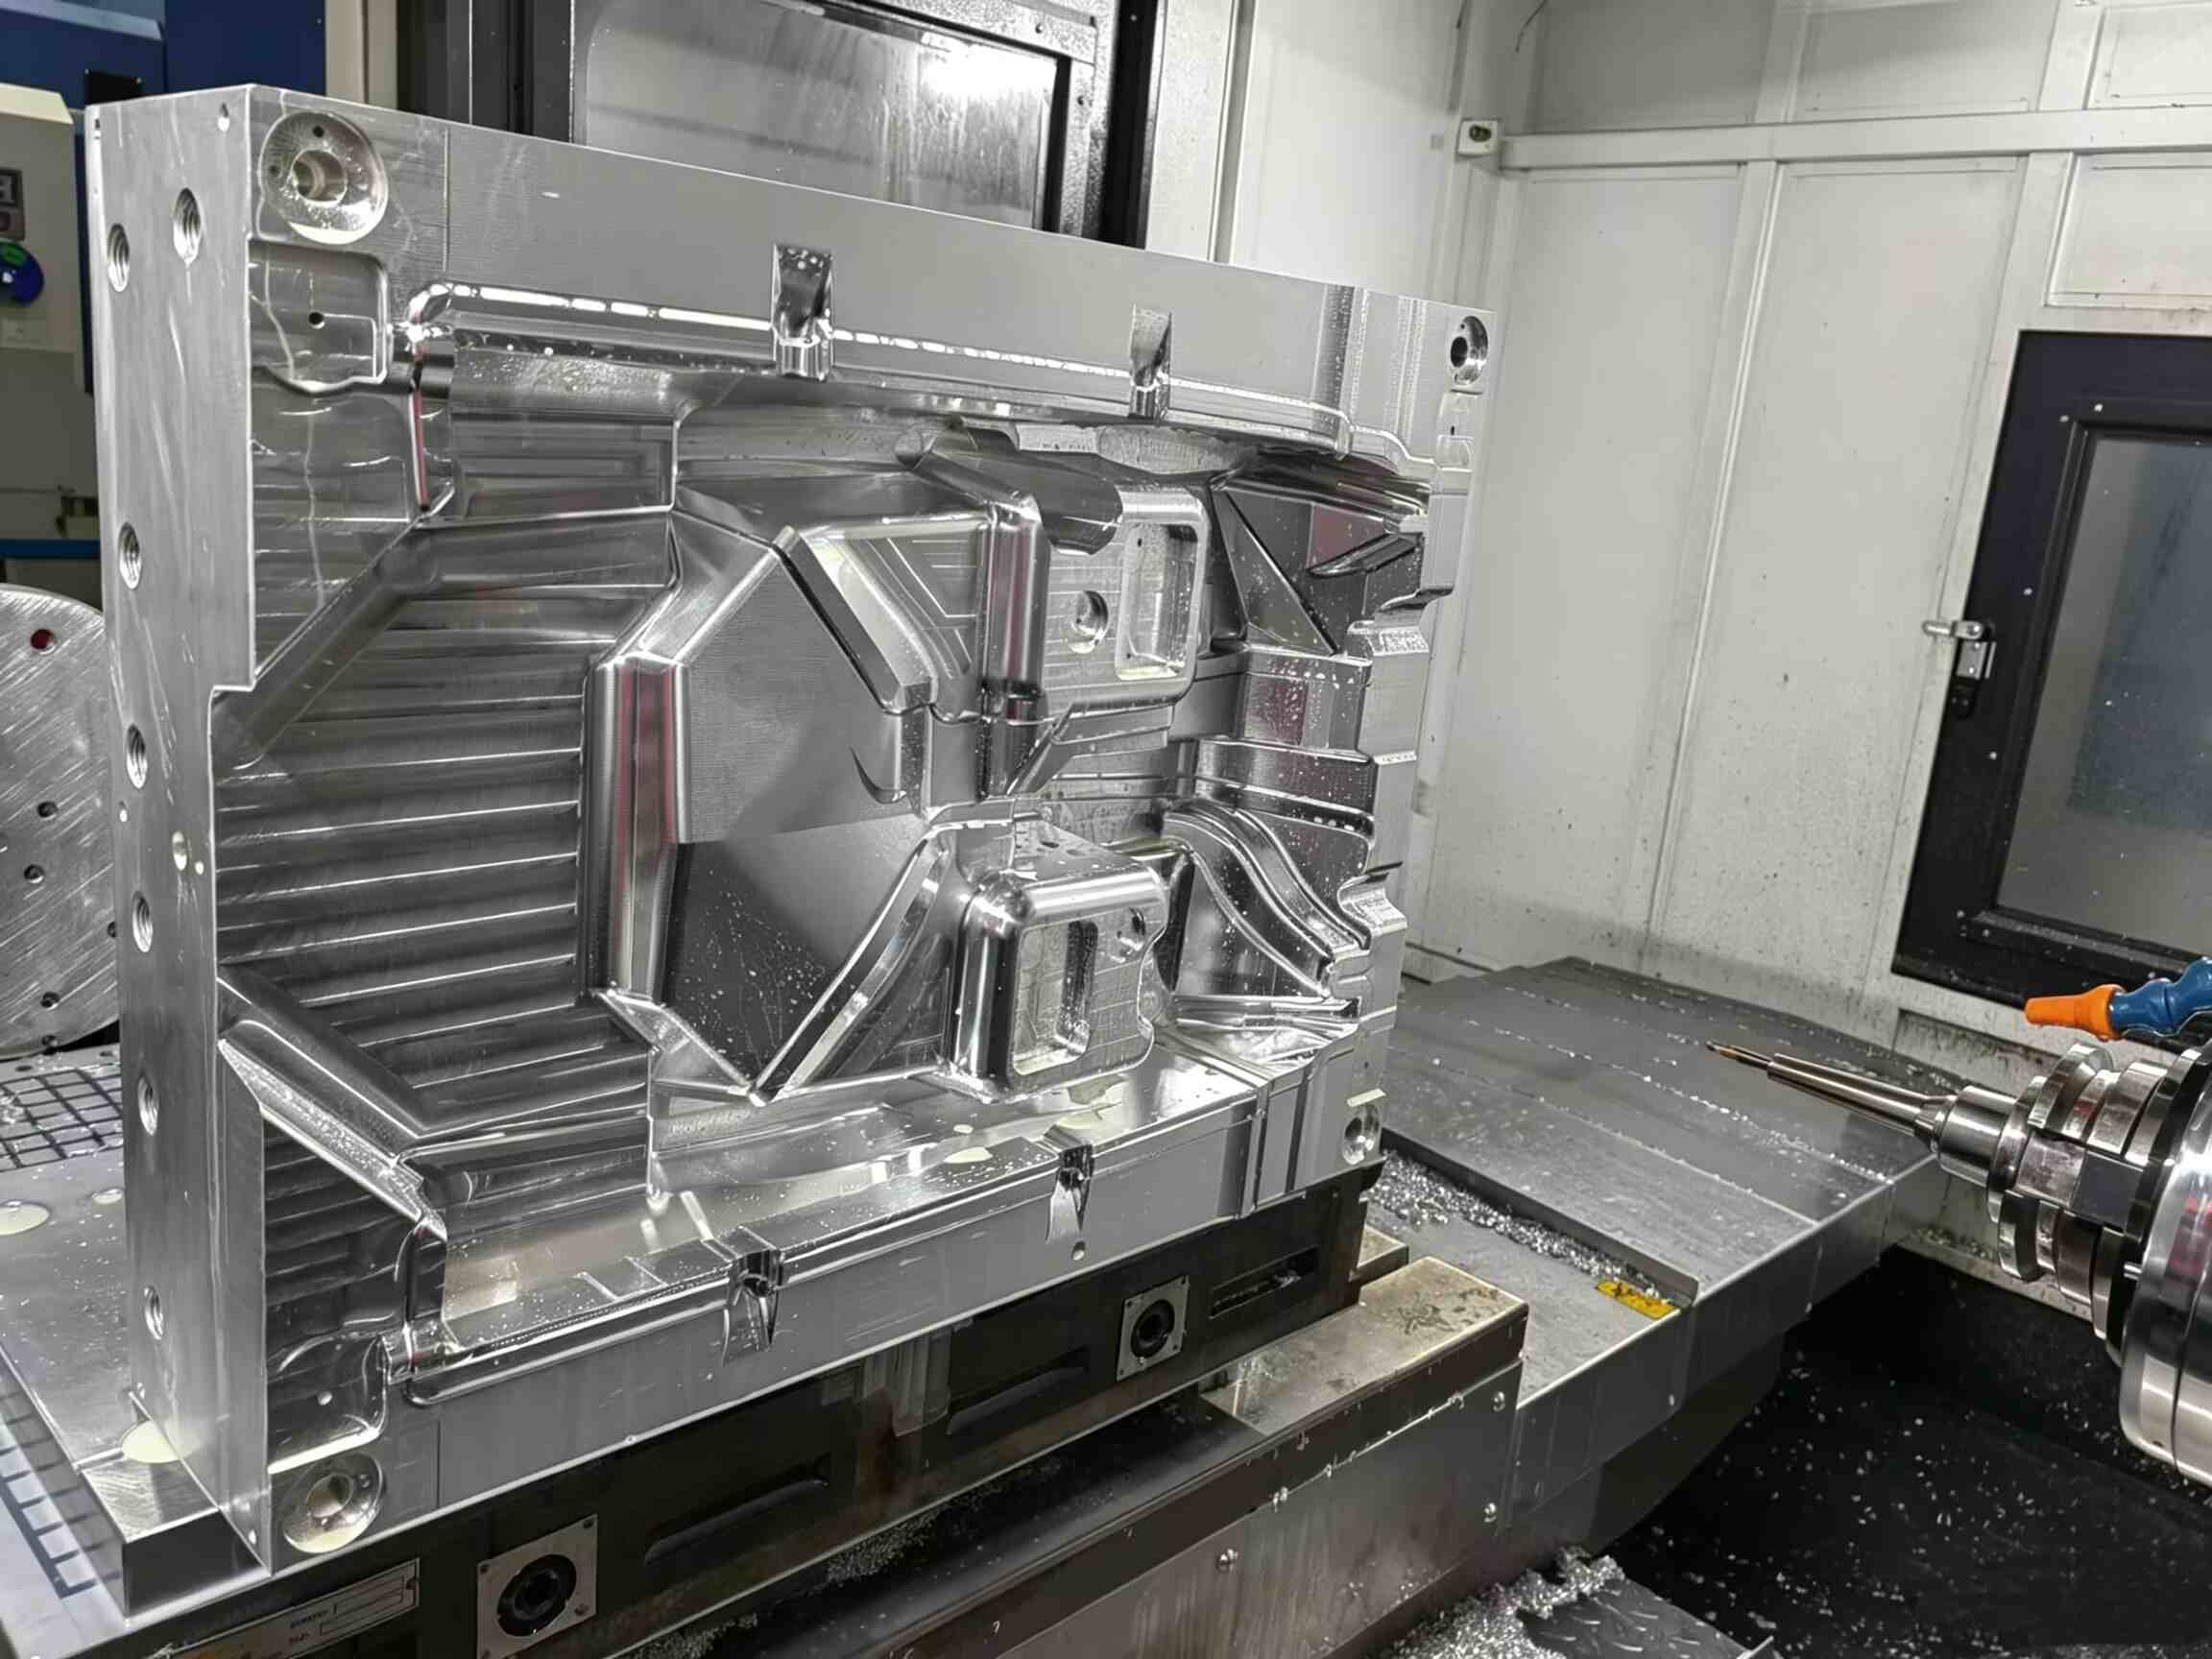
The company operates a 10,000-square-meter facility with more than 19 CNC centers and 90T to 750T injection capacity. Its tooling range covers molds from 150 kg to 15 tons and mold sizes from 150 mm to 1,500 mm. The documented scope includes complex sliders, lifters, inserts, threading systems, Bakelite tooling, and 2K structures.
More than 7,000 mold sets have been exported to Europe and North America, with ISO-certified quality processes listed for international projects. You can review its plastic injection mold services when comparing suppliers.

Q1: What goes with your CAD files?
Include the 3D part file and 2D drawings. List the resin grade and expected volume. Mention surface finish, tolerance requirements, and color. Add any assembly or sealing notes.
Q2: Why do mold DFM analysis prior to tooling?
It highlights draft issues and uneven wall thickness. It spots tough parting lines, bad gate choices, and ejection risks. This prevents costly steel adjustments later.
Q3: How long does a plastic injection mold take?
Regular tools often hit T1 within two to four weeks. However, complex automatic unscrewing mold or 2K injection molding jobs need four to eight weeks. That timeline depends on design and testing.
Q4: When do you need mold flow simulation?
Ask for this before locking in gate, runner, cooling, and venting choices. This matters most for thin-wall, cosmetic, multi-cavity, or fiber-reinforced parts.
Q5: What belongs in the final mold handover?
Request approved samples and inspection data. You also need material and heat-treatment records. Get spare-part details, maintenance instructions, plus the actual mold and engineering files.
Related Posts



Contact Us