Low-Volume Injection Molding: On-Demand Production & Fast Tooling
23rd October 2026


 author
A plastic part can look finished on screen and still fail badly in steel. Thick ribs may sink. A sharp corner may trap stress. A tiny undercut may force a slider that adds cost and days. That is why the injection mold manufacturing process should start before machining, not when the CNC spindle begins cutting.
A useful tooling roadmap reference treats T1 samples as a learning checkpoint, not a magic finish line. That is close to real shop life. The first shots tell you what the design, mold design, material, cooling, and machine settings are doing together.

DFM is where many expensive surprises either get killed early or quietly enter the project. For you, the concern is simple. Will this part mold cleanly, meet function, and avoid repeated mold modification after T1?
Good DFM analysis reviews wall thickness, draft angle, ribs, bosses, radii, undercuts, parting line, gate location, and cosmetic risk. XINKEY MOULD stresses a DFM first approach because small design changes can shift mold cost in a big way.
Uneven wall thickness can cause sink marks and warpage. Poor draft can create drag marks during ejection. A sealing area crossed by a parting line may become a leak path. These are not fancy theories. They are the dull little details that decide whether a launch slips.
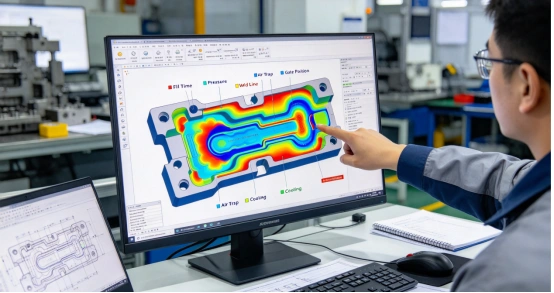
A useful DFM report should give recommendations, not just warnings. On its DFM analysis page, XINKEY MOULD says it reviews wall thickness, draft angles, undercuts, and gate locations, then sends a written report within 24-48 hours. For complex parts, mold flow simulation can be added.
That matters when you need to approve changes fast. A marked 3D file and clear risk list beat a long meeting every time.
Once the part has passed DFM, injection mold tooling moves into a more detailed stage. This is where the product becomes a complete mold system, with steel, movement, cooling, venting, and maintenance all planned before tool fabrication.
Mold design starts with choices that affect both part quality and unit cost. The team defines the cavity count, parting line, gate type, runner system, and core and cavity layout.
Gate location affects flow marks, weld lines, air traps, and pressure loss. XINKEY MOULD points out that poor gate design can cause poor filling, while unbalanced runner systems can lead to unstable trial molding. For visible housings, even a small gate vestige in the wrong place can make the part feel cheap.
Cooling is not just cycle time. Bad cooling can create local overheating, long molding cycles, and warpage. Venting lets trapped gas escape so you avoid burn marks and short shots. Ejection needs balanced force, or the part may whiten, bend, stick, or show pin marks.
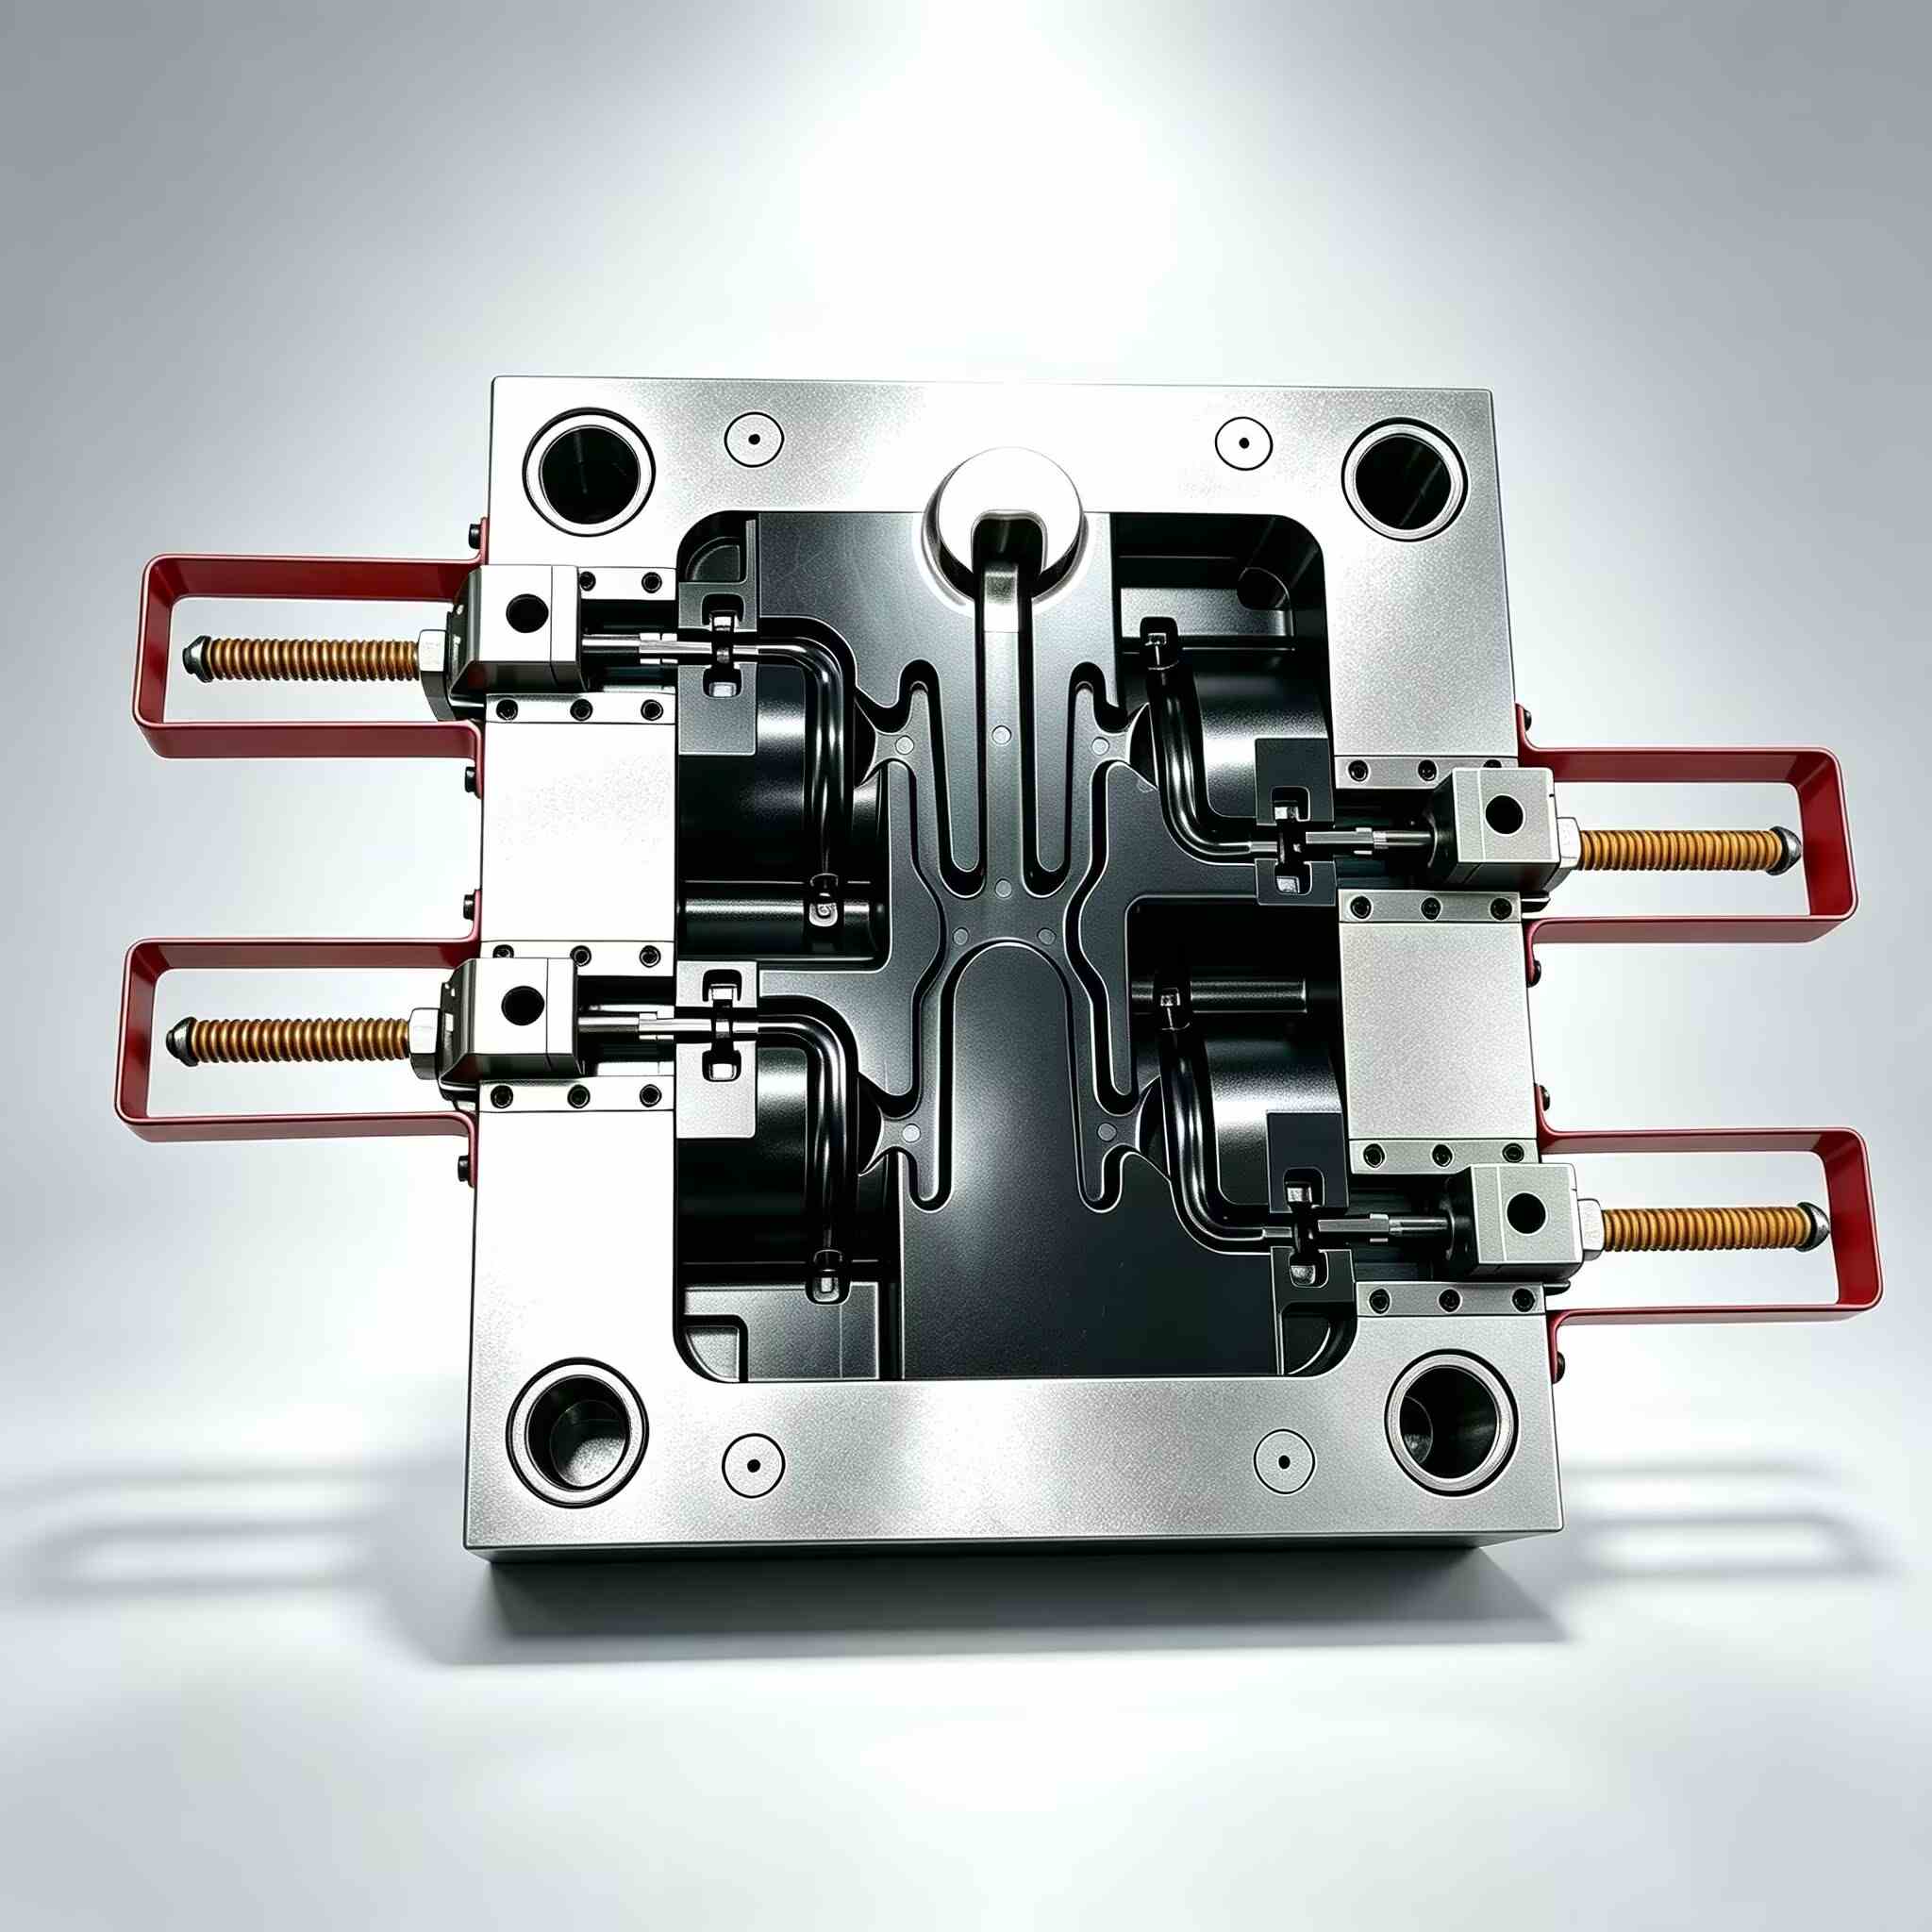
This is also where sliders, lifters, inserts, threaded cores, hot runner systems, and cold runner systems are chosen. Sometimes the best slider is the one removed by a small product change. Not glamorous, but usually cheaper.
After mold design approval, tool fabrication begins. At this point, late product changes become more painful, because the work has moved from decisions into metal.
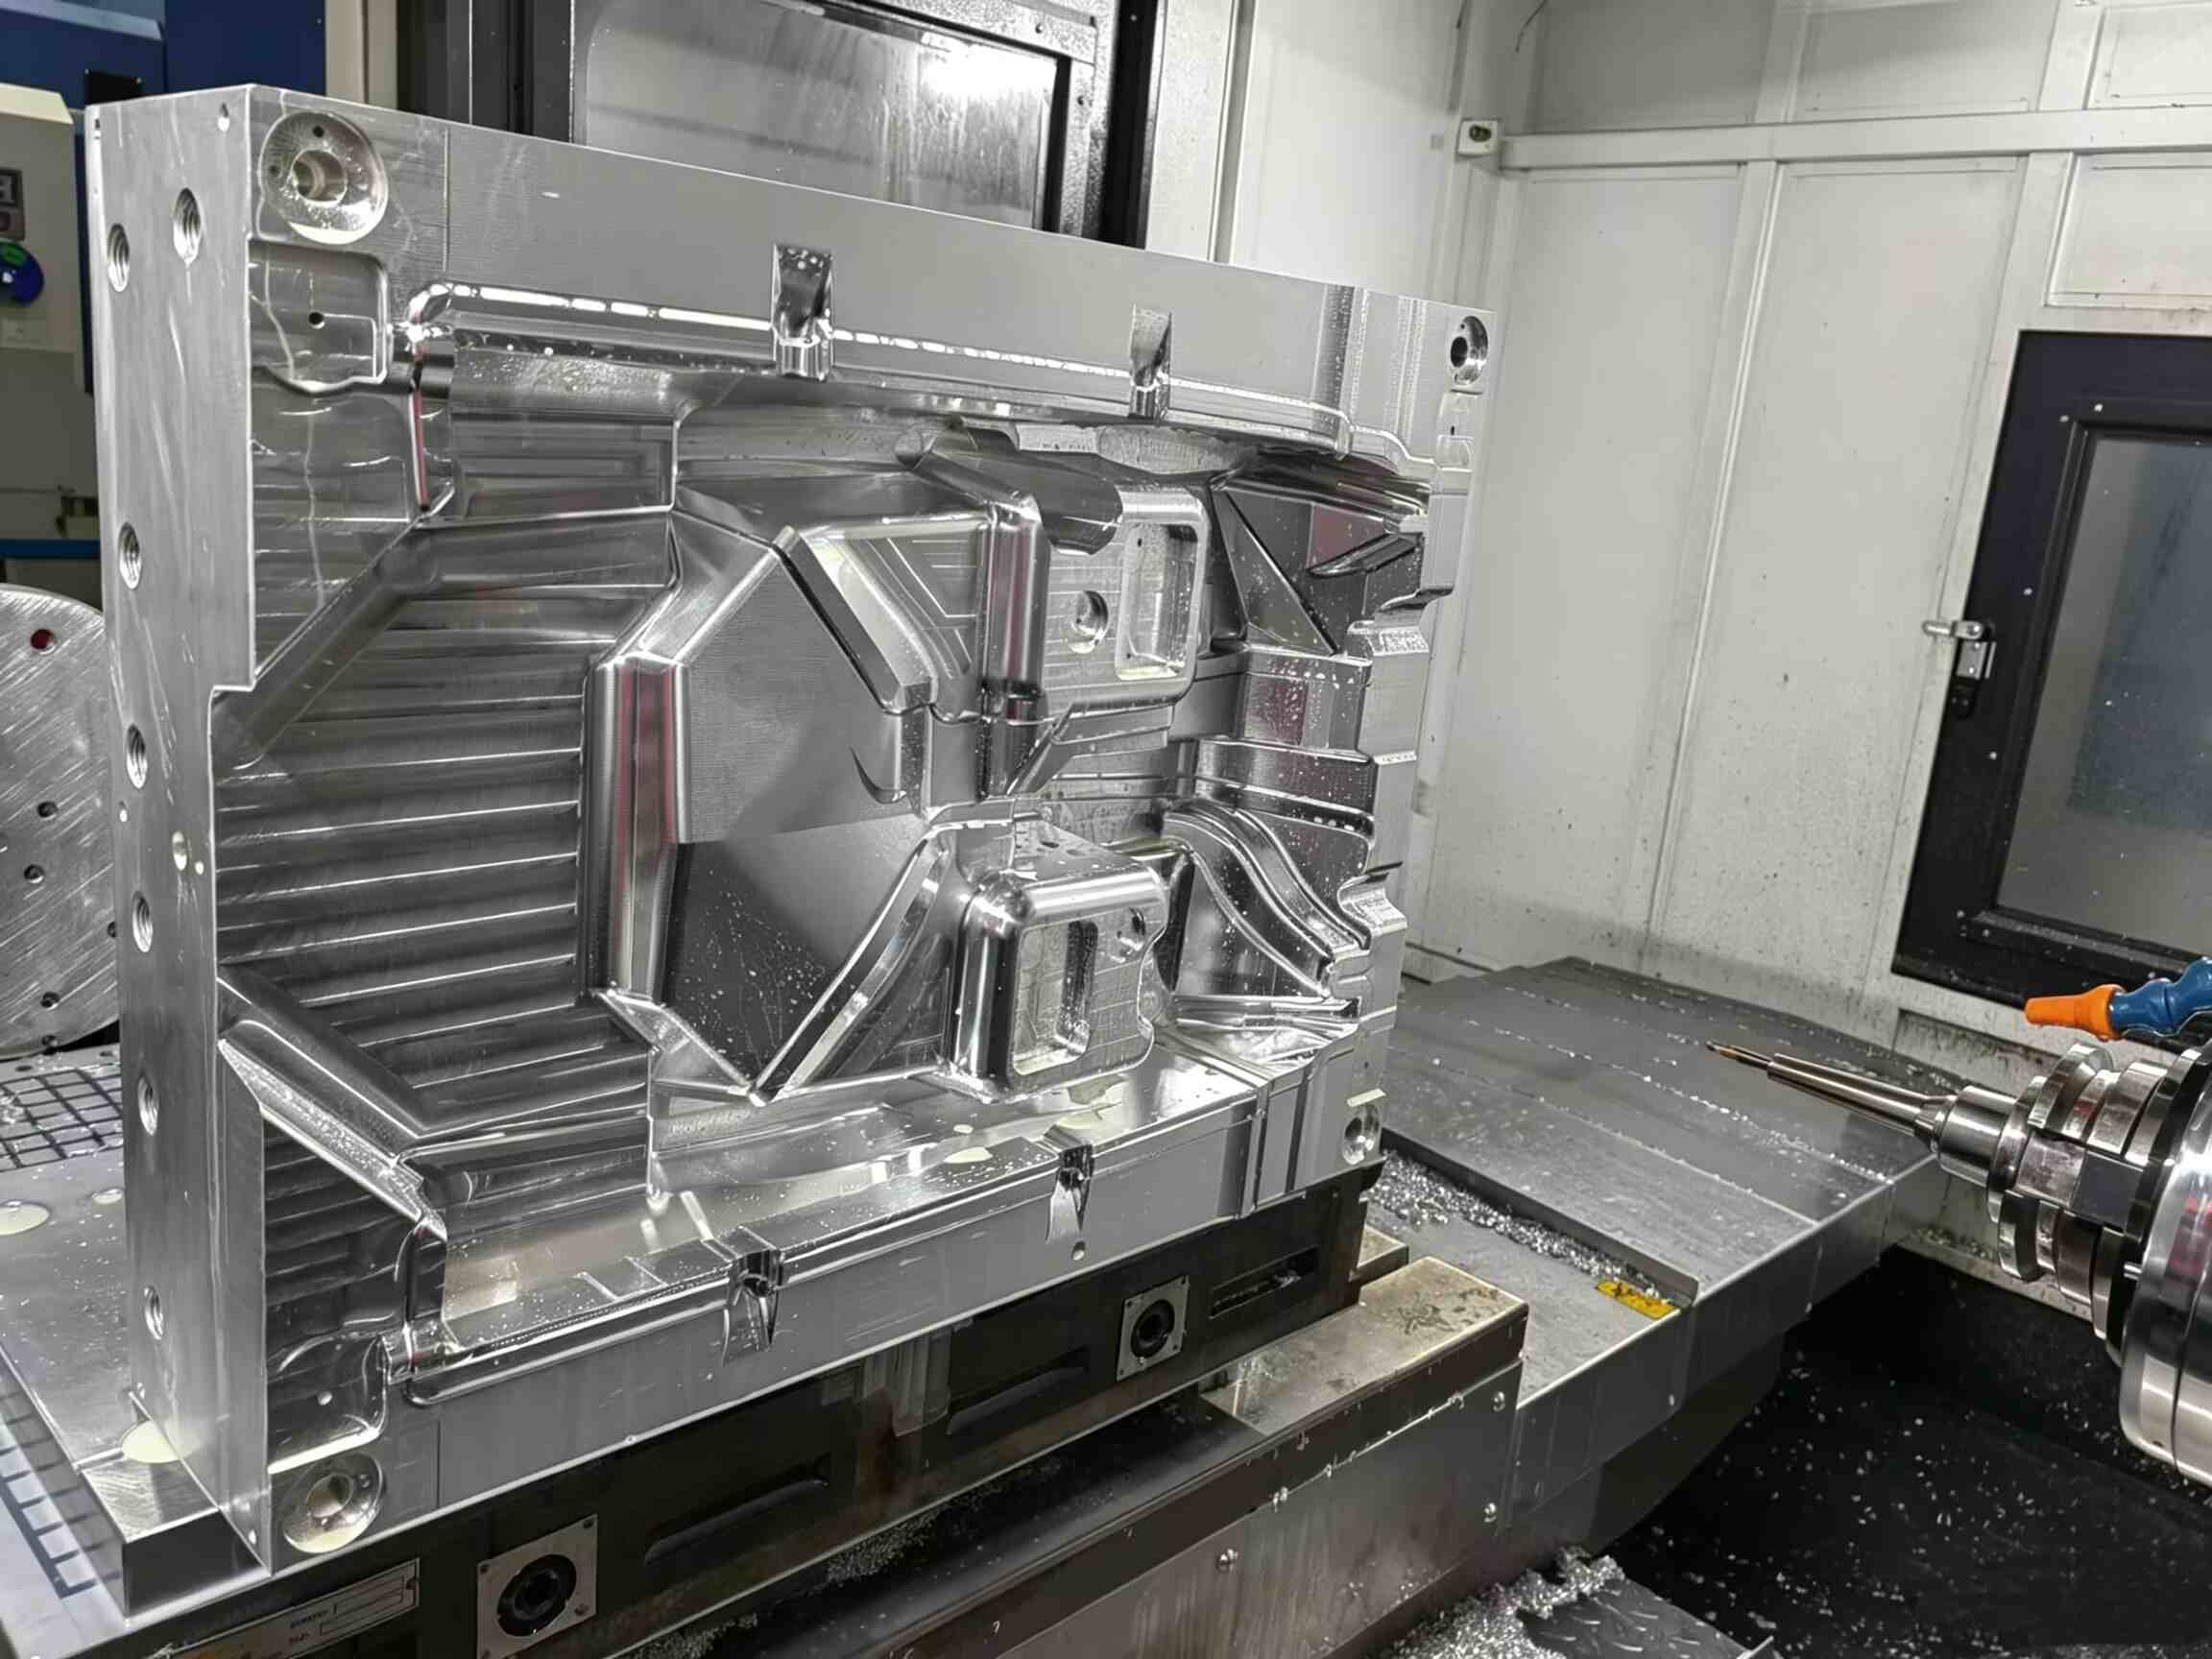
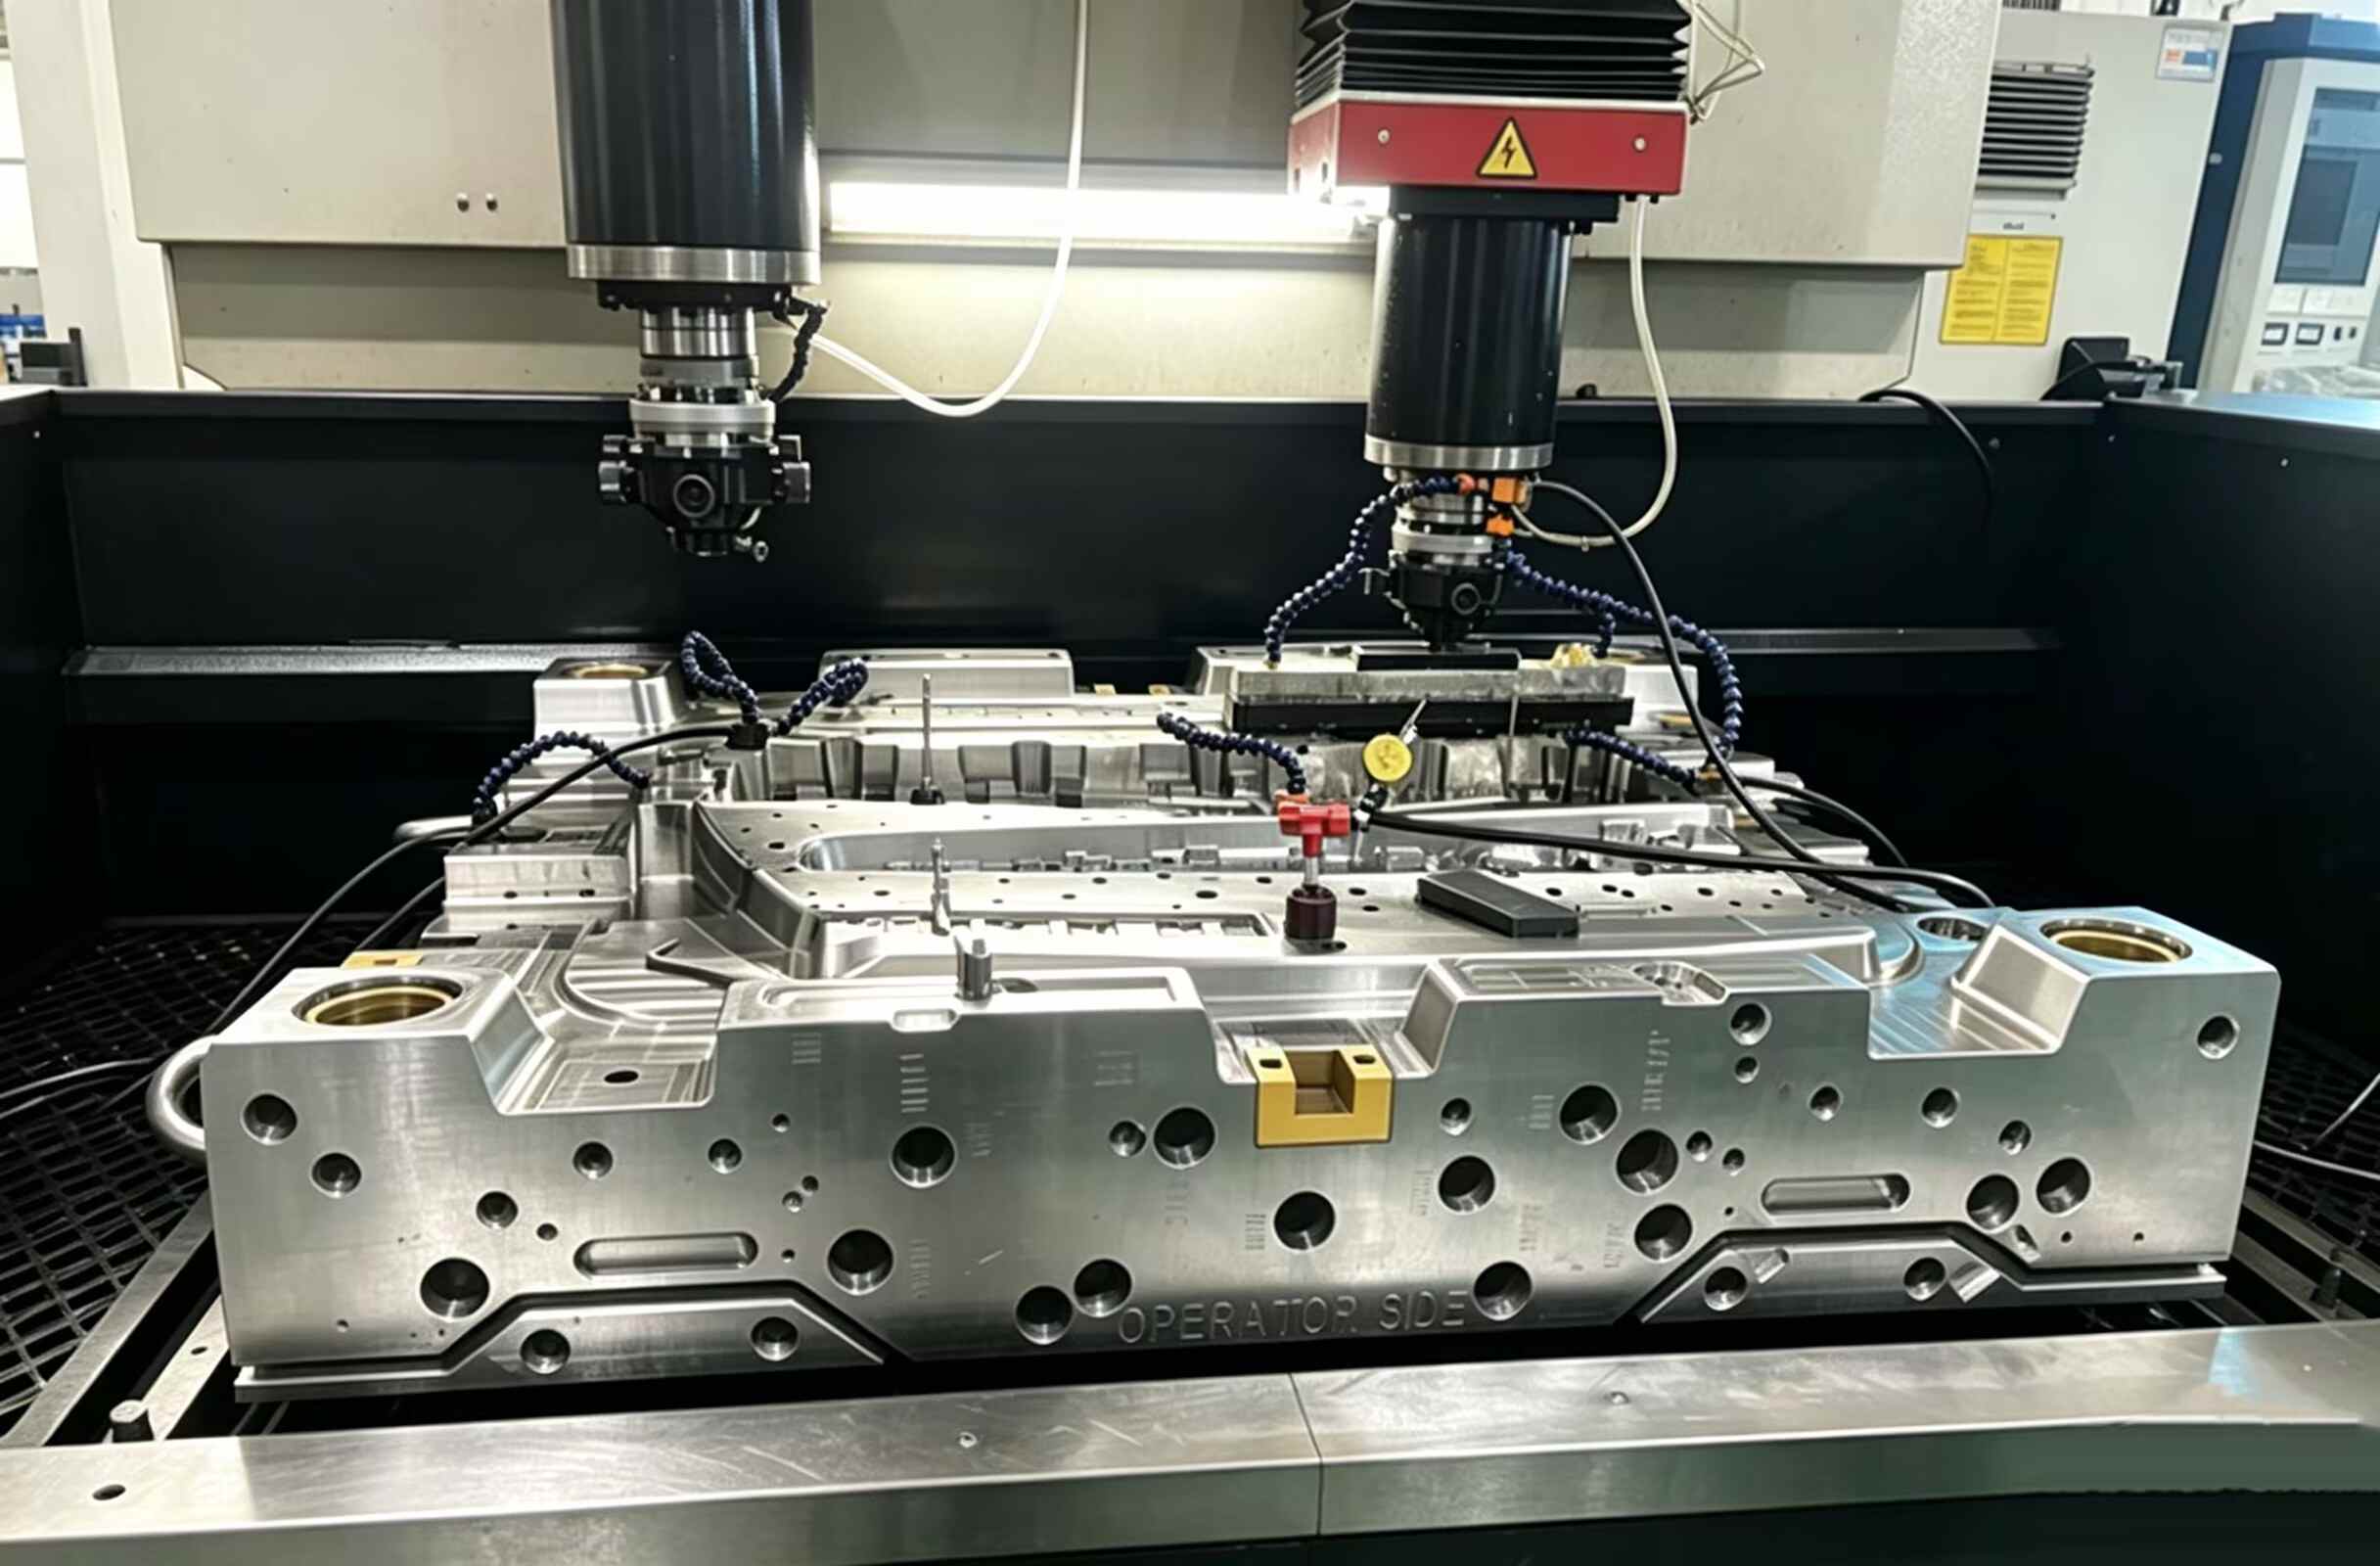
Core and cavity blocks are cut through CNC machining, EDM, wire cutting, drilling, grinding, and fitting. XINKEY MOULD notes high precision CNC machining with ±0.01 mm level precision control, plus EDM, heat treatment, polishing, texture, and mirror finish capability.
Steel choice also matters. Materials such as P20, H13, S136, NAK80, 1.2343, and 1.2344 may be selected based on tool life, resin, surface finish, and production volume. A cheap steel choice can feel good on a quote sheet, then show up later as wear, flash, and maintenance downtime.
A mold is not finished when the blocks are machined. It still needs assembly, spotting, alignment, cooling checks, ejector movement checks, and surface work.
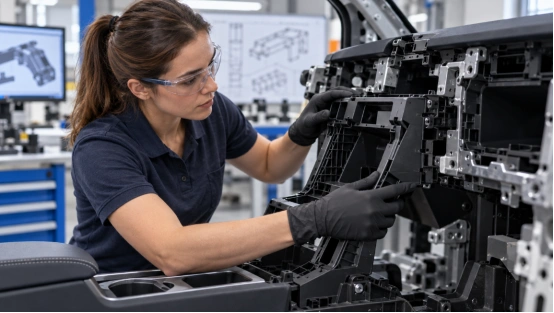
Guide pins must align. Ejector systems must return smoothly. Slider and lifter movement must avoid interference. If the mold assembly has core and cavity mismatch or guide pin misalignment, T1 can fail before the part even gets a fair chance.
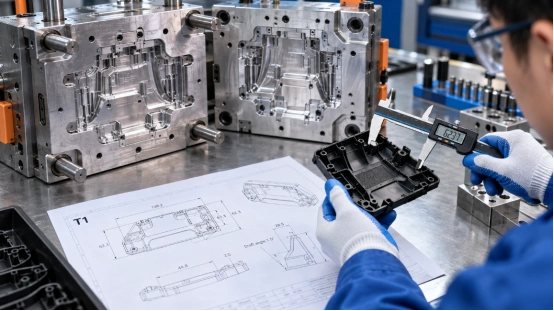
T0 and T1 are often mixed up. That causes bad expectations. T0 checks whether the mold basically functions. T1 samples are the first real molded parts used for measurement, appearance review, assembly checks, and engineering feedback.
T0 is a practical shop test. Does the mold open and close correctly? Does the ejector return? Does the gate fill enough to see major flow behavior? Are cooling lines connected and leak free?
Parts from T0 may look rough. That is normal. The point is to catch obvious mechanical issues before the first formal trial molding run.
T1 samples should be inspected for dimensions, flash, sink marks, warpage, weld lines, flow marks, gate vestige, short shots, and surface finish. Assembly tests are just as important. A shell that measures fine but snaps together poorly is still a problem.
For standard molds, XINKEY MOULD gives a typical T1 sample lead time of 2-4 weeks. Complex automatic unscrewing or 2K projects may take 4-8 weeks, depending on engineering depth.

T1 is not the end of the injection mold manufacturing process. It is the point where real evidence replaces assumptions. The best teams move quickly here, but they do not guess.
A sink mark might need wall thickness changes, packing changes, or gate adjustment. Warpage may point to cooling imbalance, uneven shrinkage, or material behavior. Short shots may come from gate size, venting, pressure loss, or thin flow paths.
Mold modification should follow the cause. Random polishing, extra pressure, or cutting steel because someone is impatient can create a second problem. A small note from the press can save a week later. Boring notes, yes. Useful notes, absolutely.
After T1 corrections, teams may run T2 or T3 samples, then pilot production. This stage checks cycle time, part stability, maintenance points, scrap rate, packaging, and repeatability.
Mass production should begin only after the mold proves it can run steadily, not only after one nice sample appears on a desk.
If your project has tight timing, complex geometry, or no internal mold engineering team, an integrated supplier can reduce handoff noise. XINKEY MOULD positions its work around DFM first, mold flow simulation, full mold design, in house manufacturing, trial molding, and small batch production support.
Its website lists 22 experienced mold designers, a 10,000 square meter facility, 19+ CNC centers, 90T-750T injection capacity, and experience with sliders, lifters, inserts, automatic threading, 2K molding, and Bakelite molding. The same source also highlights project management through one dedicated project engineer, weekly English updates, and milestone photos.
For a buyer, that kind of setup is useful because design feedback, tooling decisions, and T1 review stay in one workflow. You can also review its custom plastic injection molds capability or visit the official site for project details.
Q1: What Is the Main Goal of DFM Analysis?
A: DFM analysis checks whether your plastic part can be molded with stable quality. It reviews wall thickness, draft angle, undercuts, gate location, parting line, and likely molding defects before steel cutting starts.
Q2: Are T1 Samples Final Production Parts?
A: Usually, no. T1 samples are first mold test parts. They help you check dimensions, appearance, assembly, and process behavior, then decide what mold modification or process tuning is needed.
Q3: How Long Does It Take to Get T1 Samples?
A: Standard molds often take 2-4 weeks. Complex molds, such as automatic unscrewing or 2K molds, may take 4-8 weeks because the mold design and movements need more engineering work.
Q4: What Problems Are Common at T1?
A: Common T1 issues include sink marks, warpage, flash, short shots, flow marks, weld lines, poor demolding, and dimensional deviation. Most can be corrected if the root cause is clear.
Q5: Why Does Mold Flow Simulation Matter Before Tooling?
A: Mold flow simulation helps predict filling pattern, weld lines, air traps, pressure risk, and warpage before tool fabrication. It lowers the chance of repeated trial runs and expensive late changes.
Related Posts



Contact Us